How To: Finding The Perfect Light To Photograph In | Photographer education from | Albuquerque Weddi
March 15, 2019
I recently was asked, how do you always find such beautiful light to photograph in?
To me, light is the most important element when it comes to photography. It always trumps location. I have talked to other professional photographers about this and most of us agree we would rather shoot in a parking garage with beautiful light, then on the cliff of a mountain with terrible splotchy light. Having this mindset has enabled me to always create beautiful consistent images for my clients, no matter where I am. Now I understand occasionally you will be shooting a wedding where the whole reason the client booked the venue was its view of the mountains. Or the beautiful view of the ocean. They are going to want these views included in some of their photos. Below I will tell you how to make that happen for them.
Golden Hour
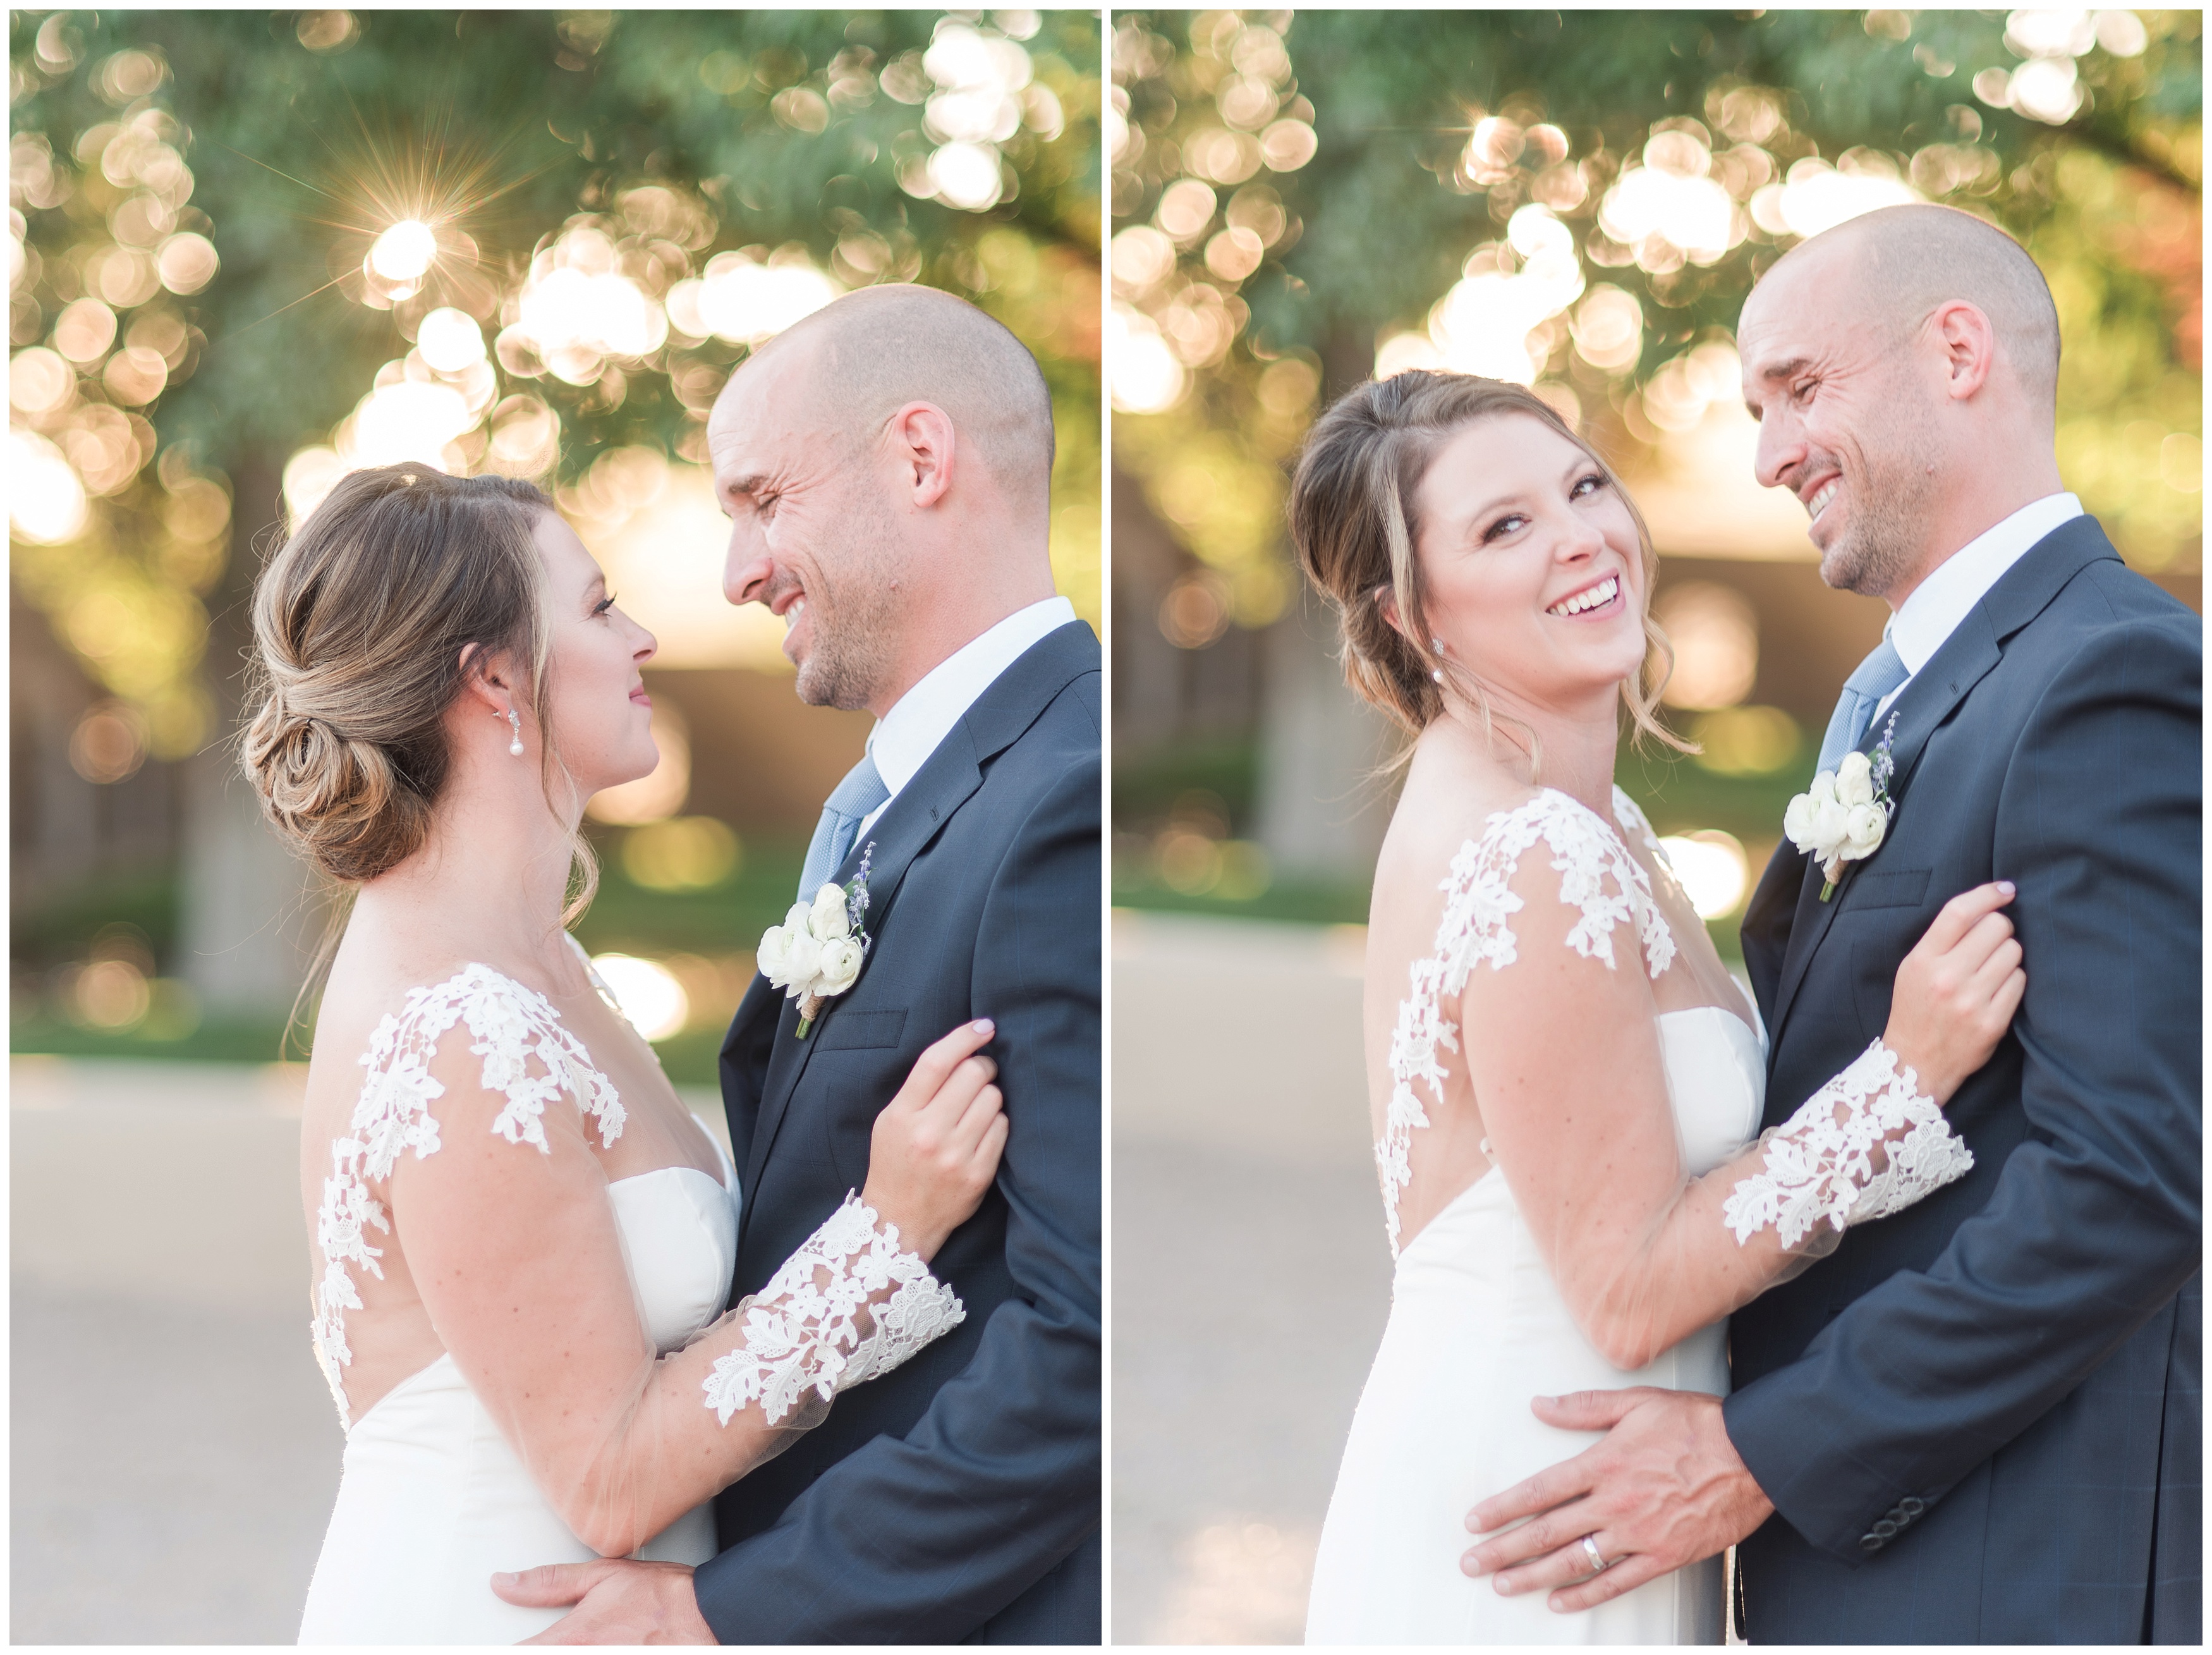
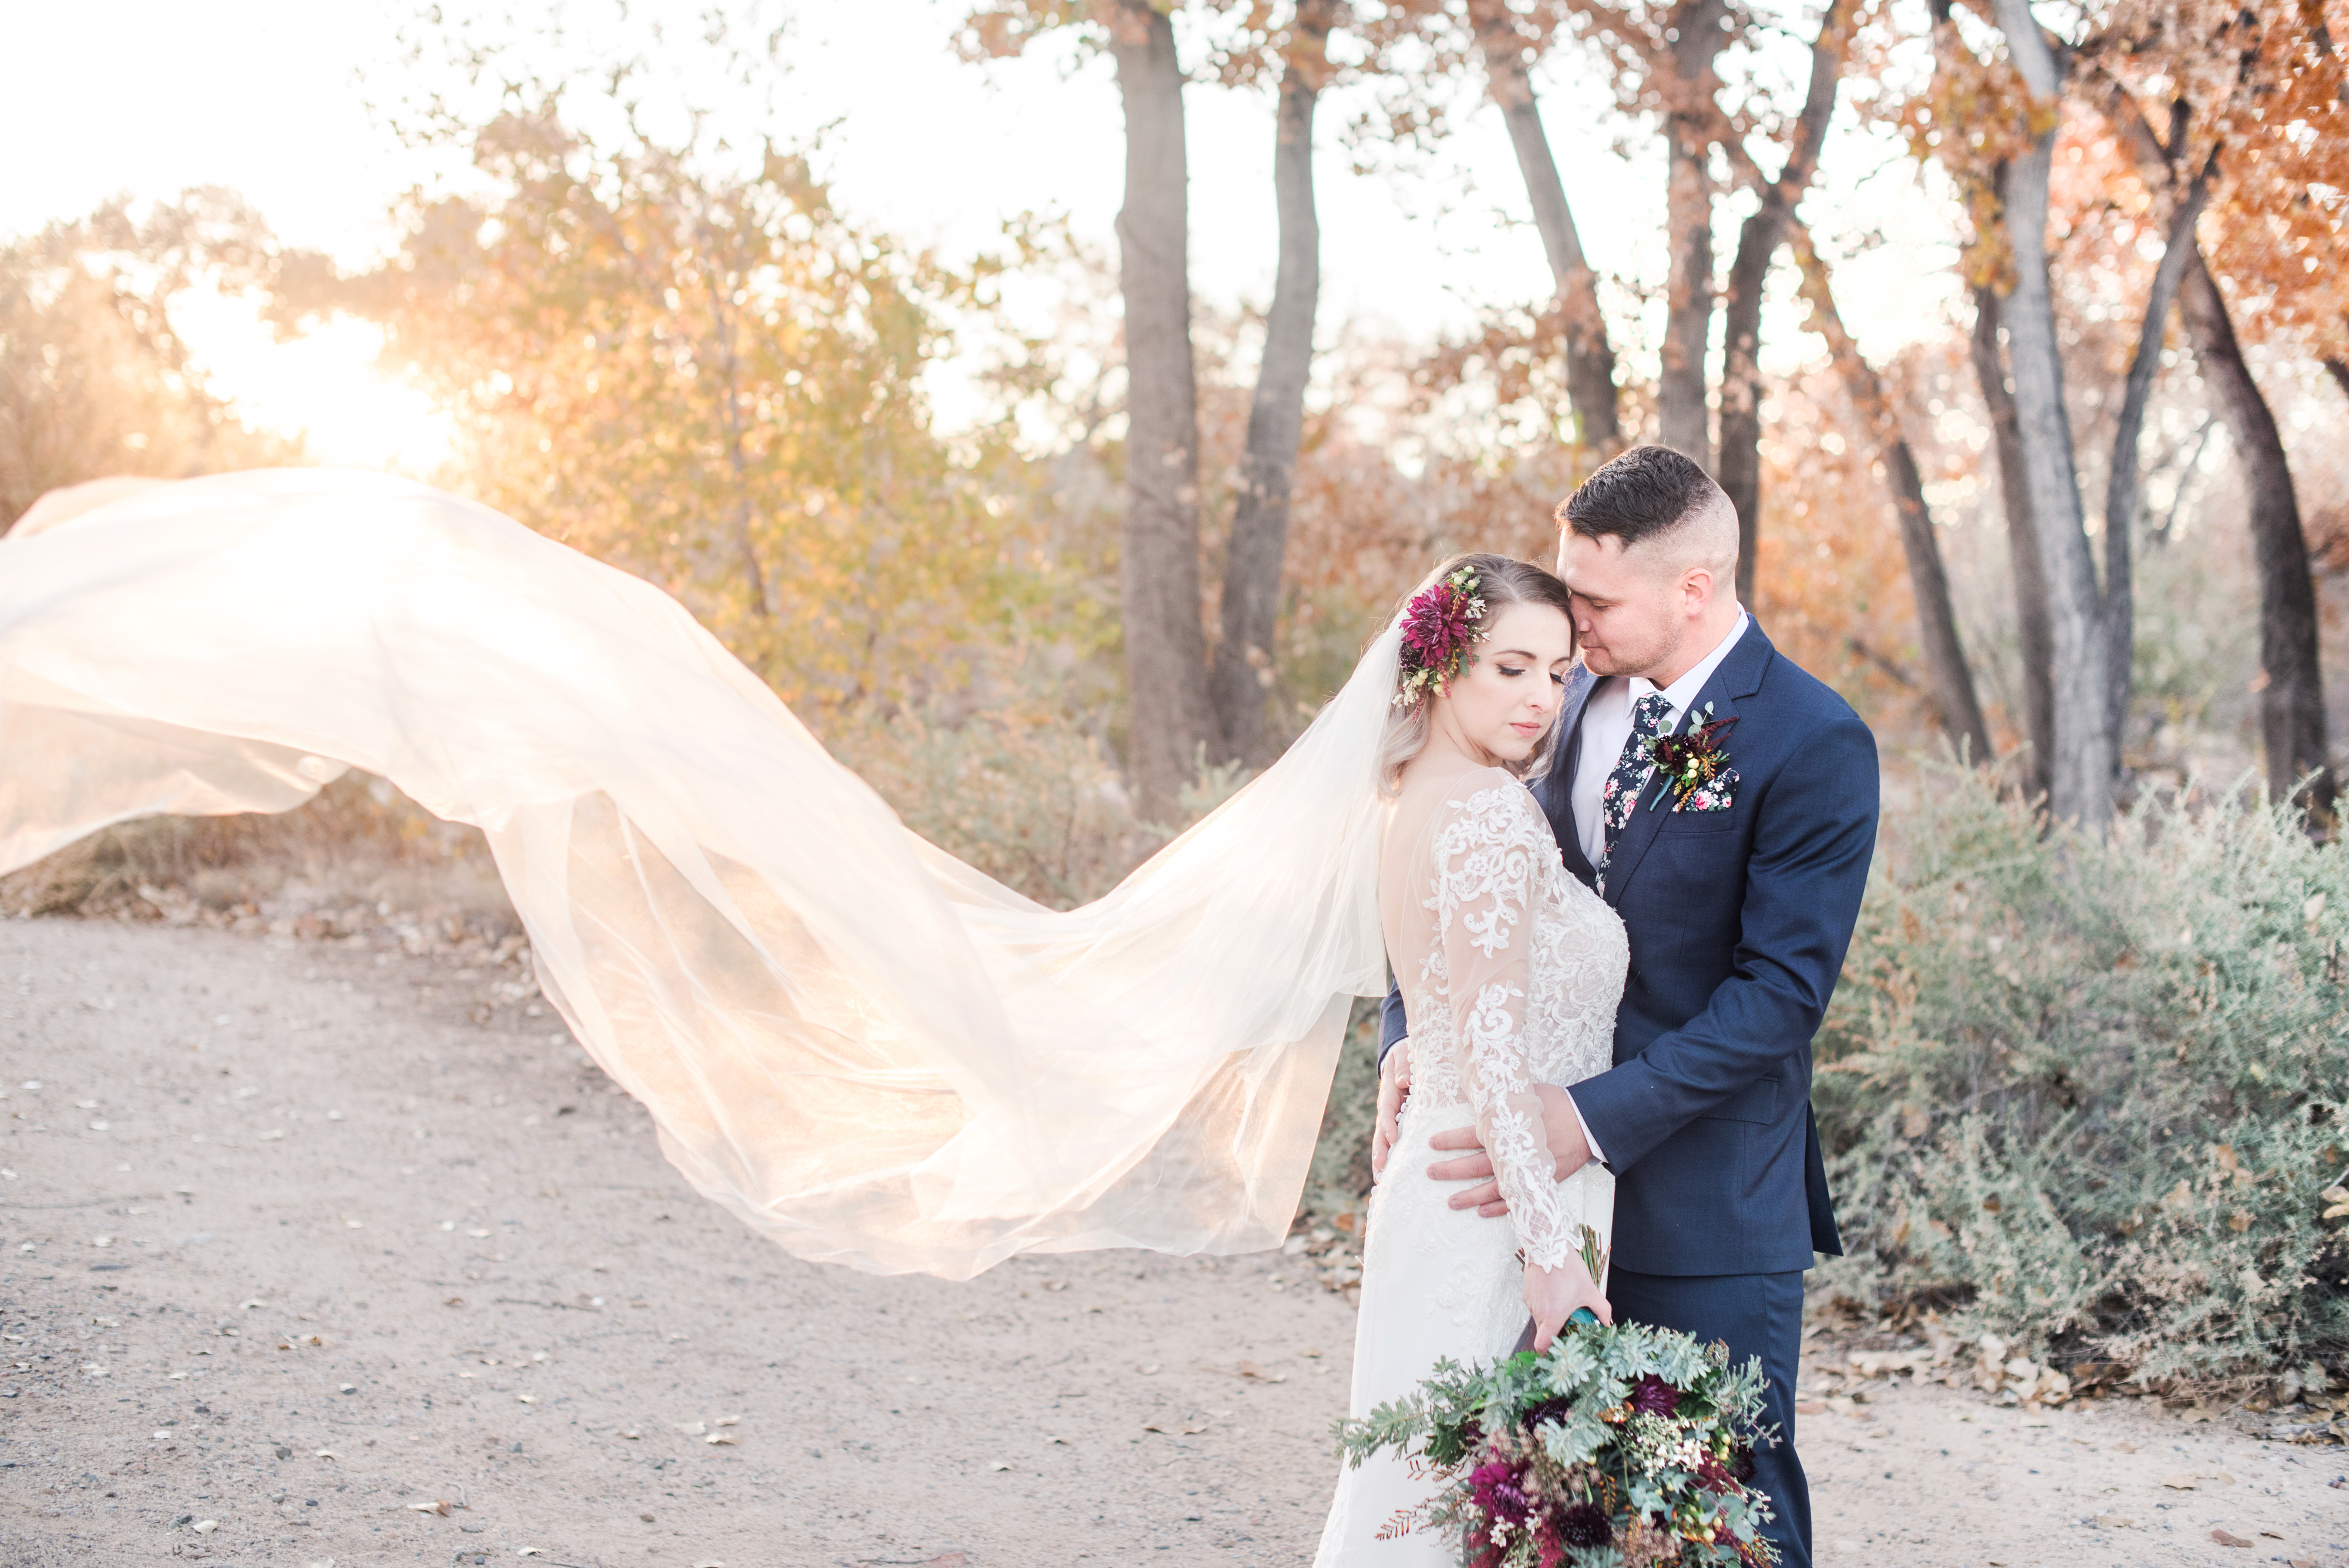
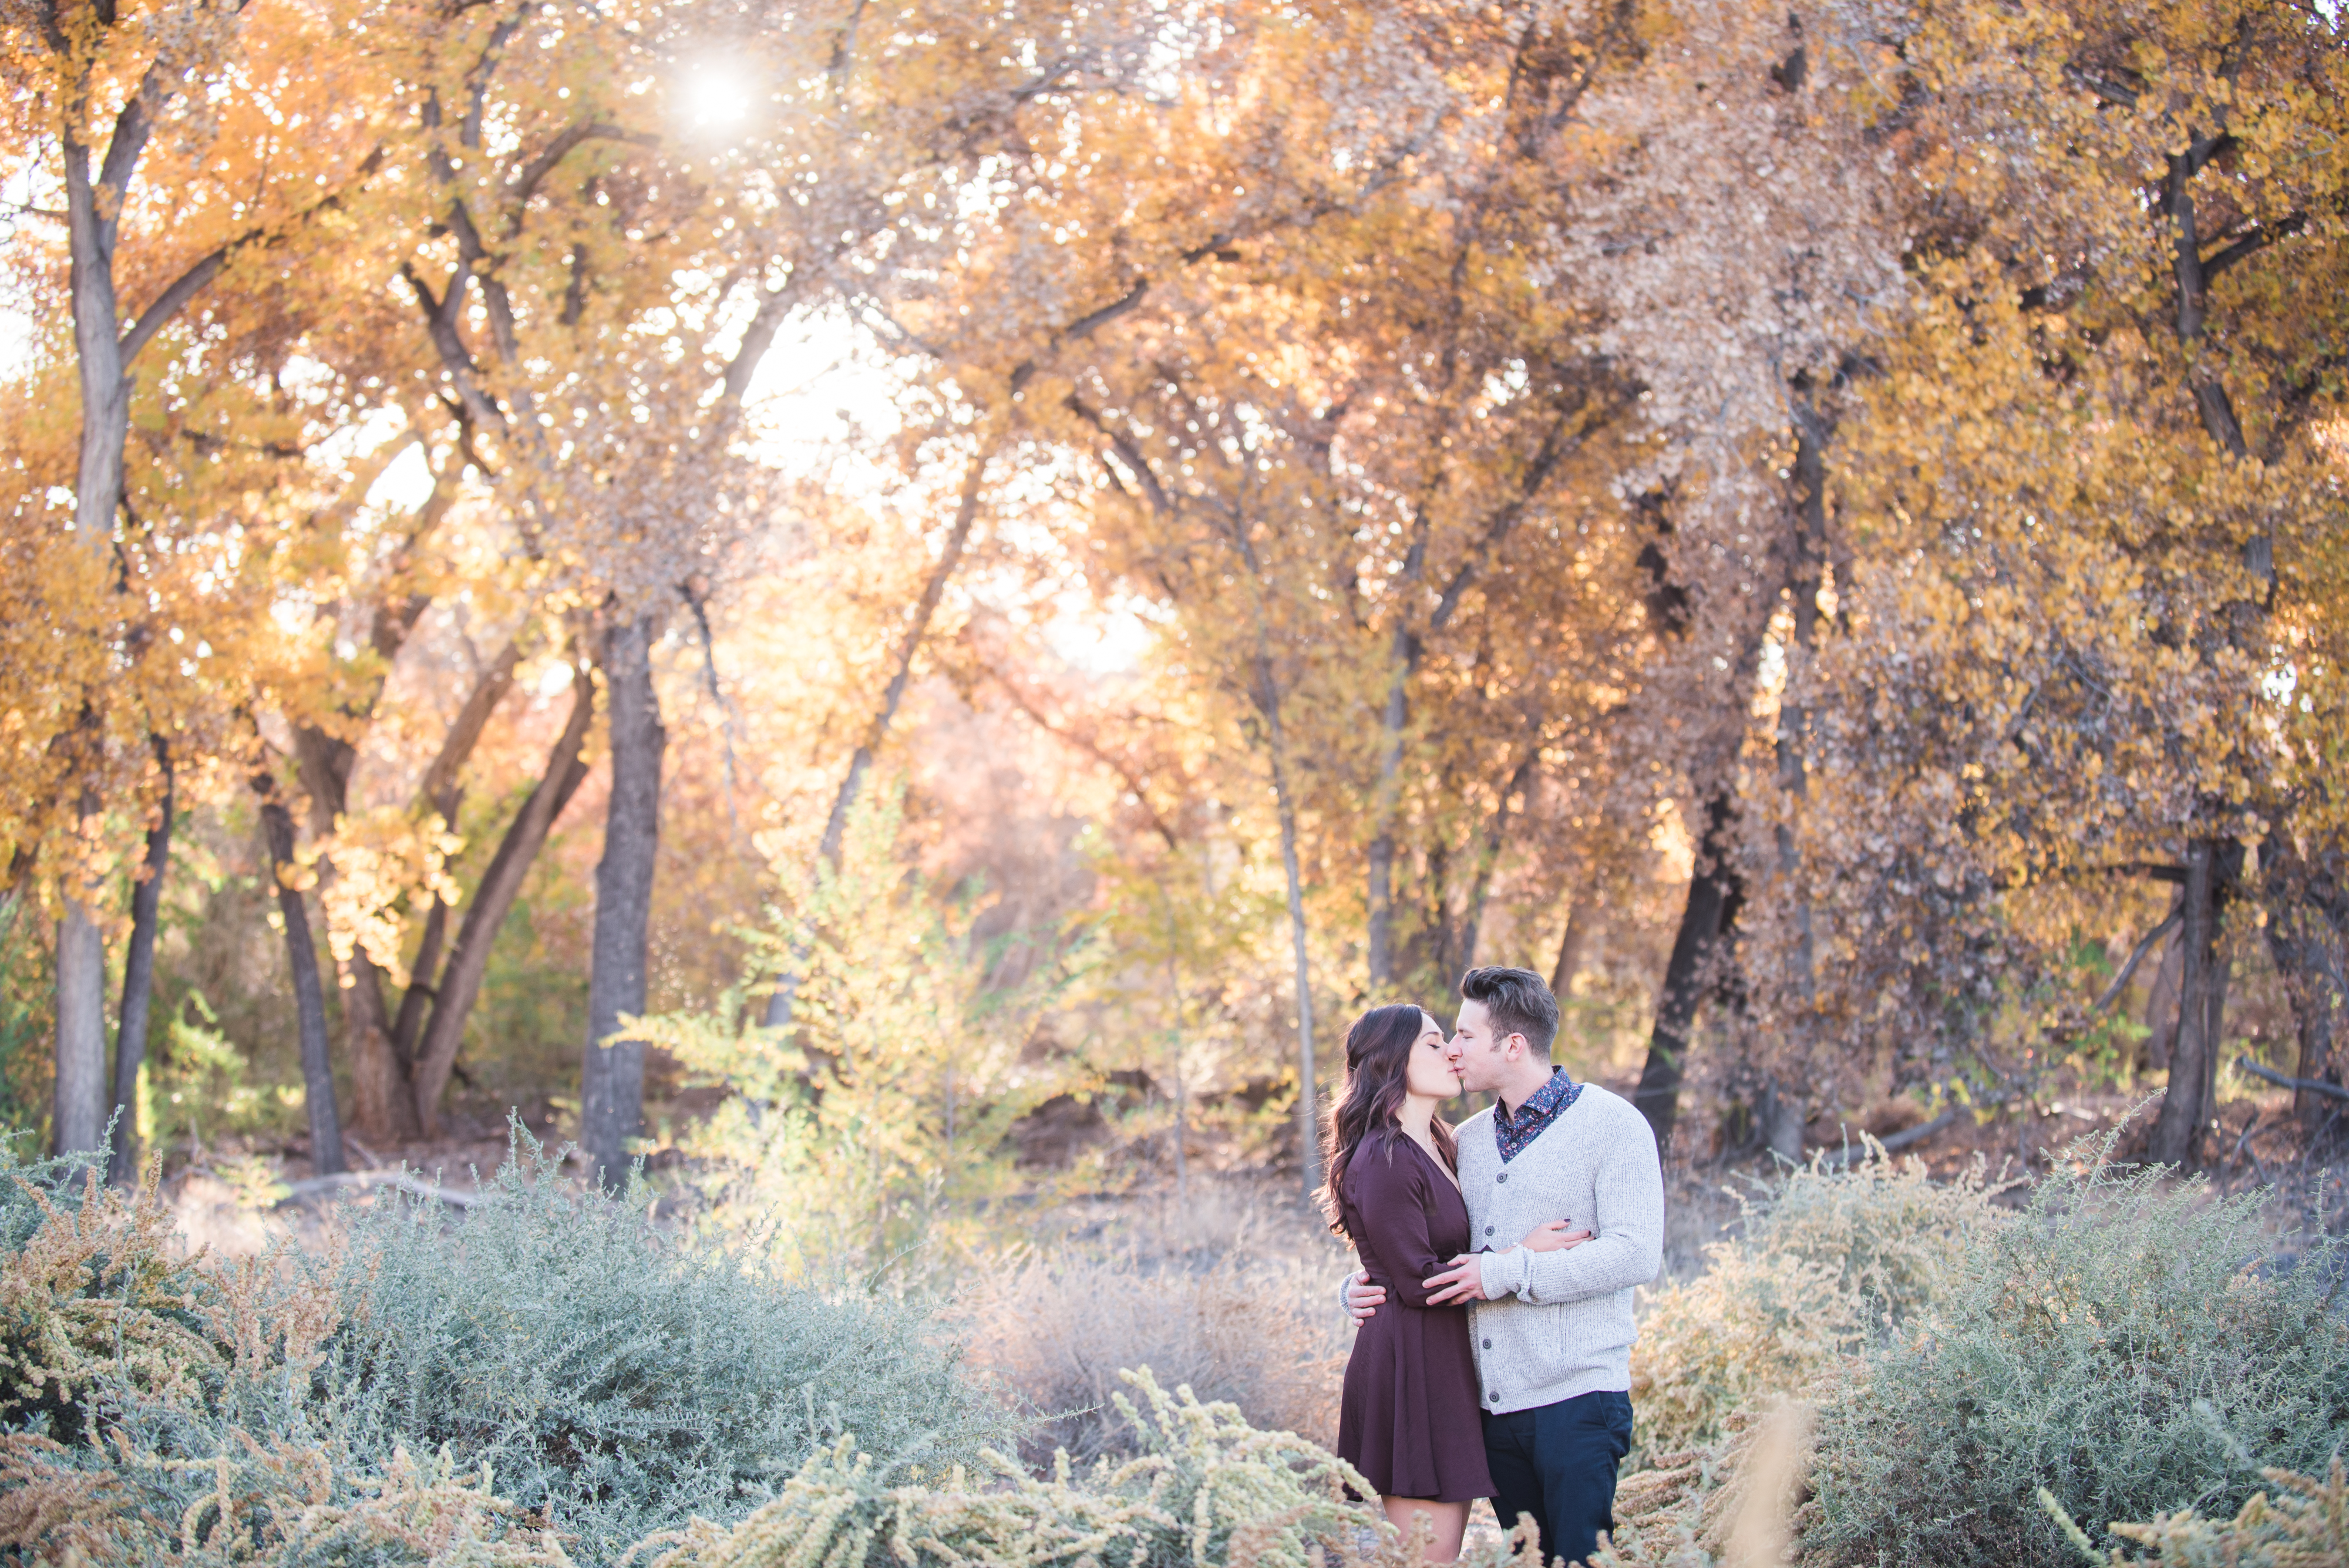
First lets start with what you do when the light is at its best, the 1.5 hours before sunset. This time frame is called “the golden hour,” and for good reason. This is when the sun is at its lowest, the light is the softest and the most dreamy and glowy and its filtering through trees. This is when the magic happens.
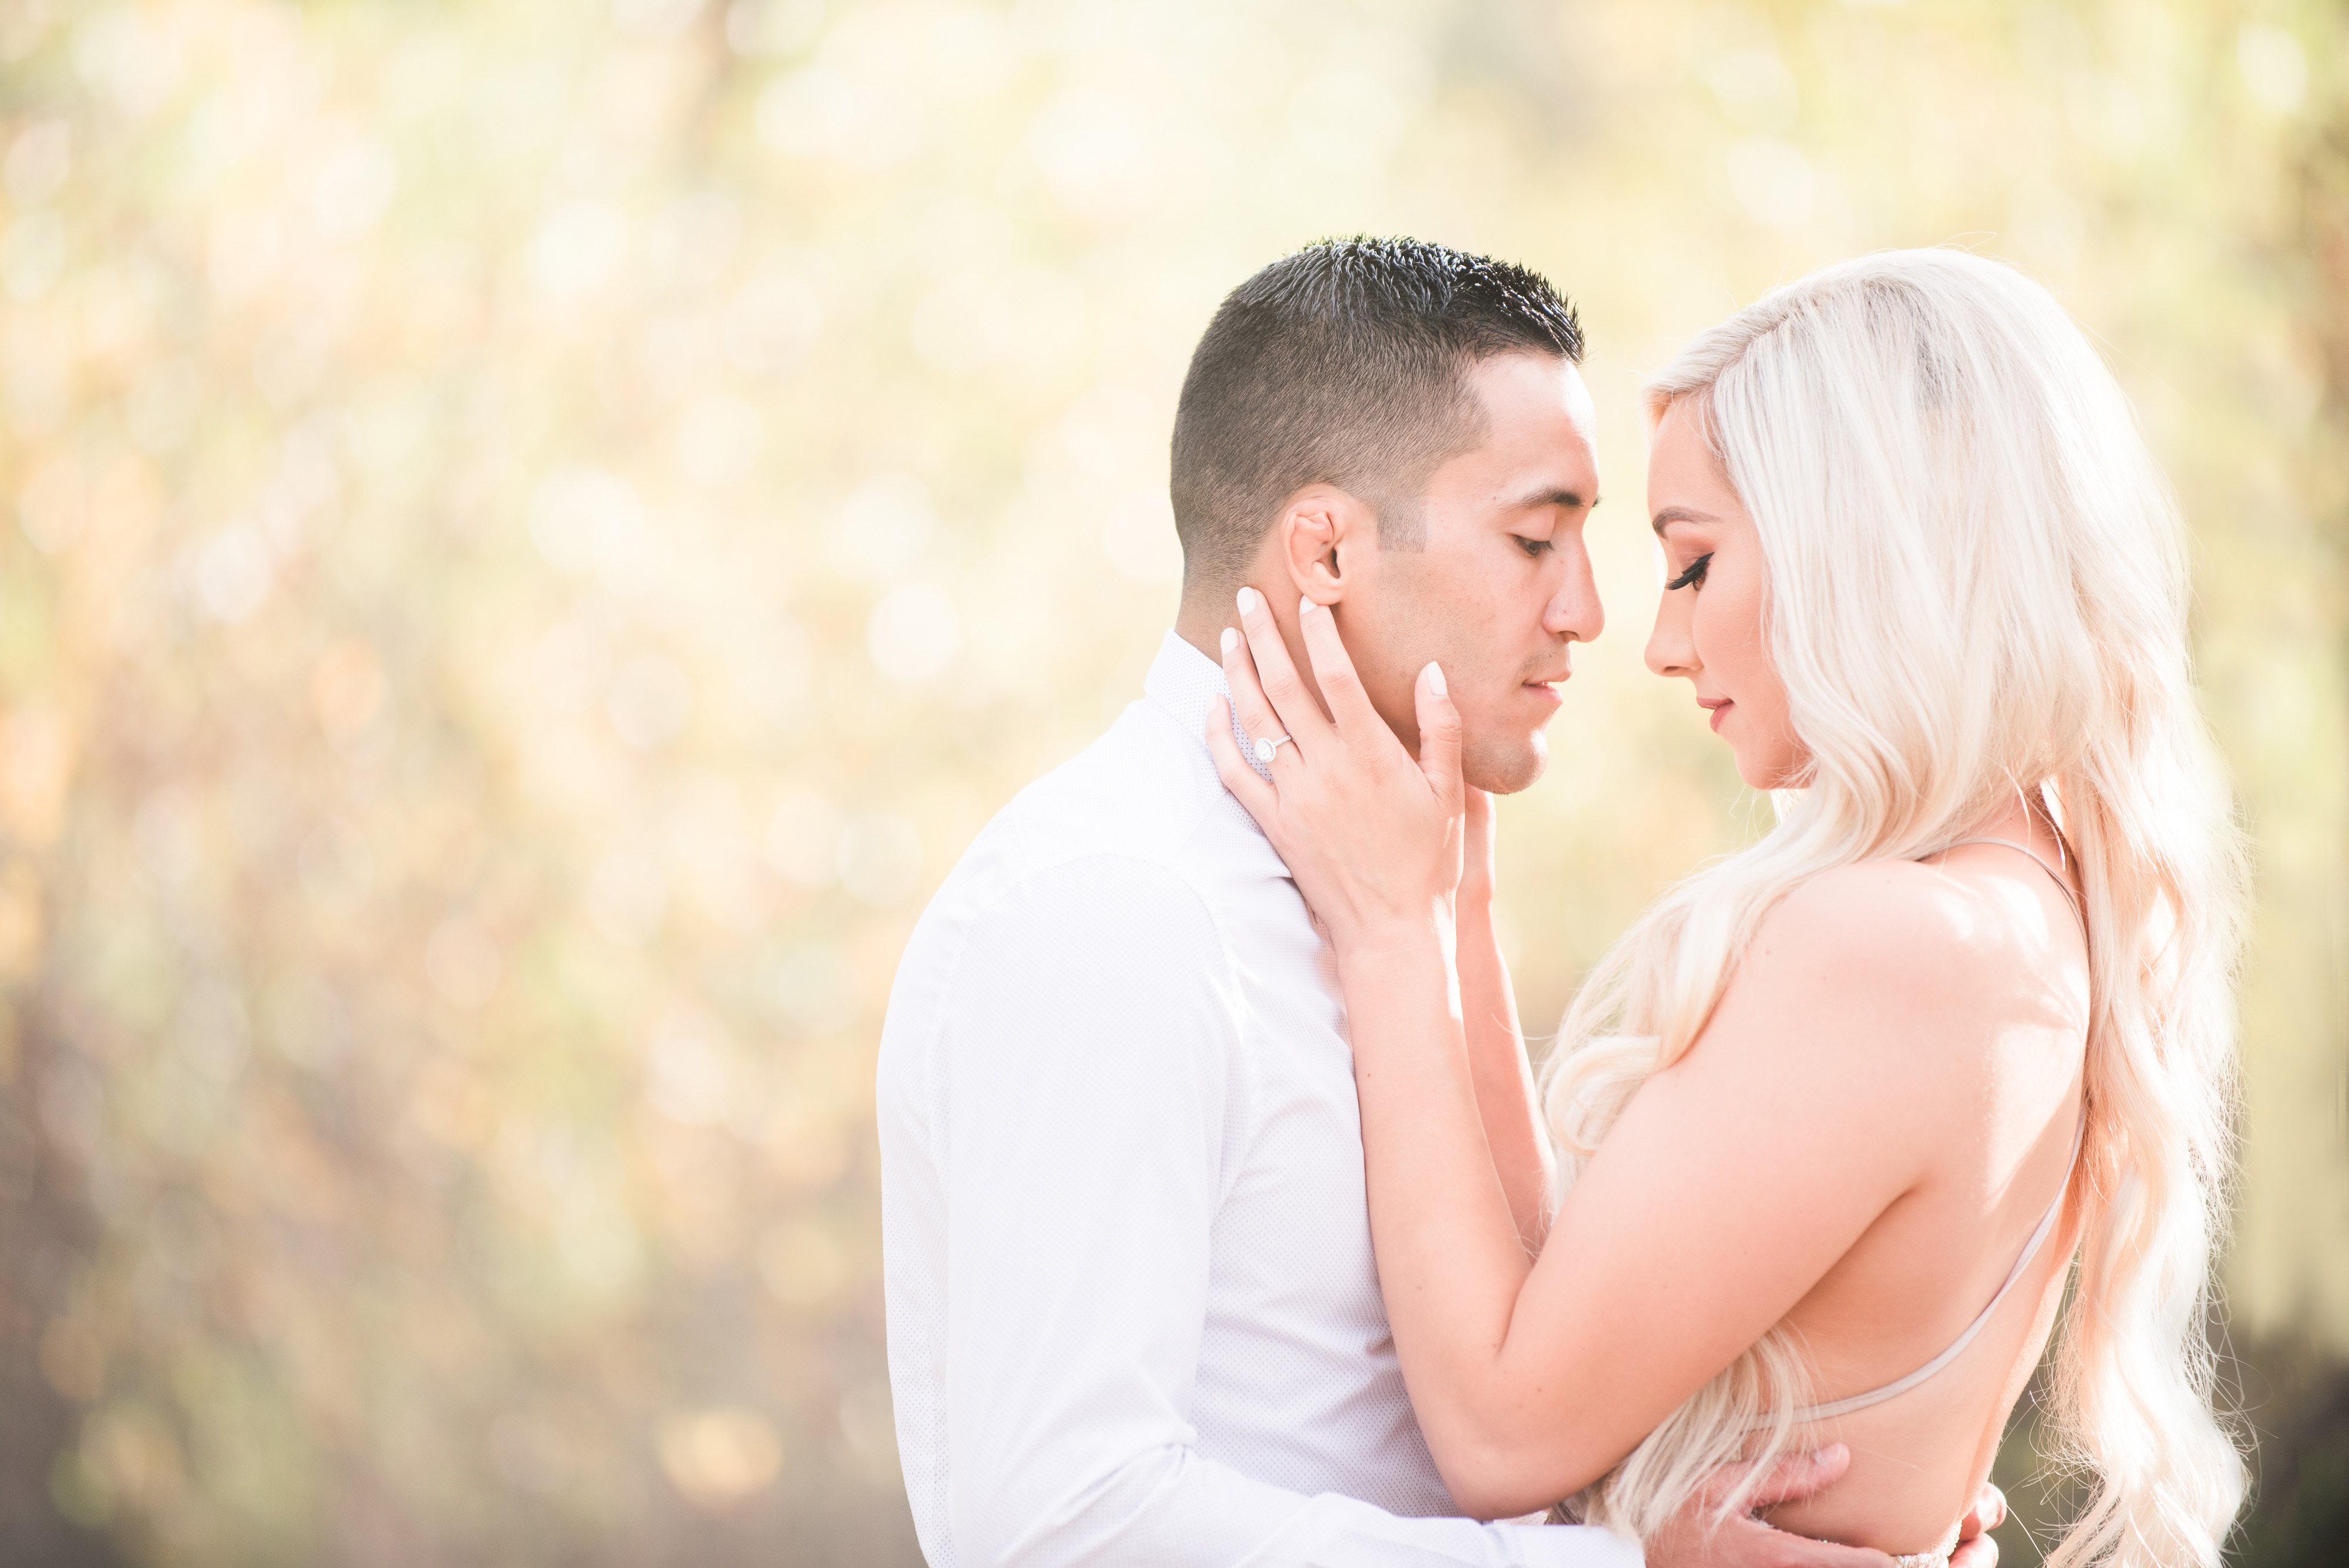
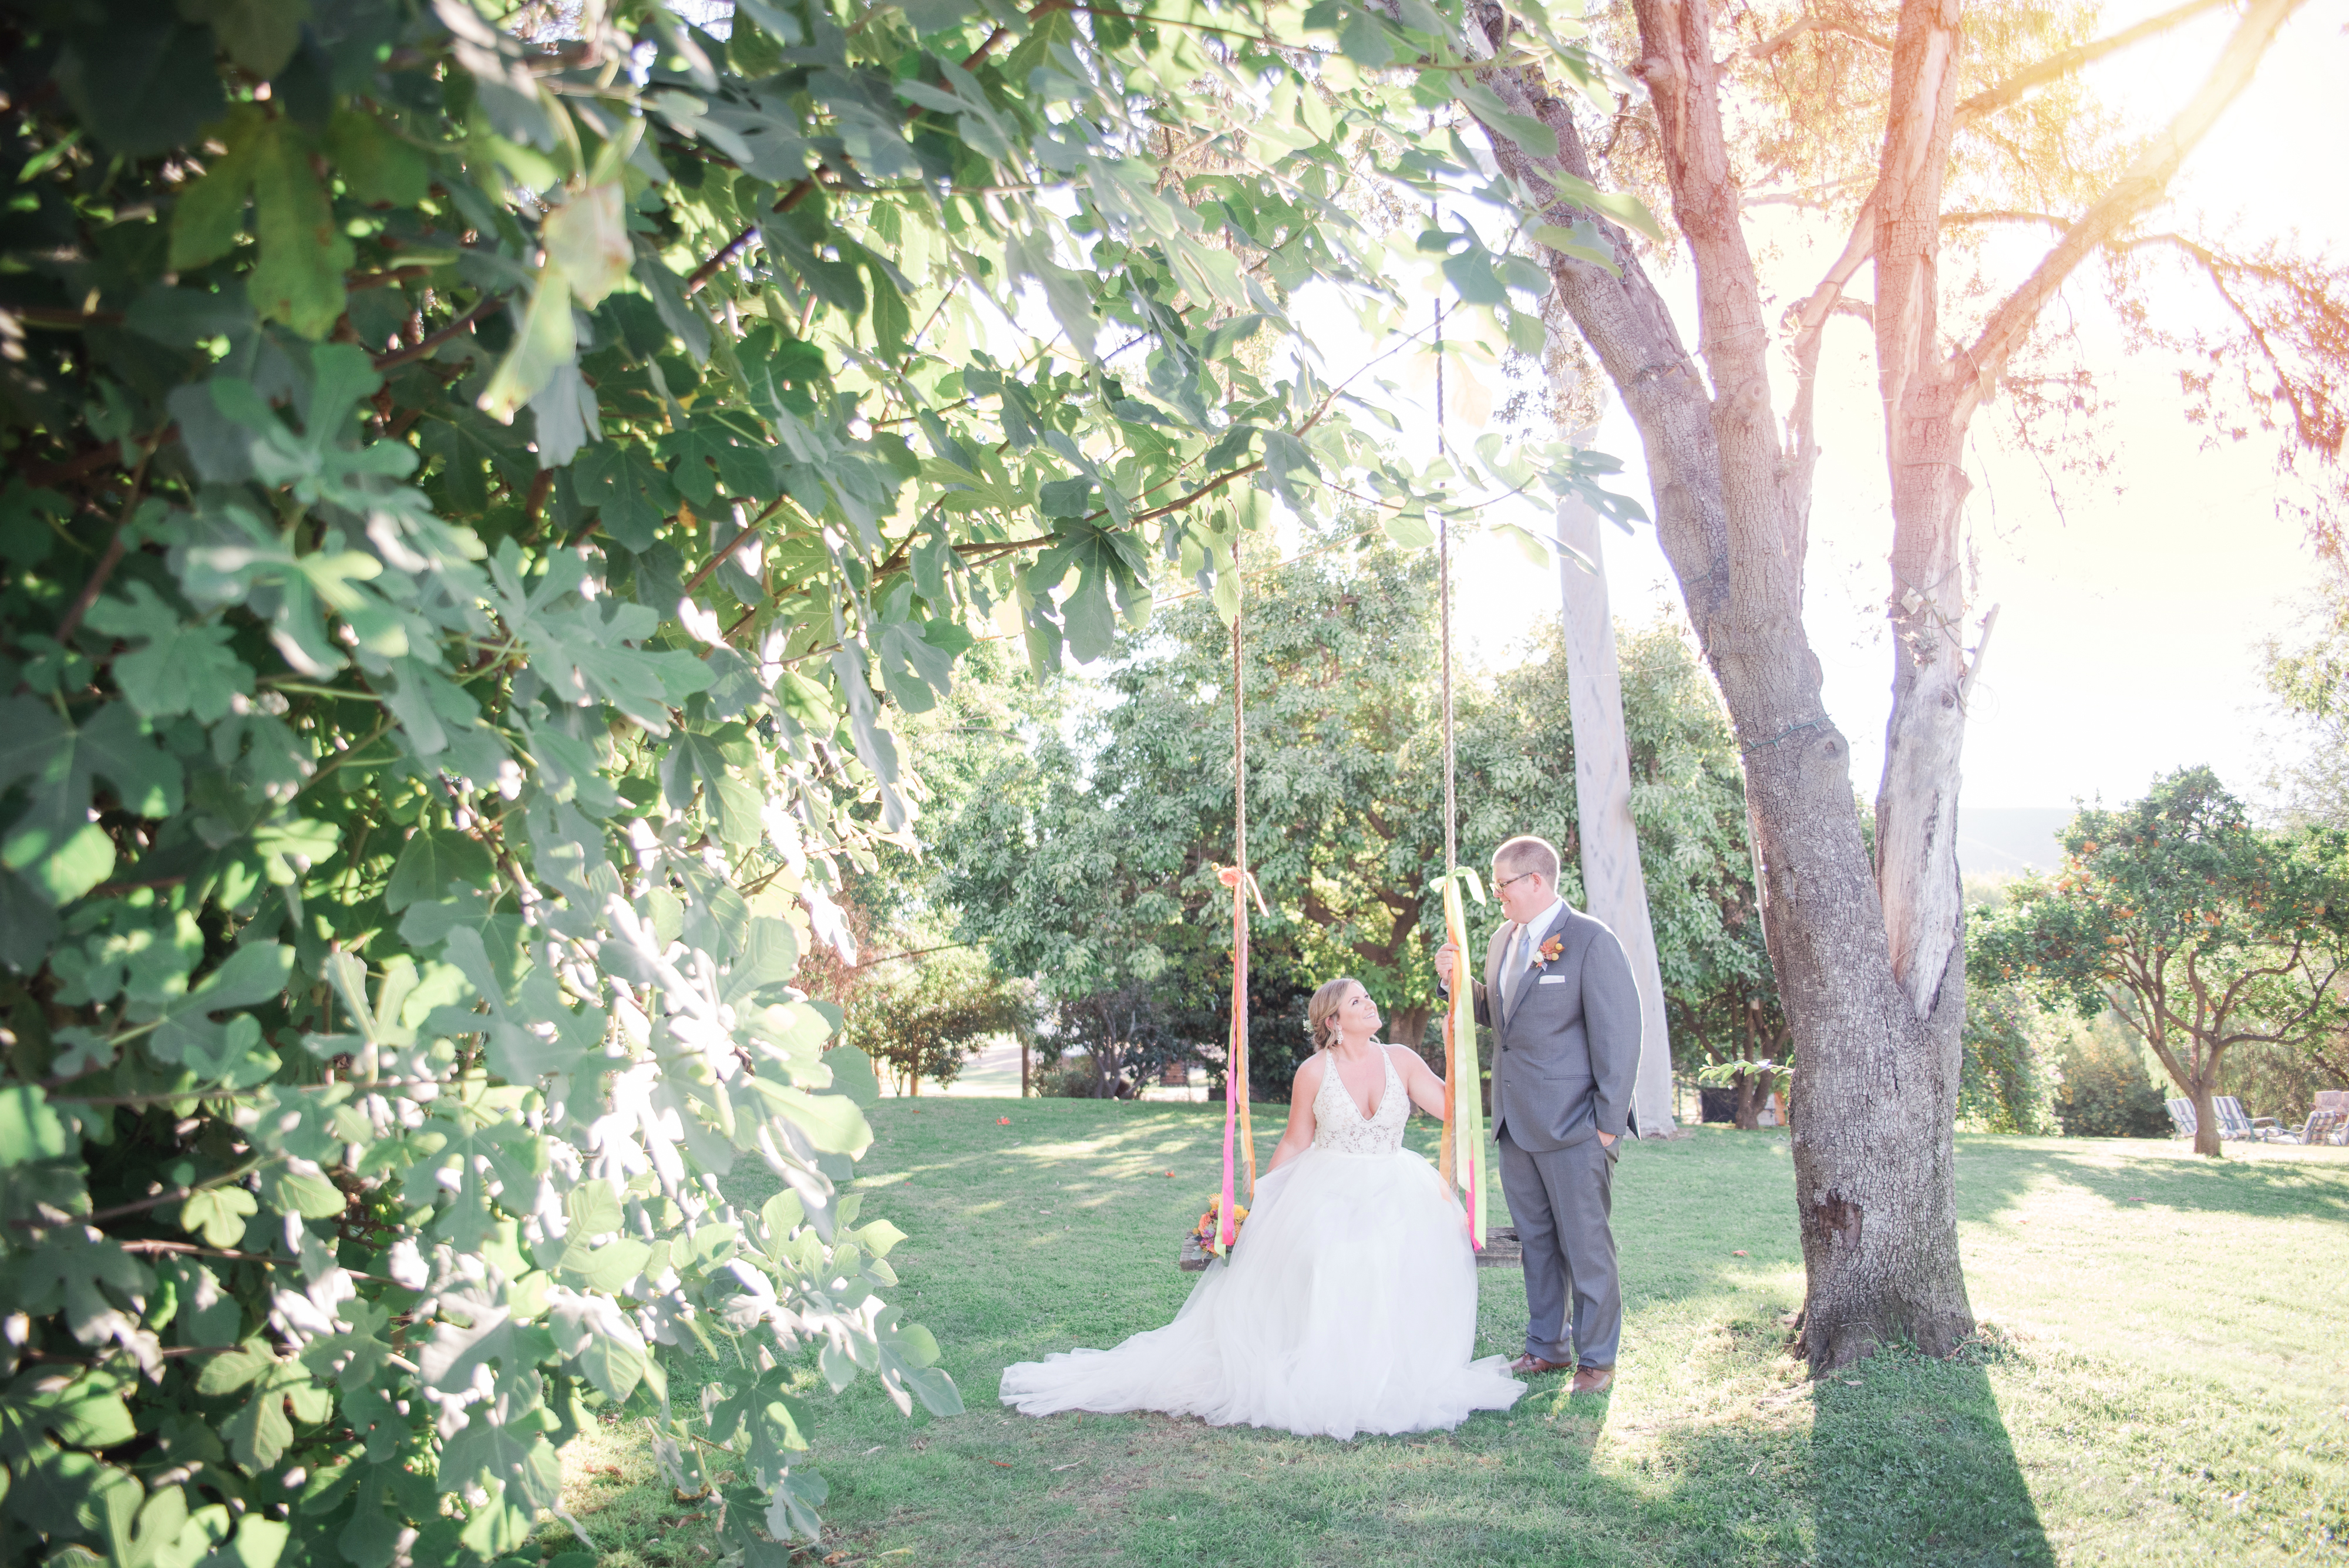
When shooting a session, I like to start 1.5-2 hours before the sun sets. I am always searching for spots that I can put my clients that have the light behind them and filtering through trees. This prevents glare. If you are shooting straight into the sun you are going to get hazy images that don’t pop. The shots below were all taken at golden hour with the sun filtering through the trees.
Preventing Haze
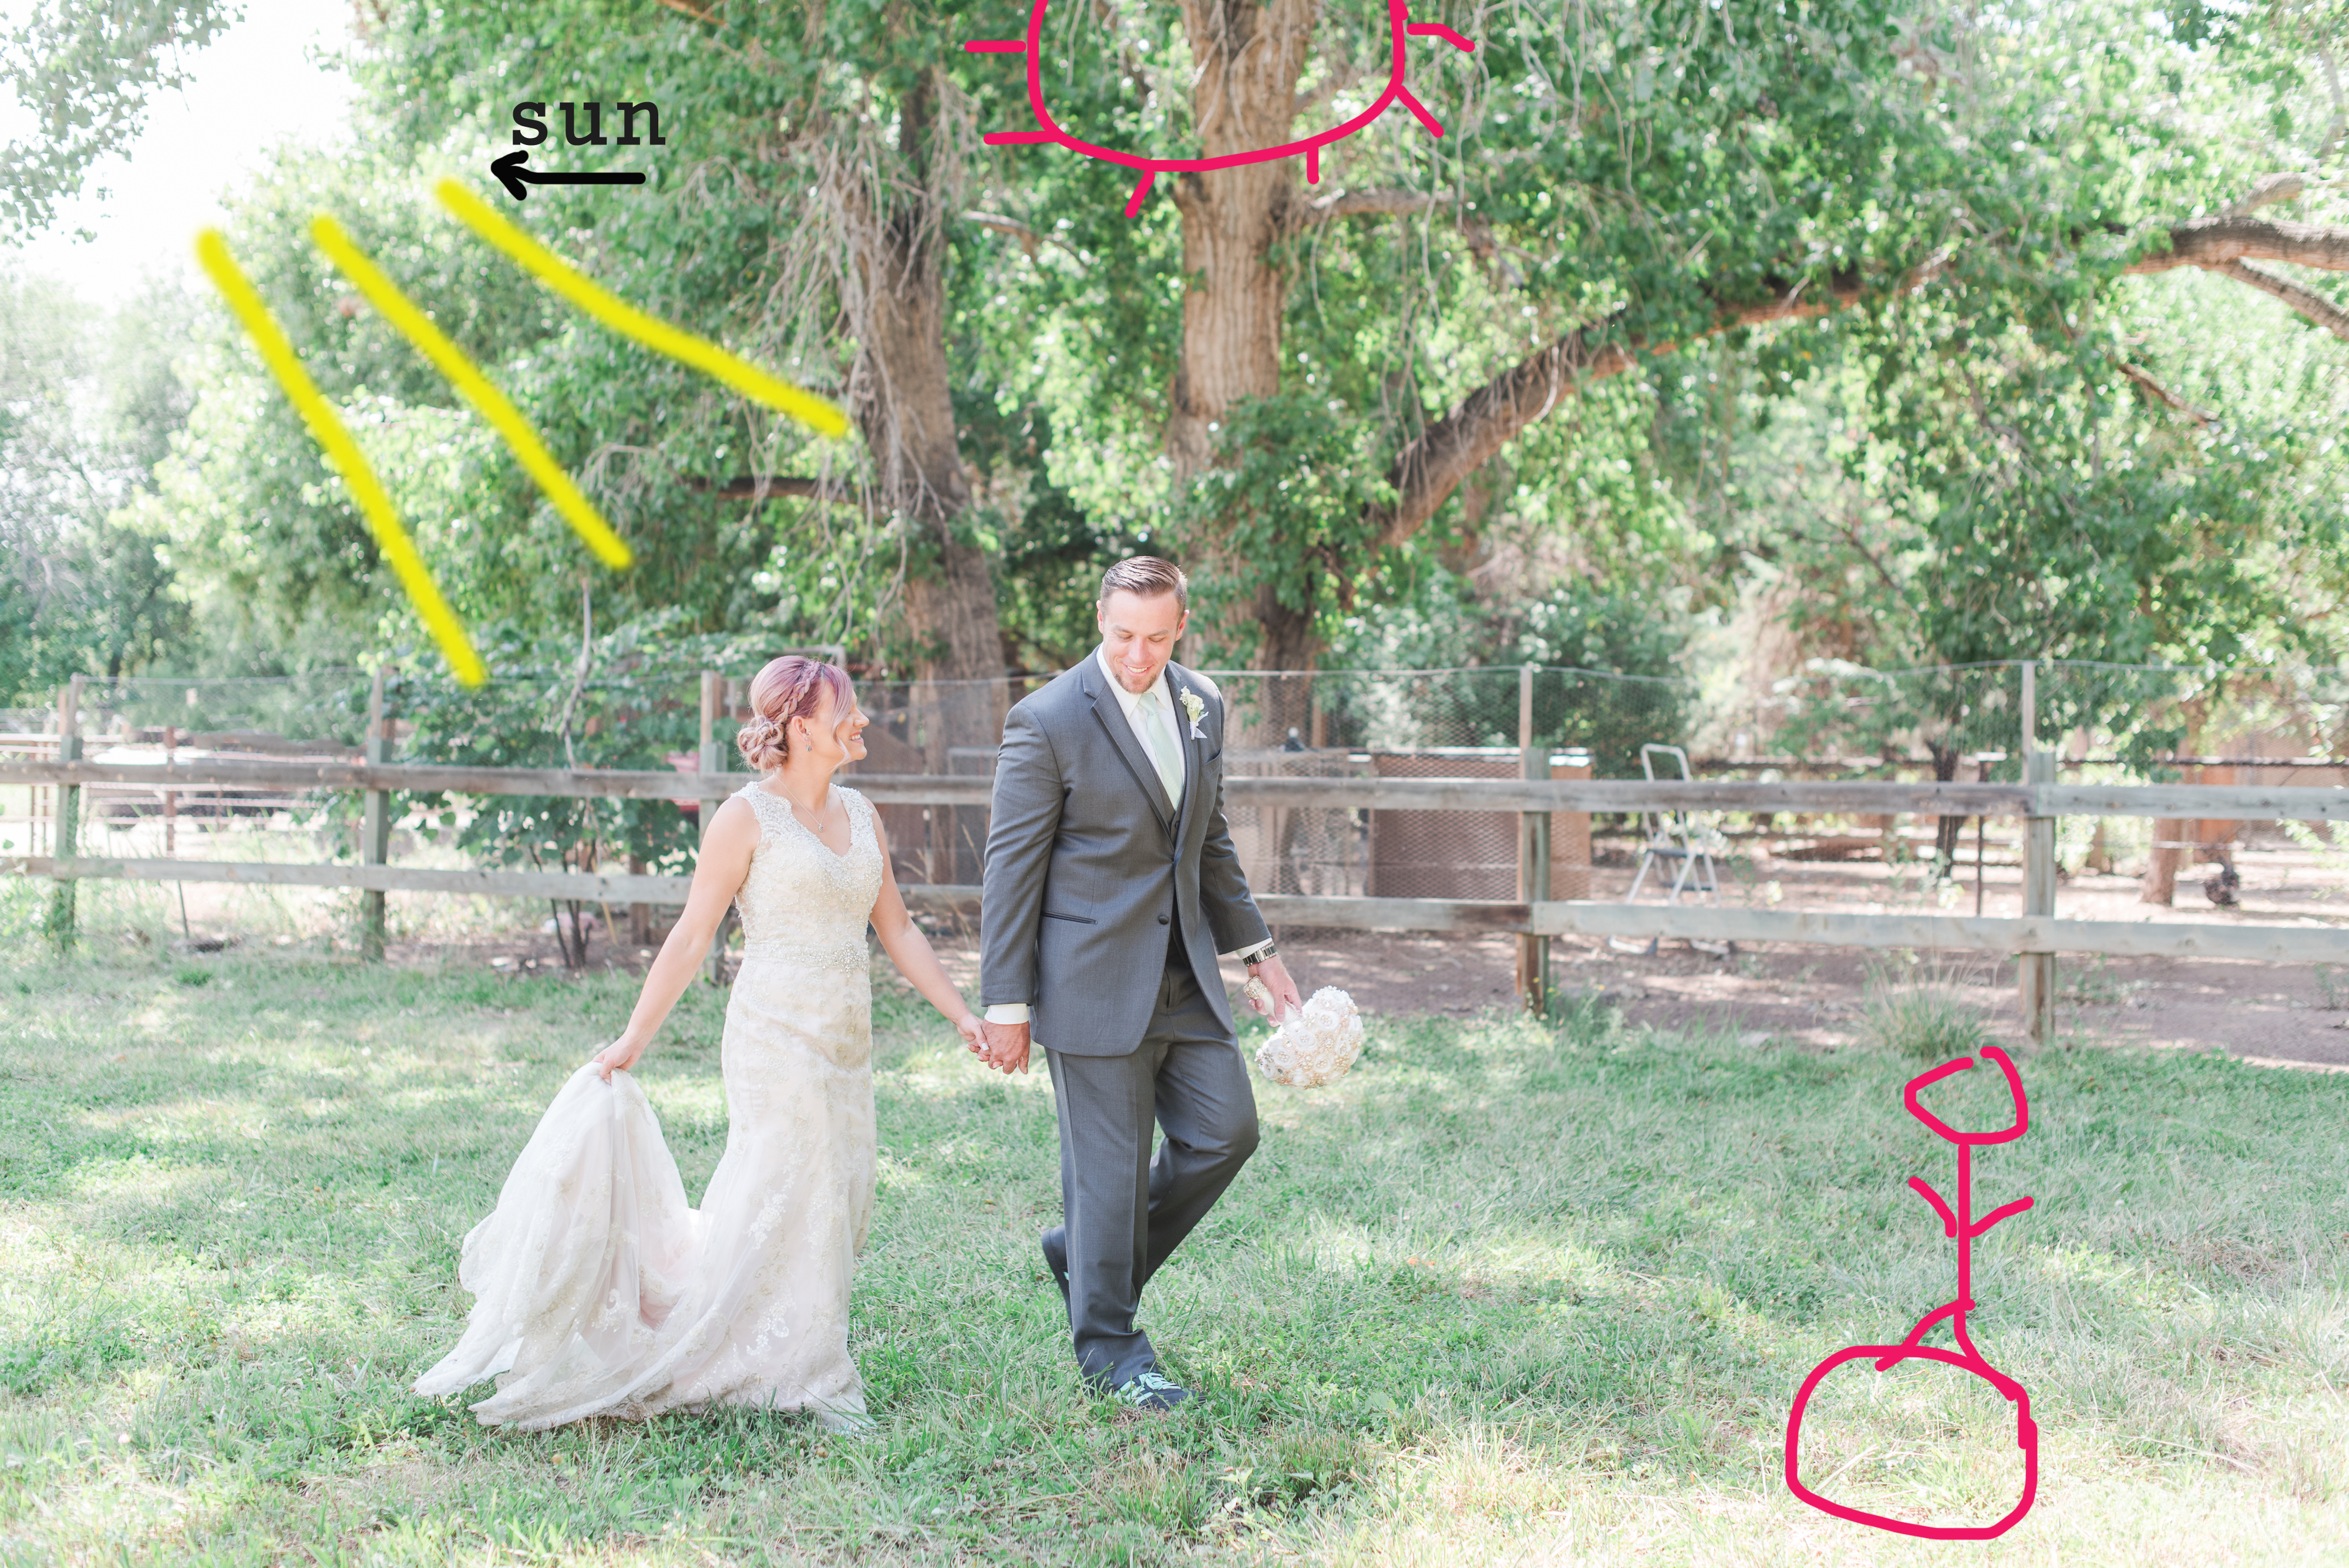
If you don’t have a tree branch, or something to block your camera from the sun hitting your lens, angle your couple or yourself slightly so the sun isn’t hitting you directly, but is still behind them. The shot below was taken at 2:30 in the afternoon in August. So it was nowhere near close to sunset. If the sun was where I drew it in red, (higher in the sky as it was 2:30), or I was standing where I drew the little stick figure, this photo would not look how it looks. It would be hazy. Please excuse my horrible drawing skills. 🙂
Below is a shot taken at the same venue but a different angle. See how its hazy and orange? This is because the sun is hitting the camera lens. This doesn’t fit our style of clean crisp images.
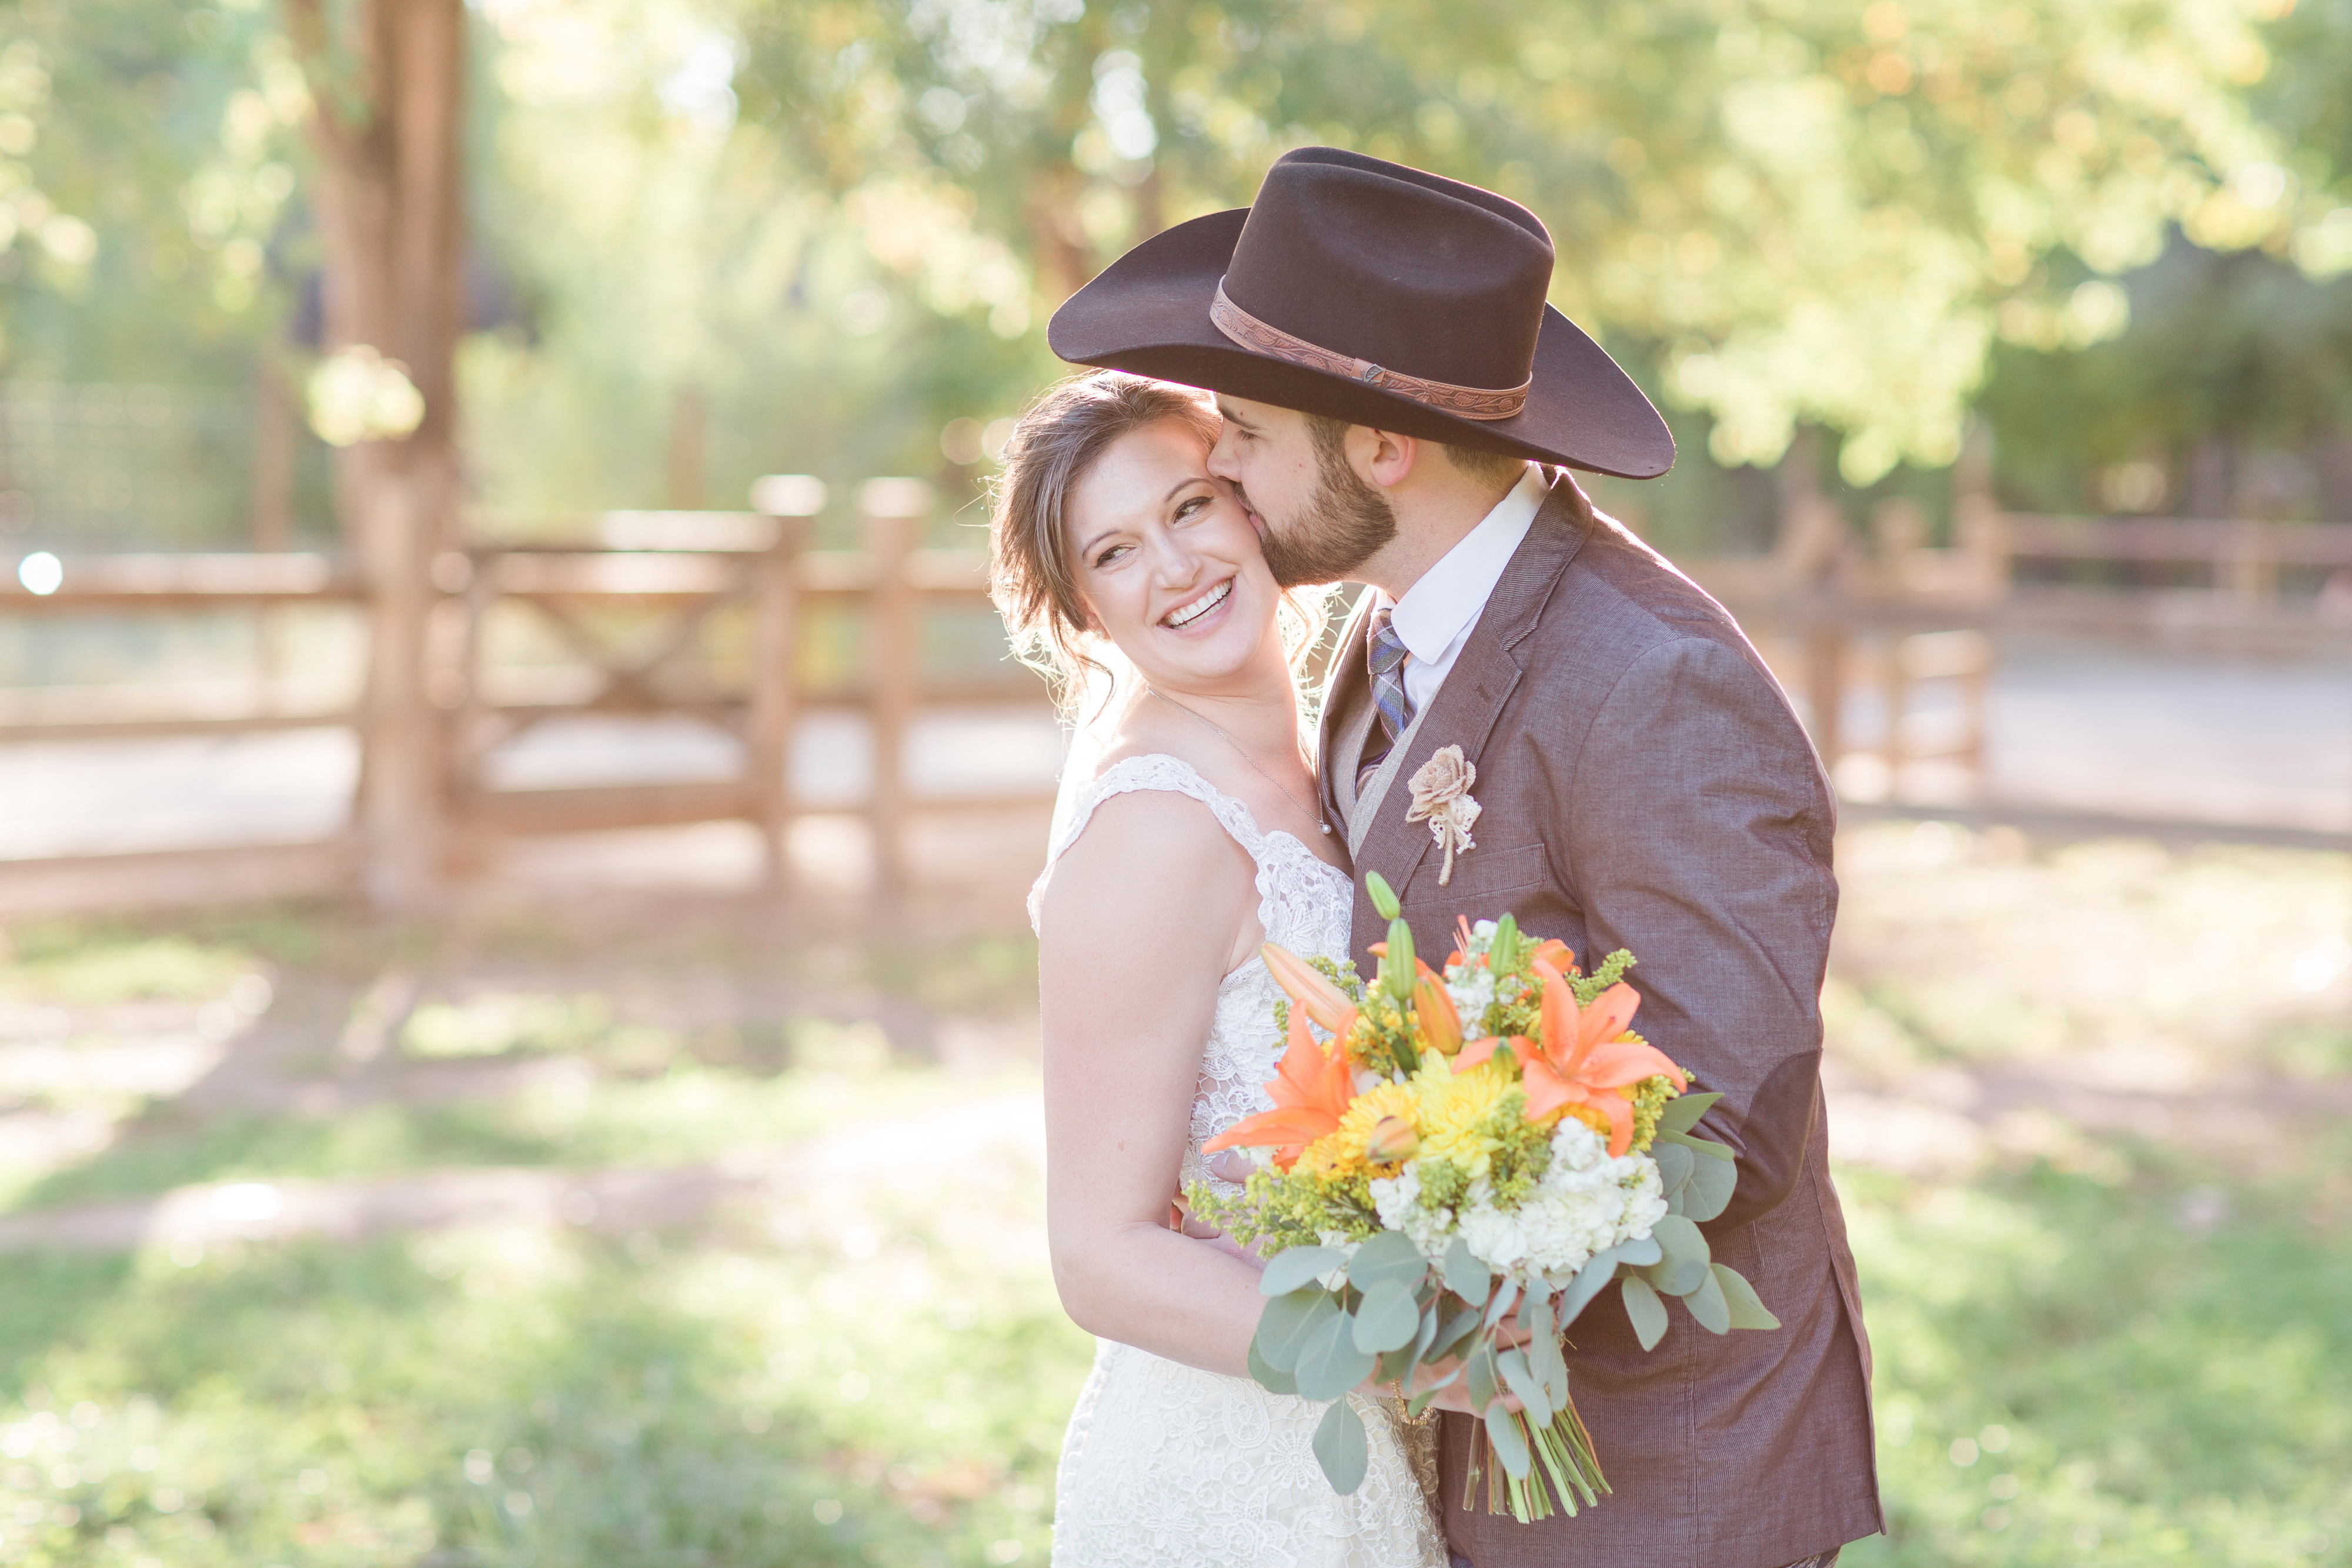
We readjusted where we were standing slightly and it resulted in the more vibrant photo below.
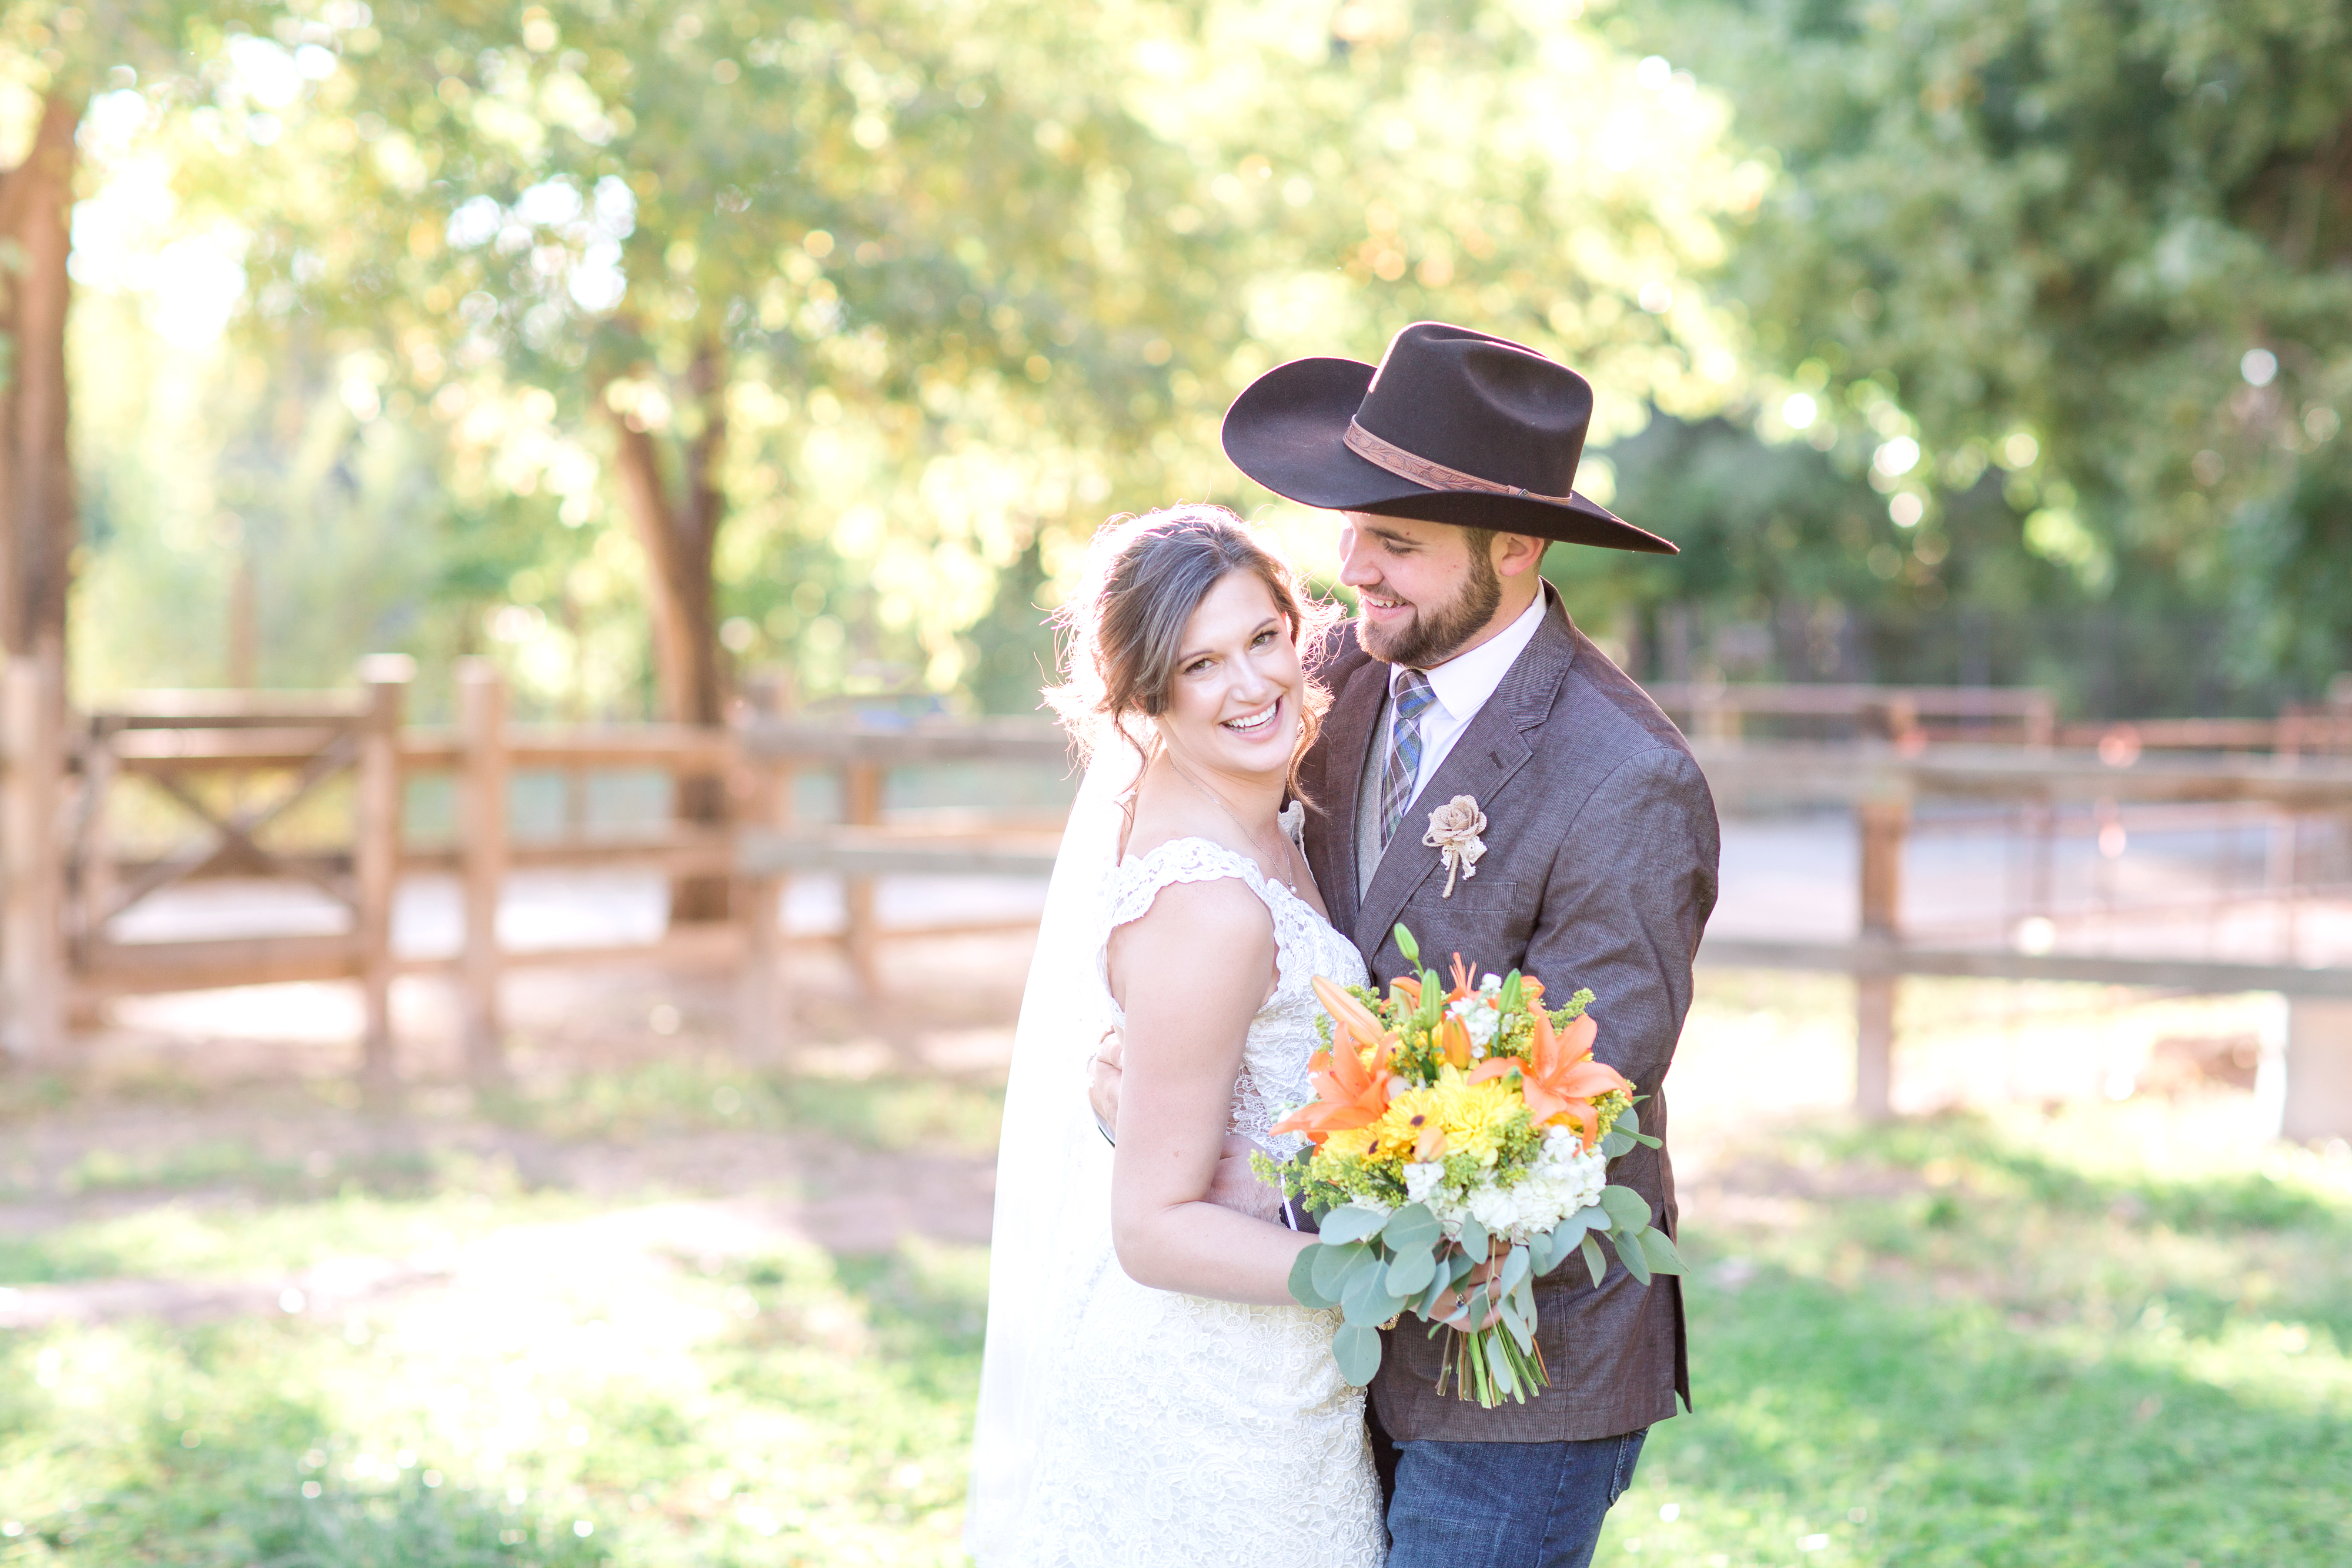
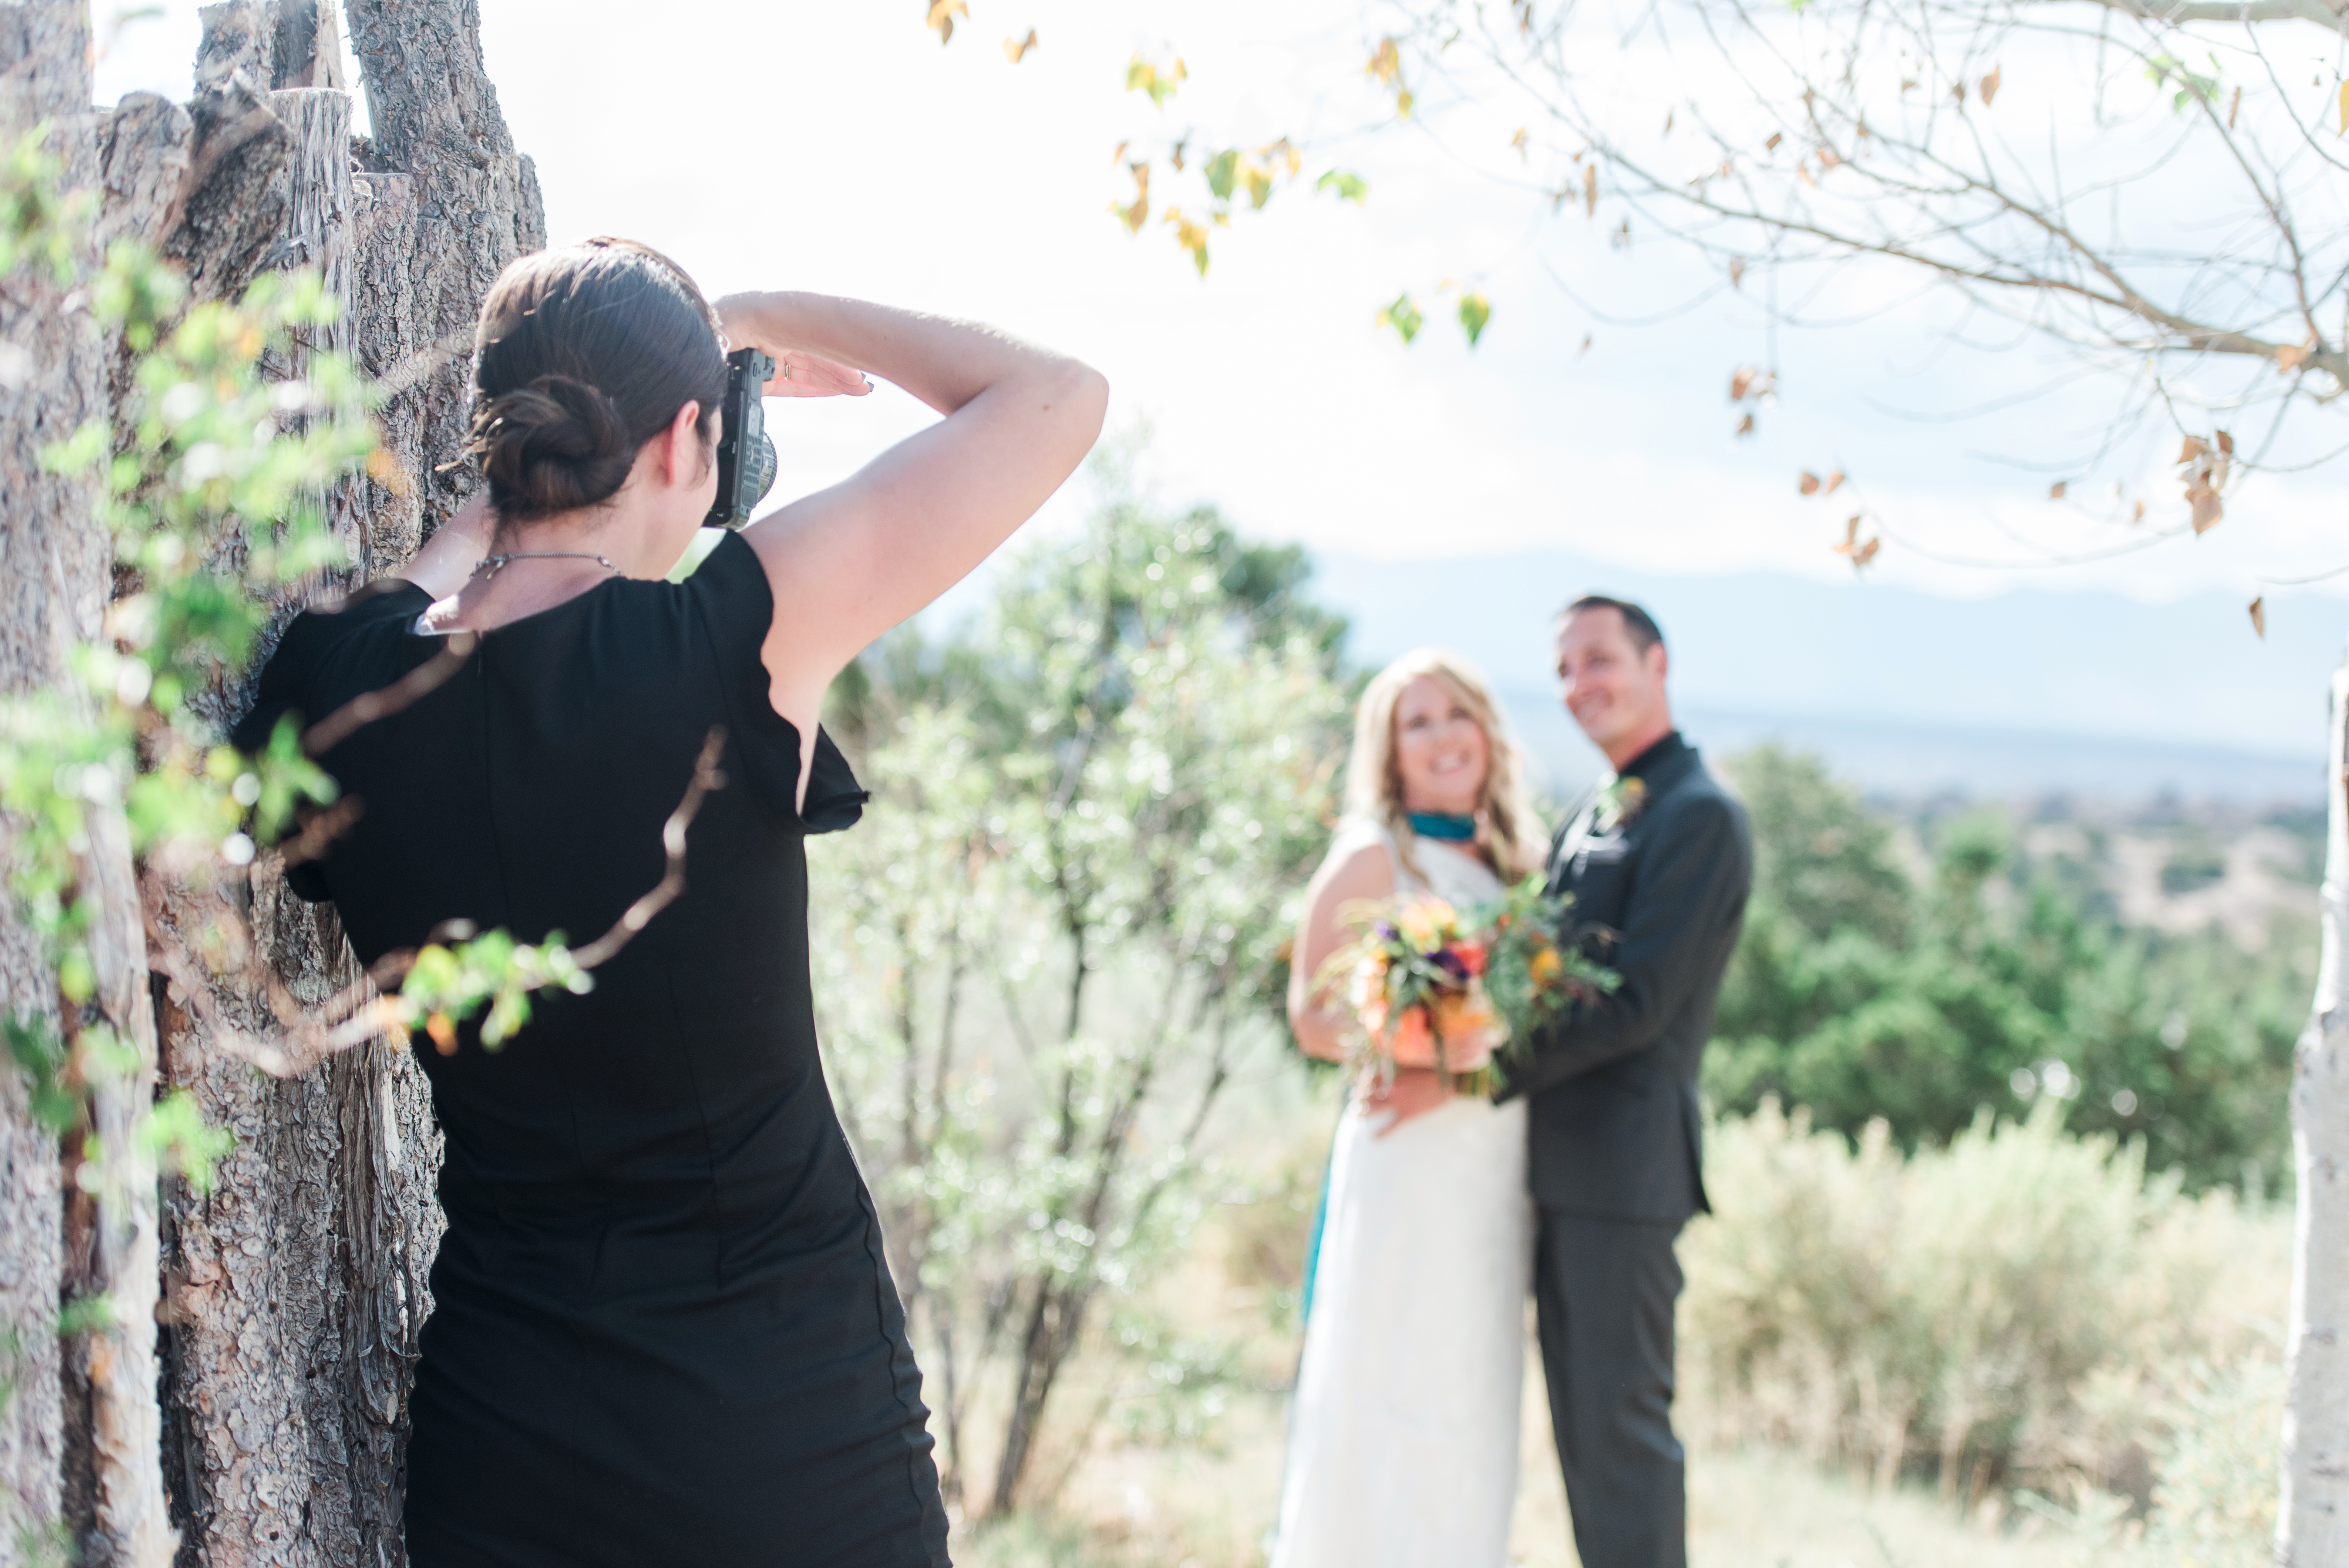
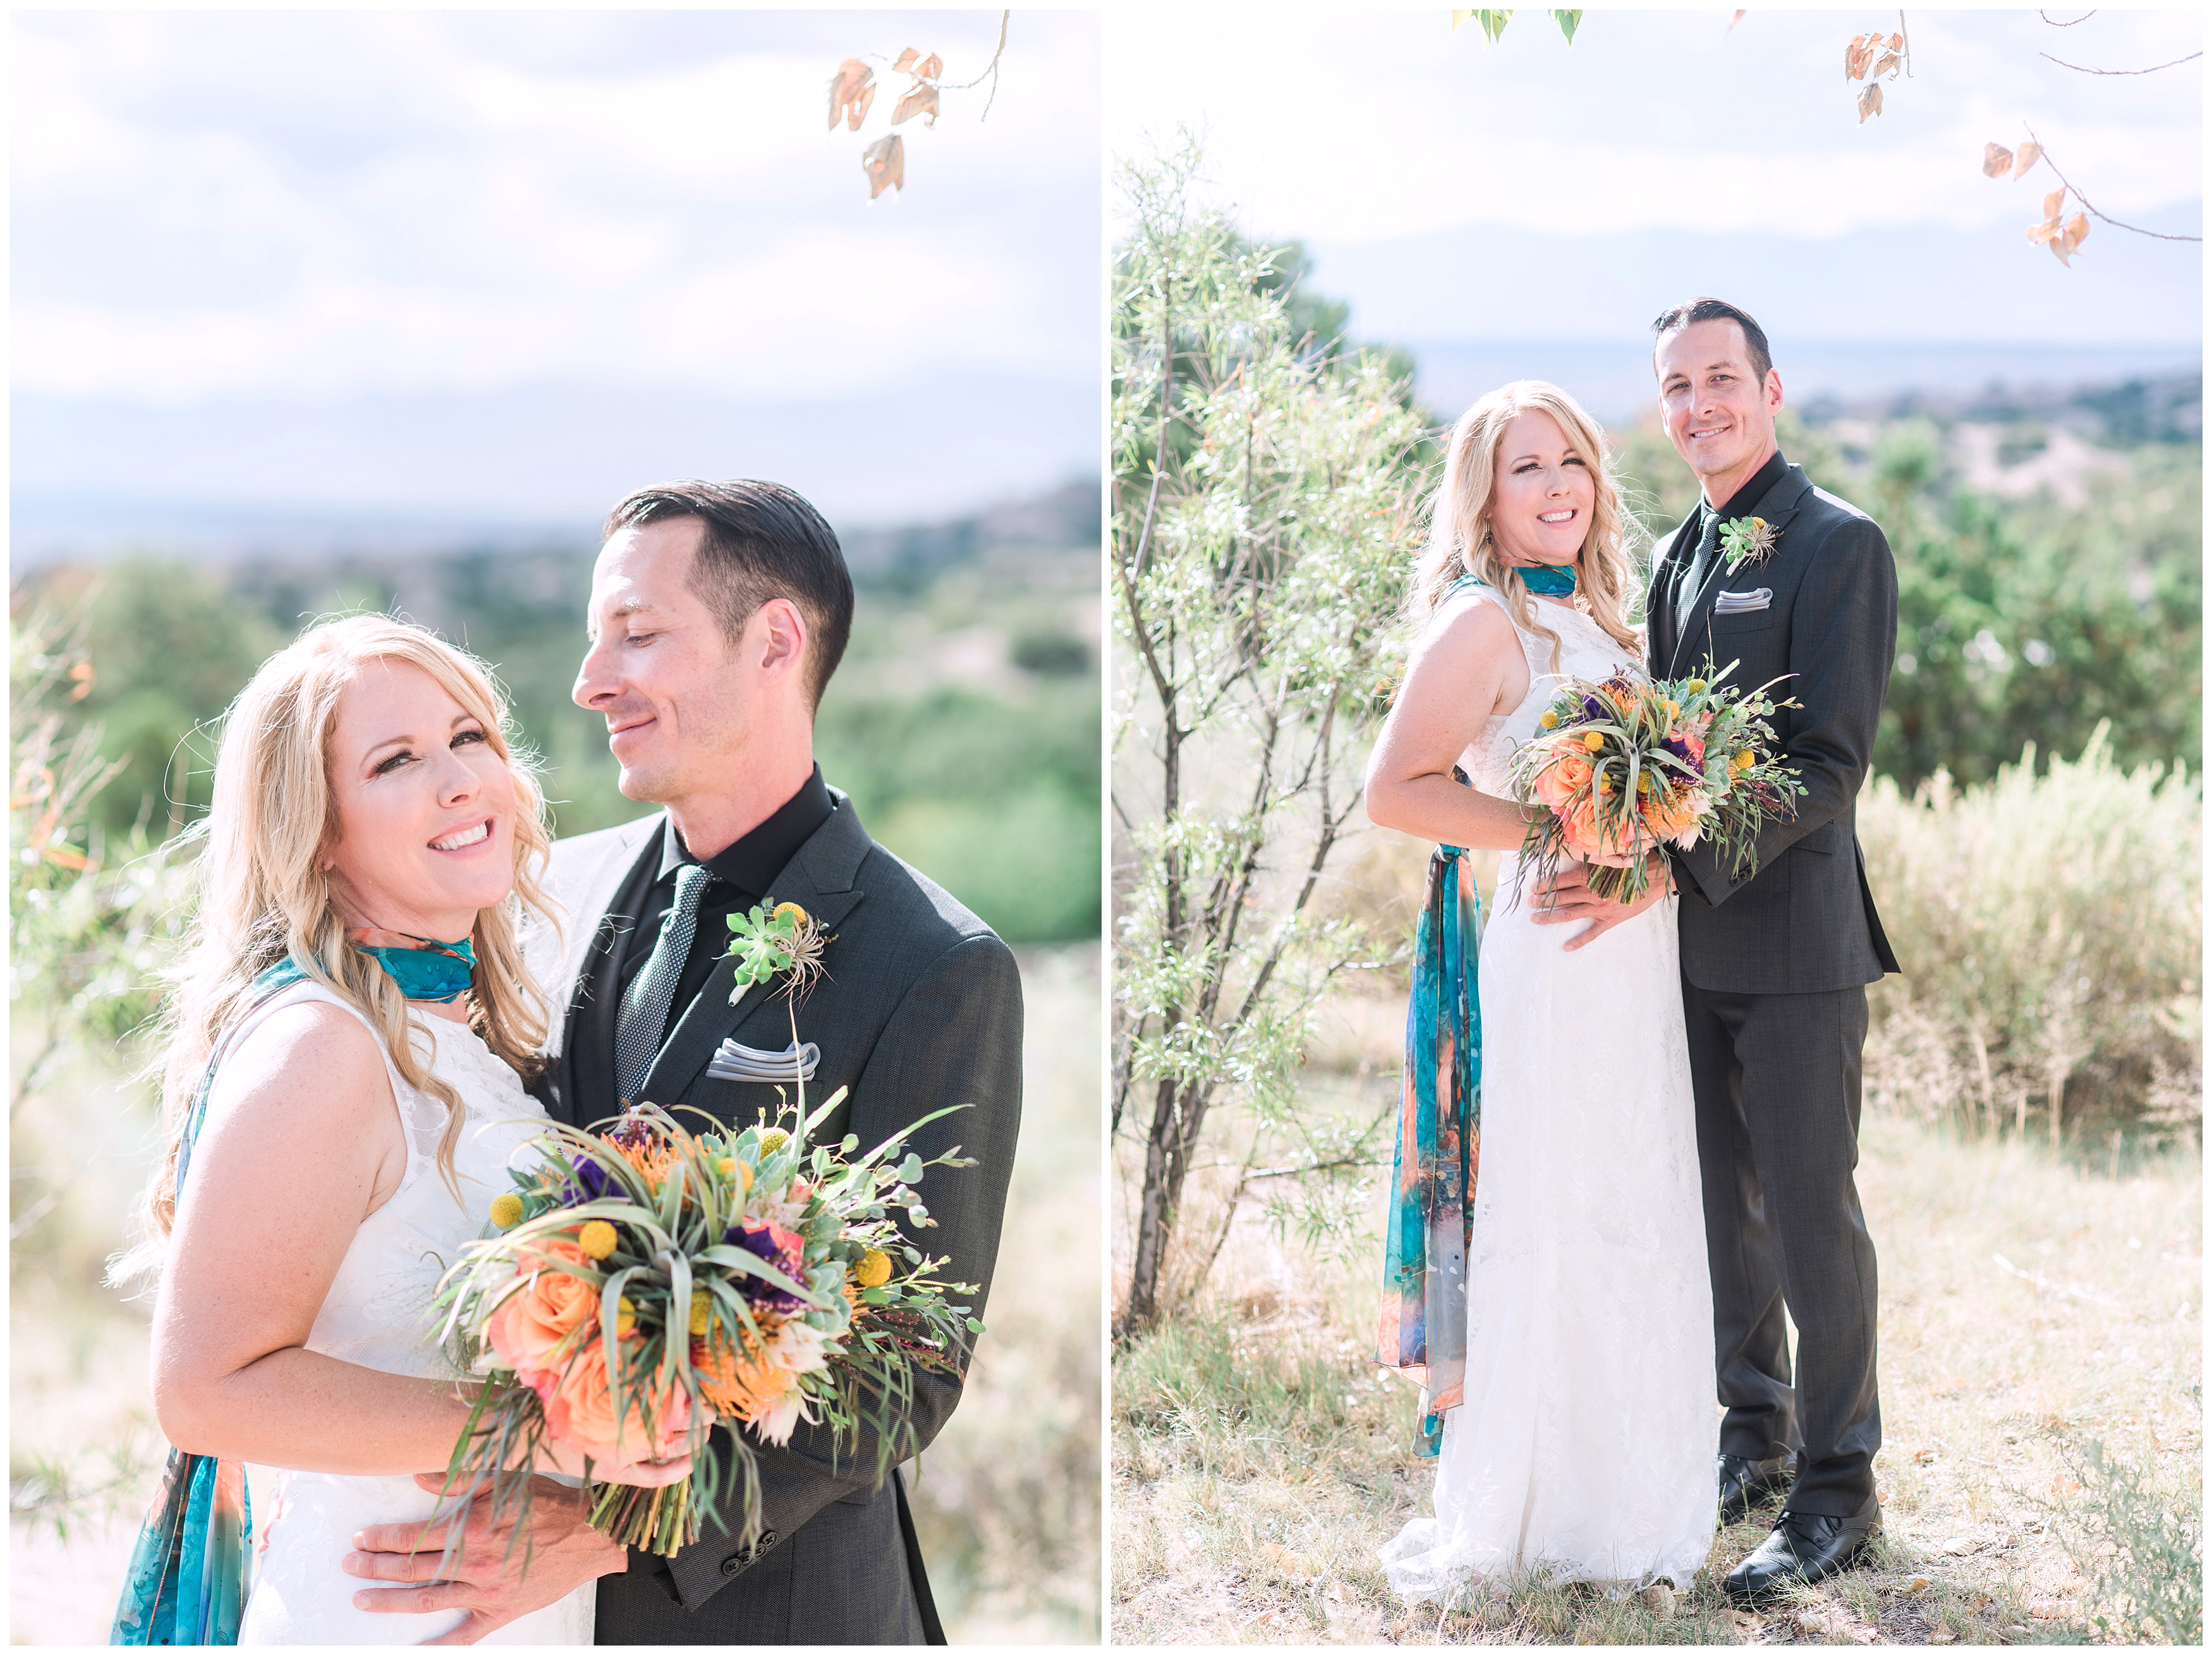
Below is me using a fence to block the sun from my lens. Notice that the sun isn’t directly behind the couple, its coming from the left. They are still backlit, but I am avoiding haze.
The result:
Shooting at Noon
When shooting a wedding, you don’t always have that luxury of taking photos at sunset. You are sometimes shooting at 12:00 or 1:00, during the worst part of day! So how do I keep my images looking consistent and give my clients the photos they expect? I have studied light and know how it reflects and know how to find the perfect spot to put my clients so that I get the results I want.
The idea is to again keep your clients back to the sun and find shade.
-You want the background that is behind them to also be in the shade.
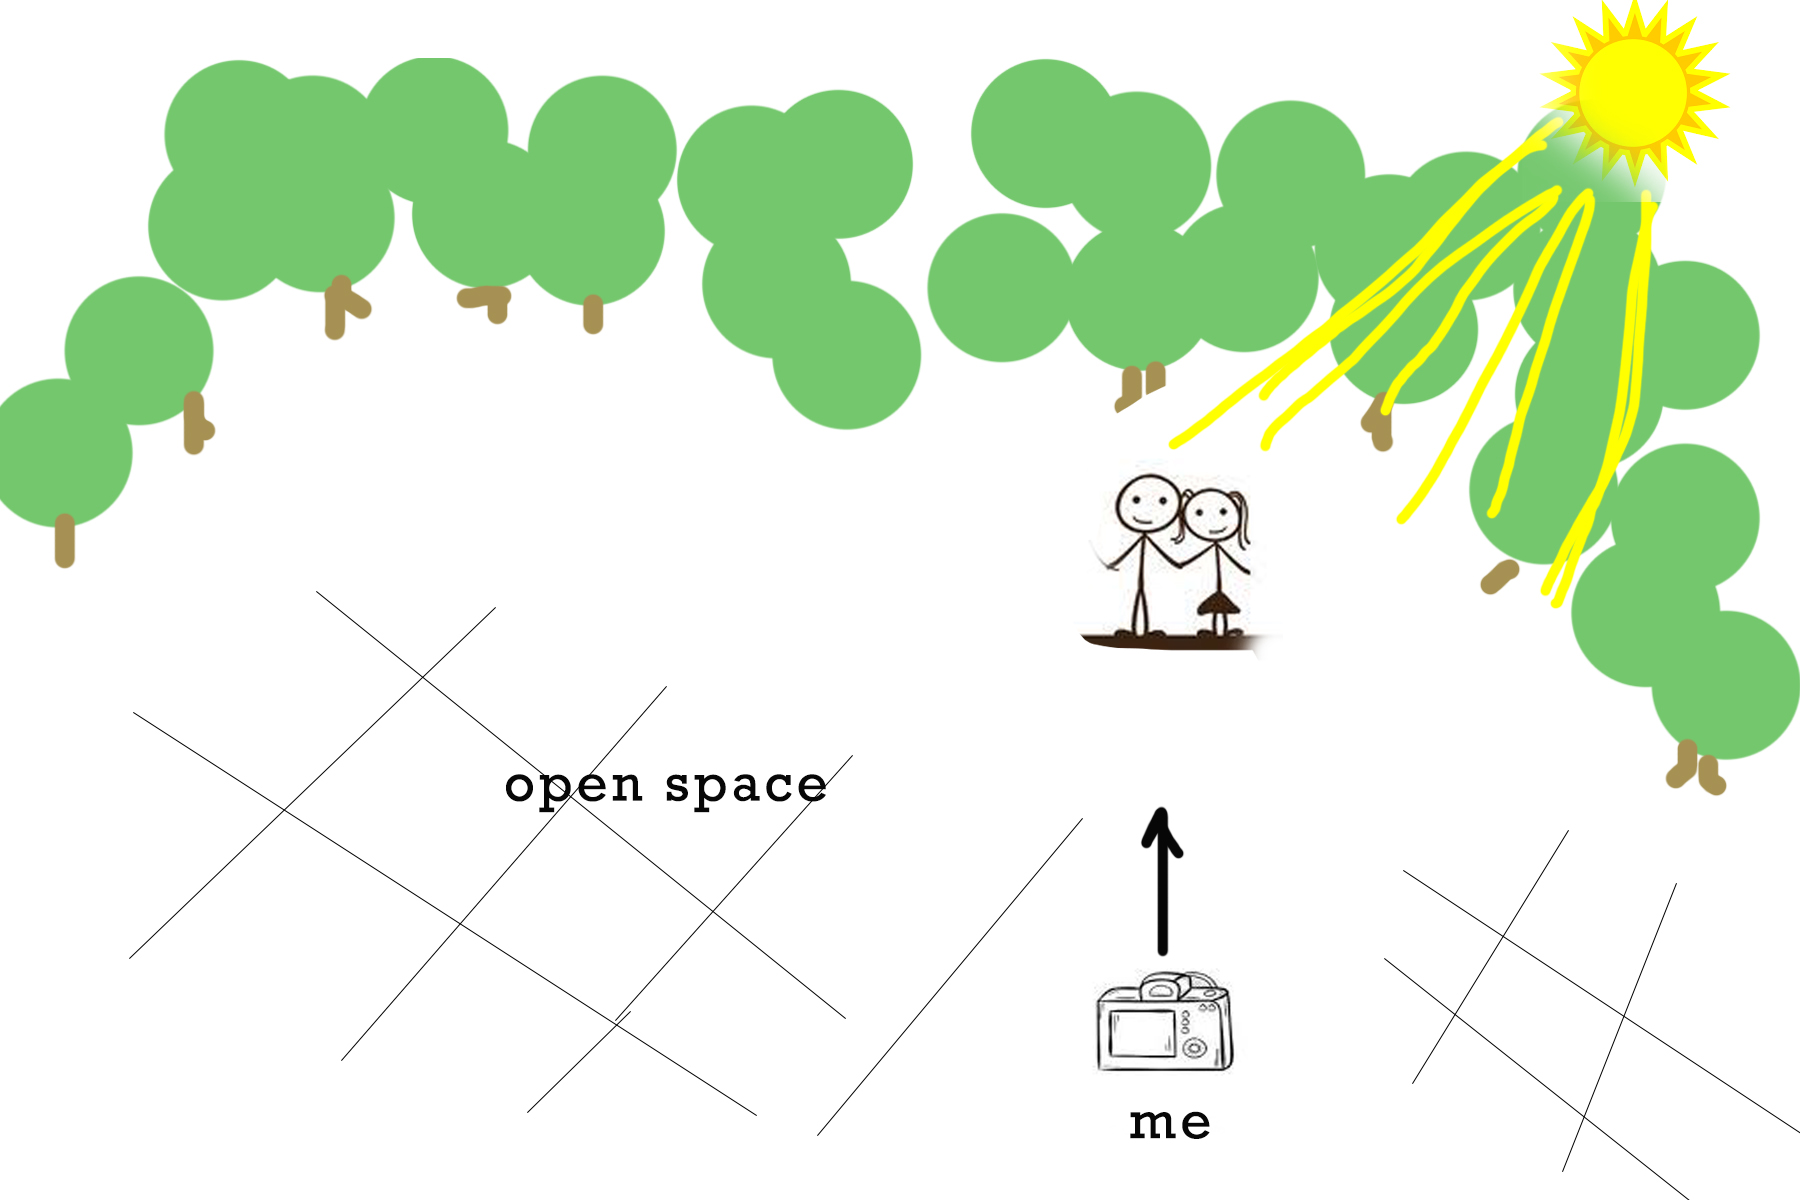
-Most importantly you want what is in front of them to be an open space. The worse thing you can do for your photos is put them in front of an adobe wall. hello red and orange skin!
-You also want to put them on the edge of the shaded area. Don’t put them under a ton of trees, this will result in green skin. Sun reflects. So if there is something in front of your subject that isn’t an open area or a white wall, whatever color that item is, the sun will bounce off it and back on to your clients skin.
Here is a gorgeous diagram I drew of the ideal situation to try and find to take all your portraits. Let’s all take a moment to appreciate my fine art skills. haha
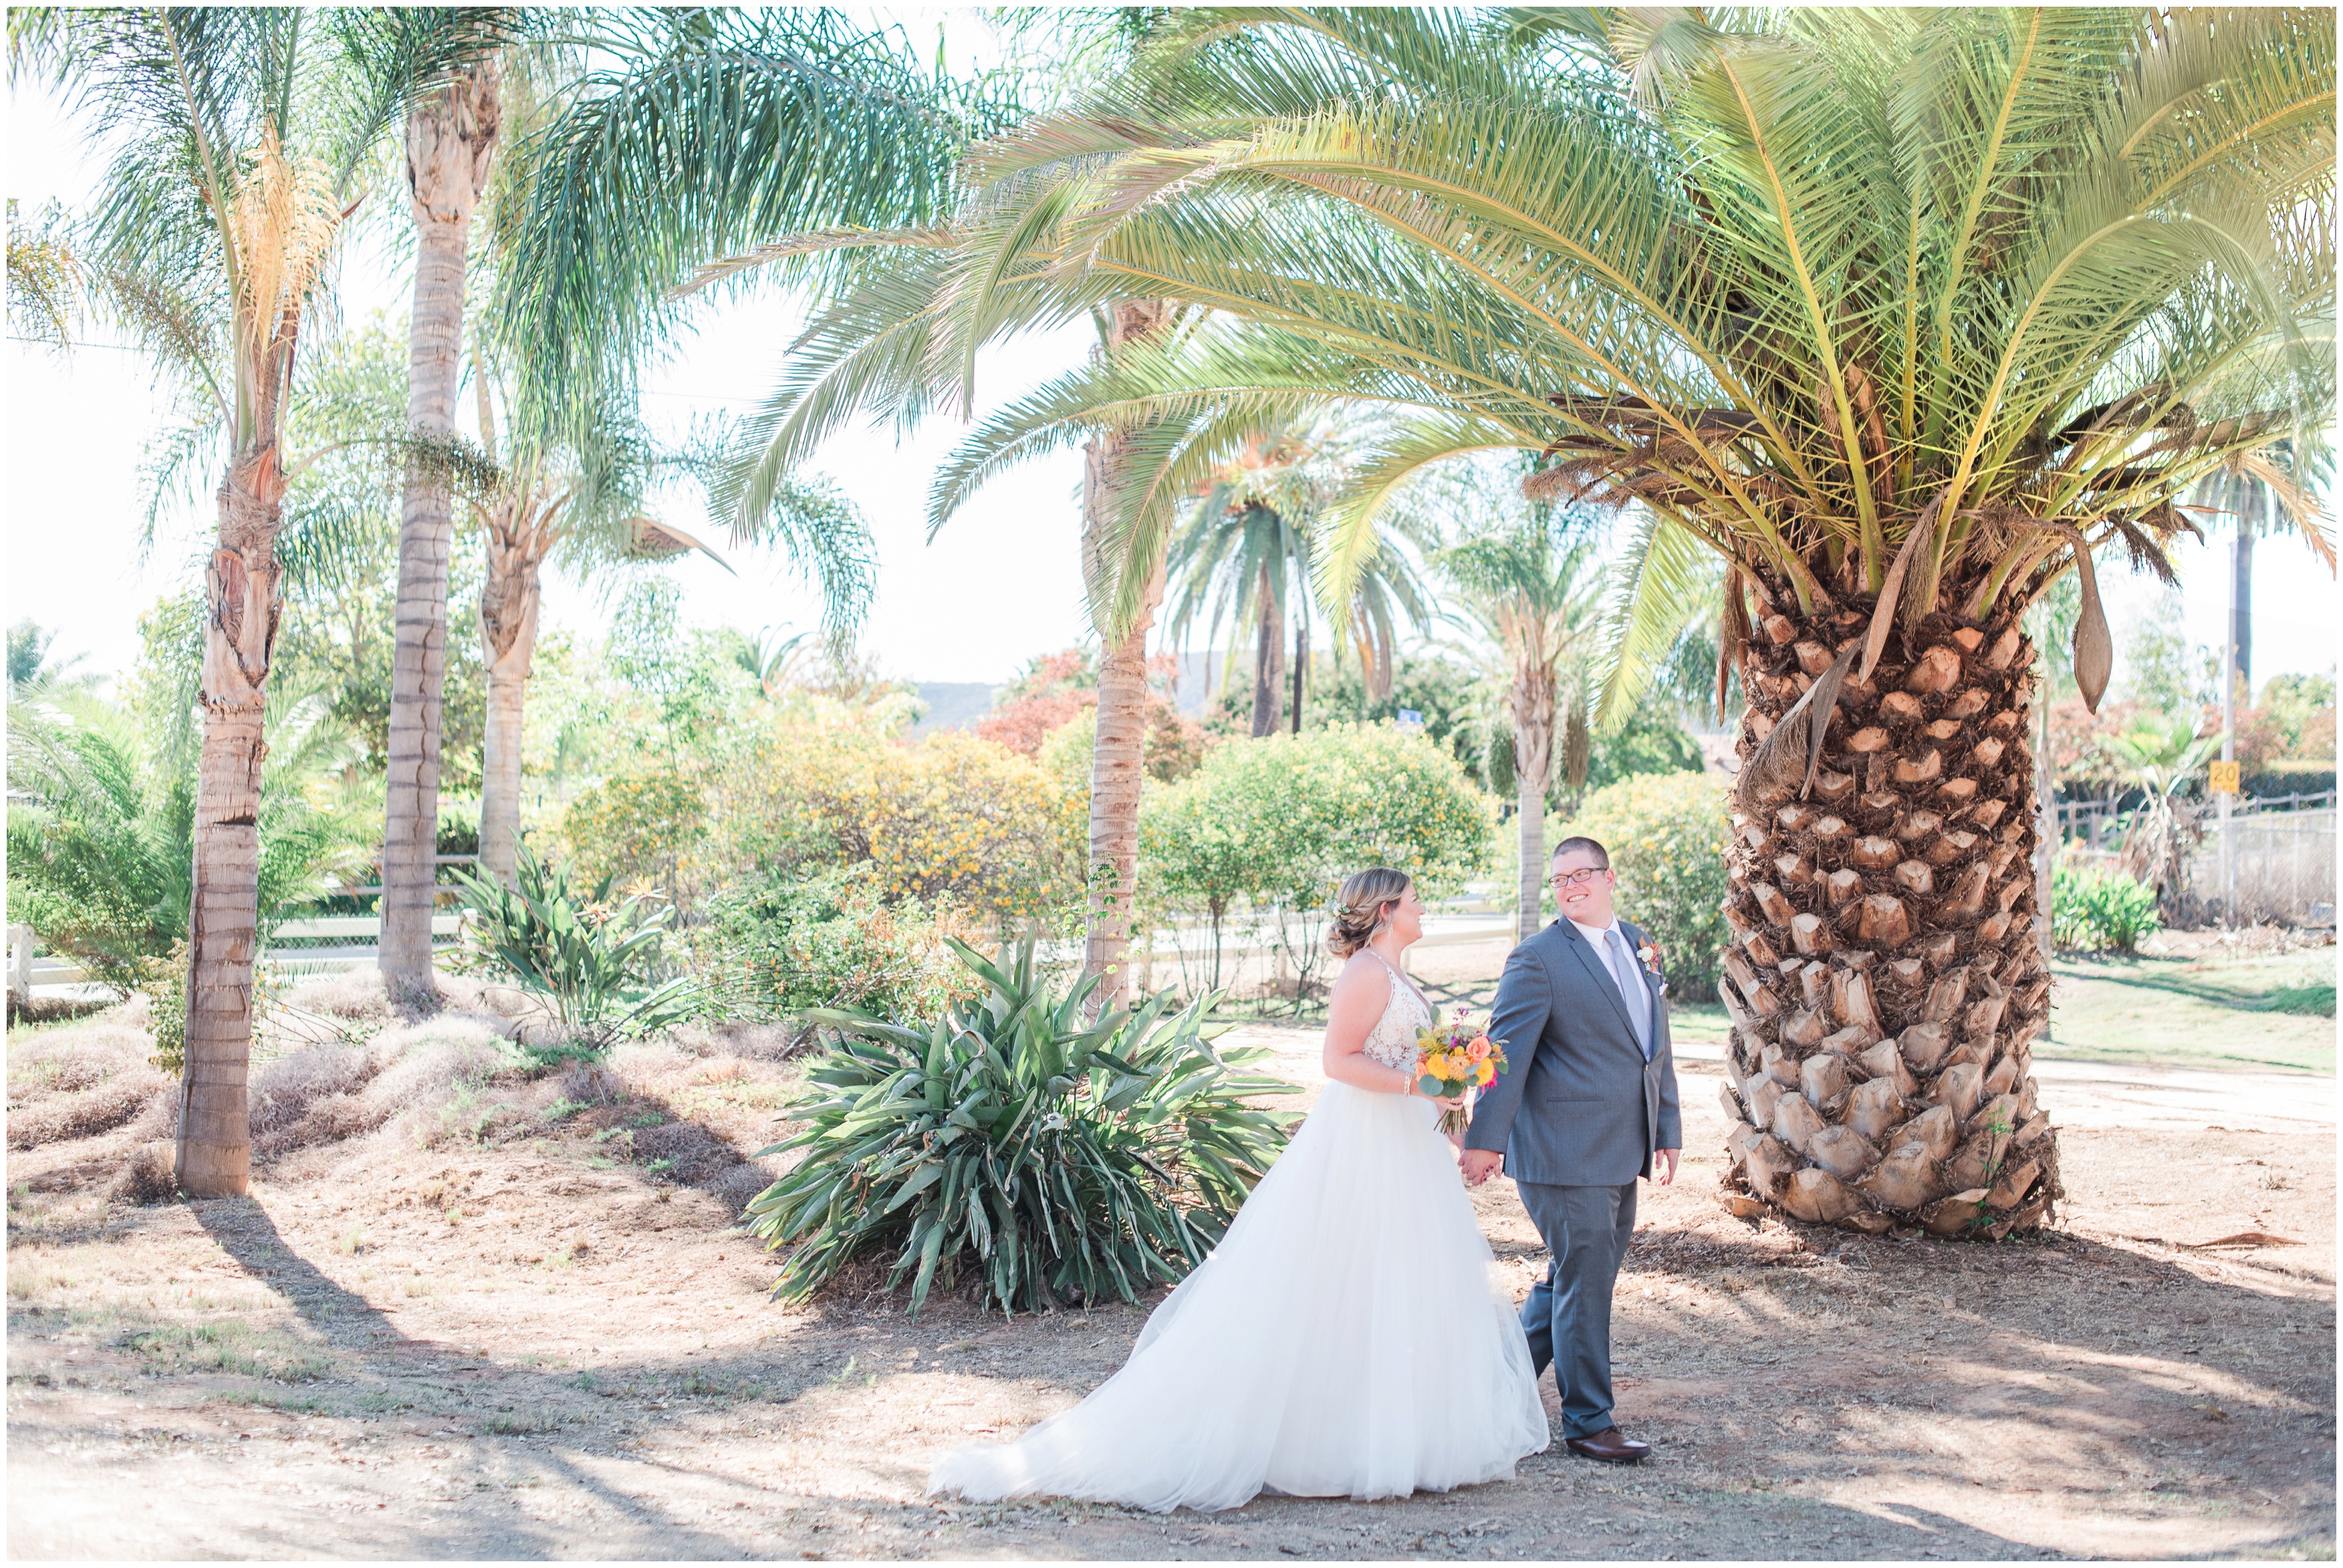
The photo below was taken at 2:00pm there is a large gravel parking lot behind me.
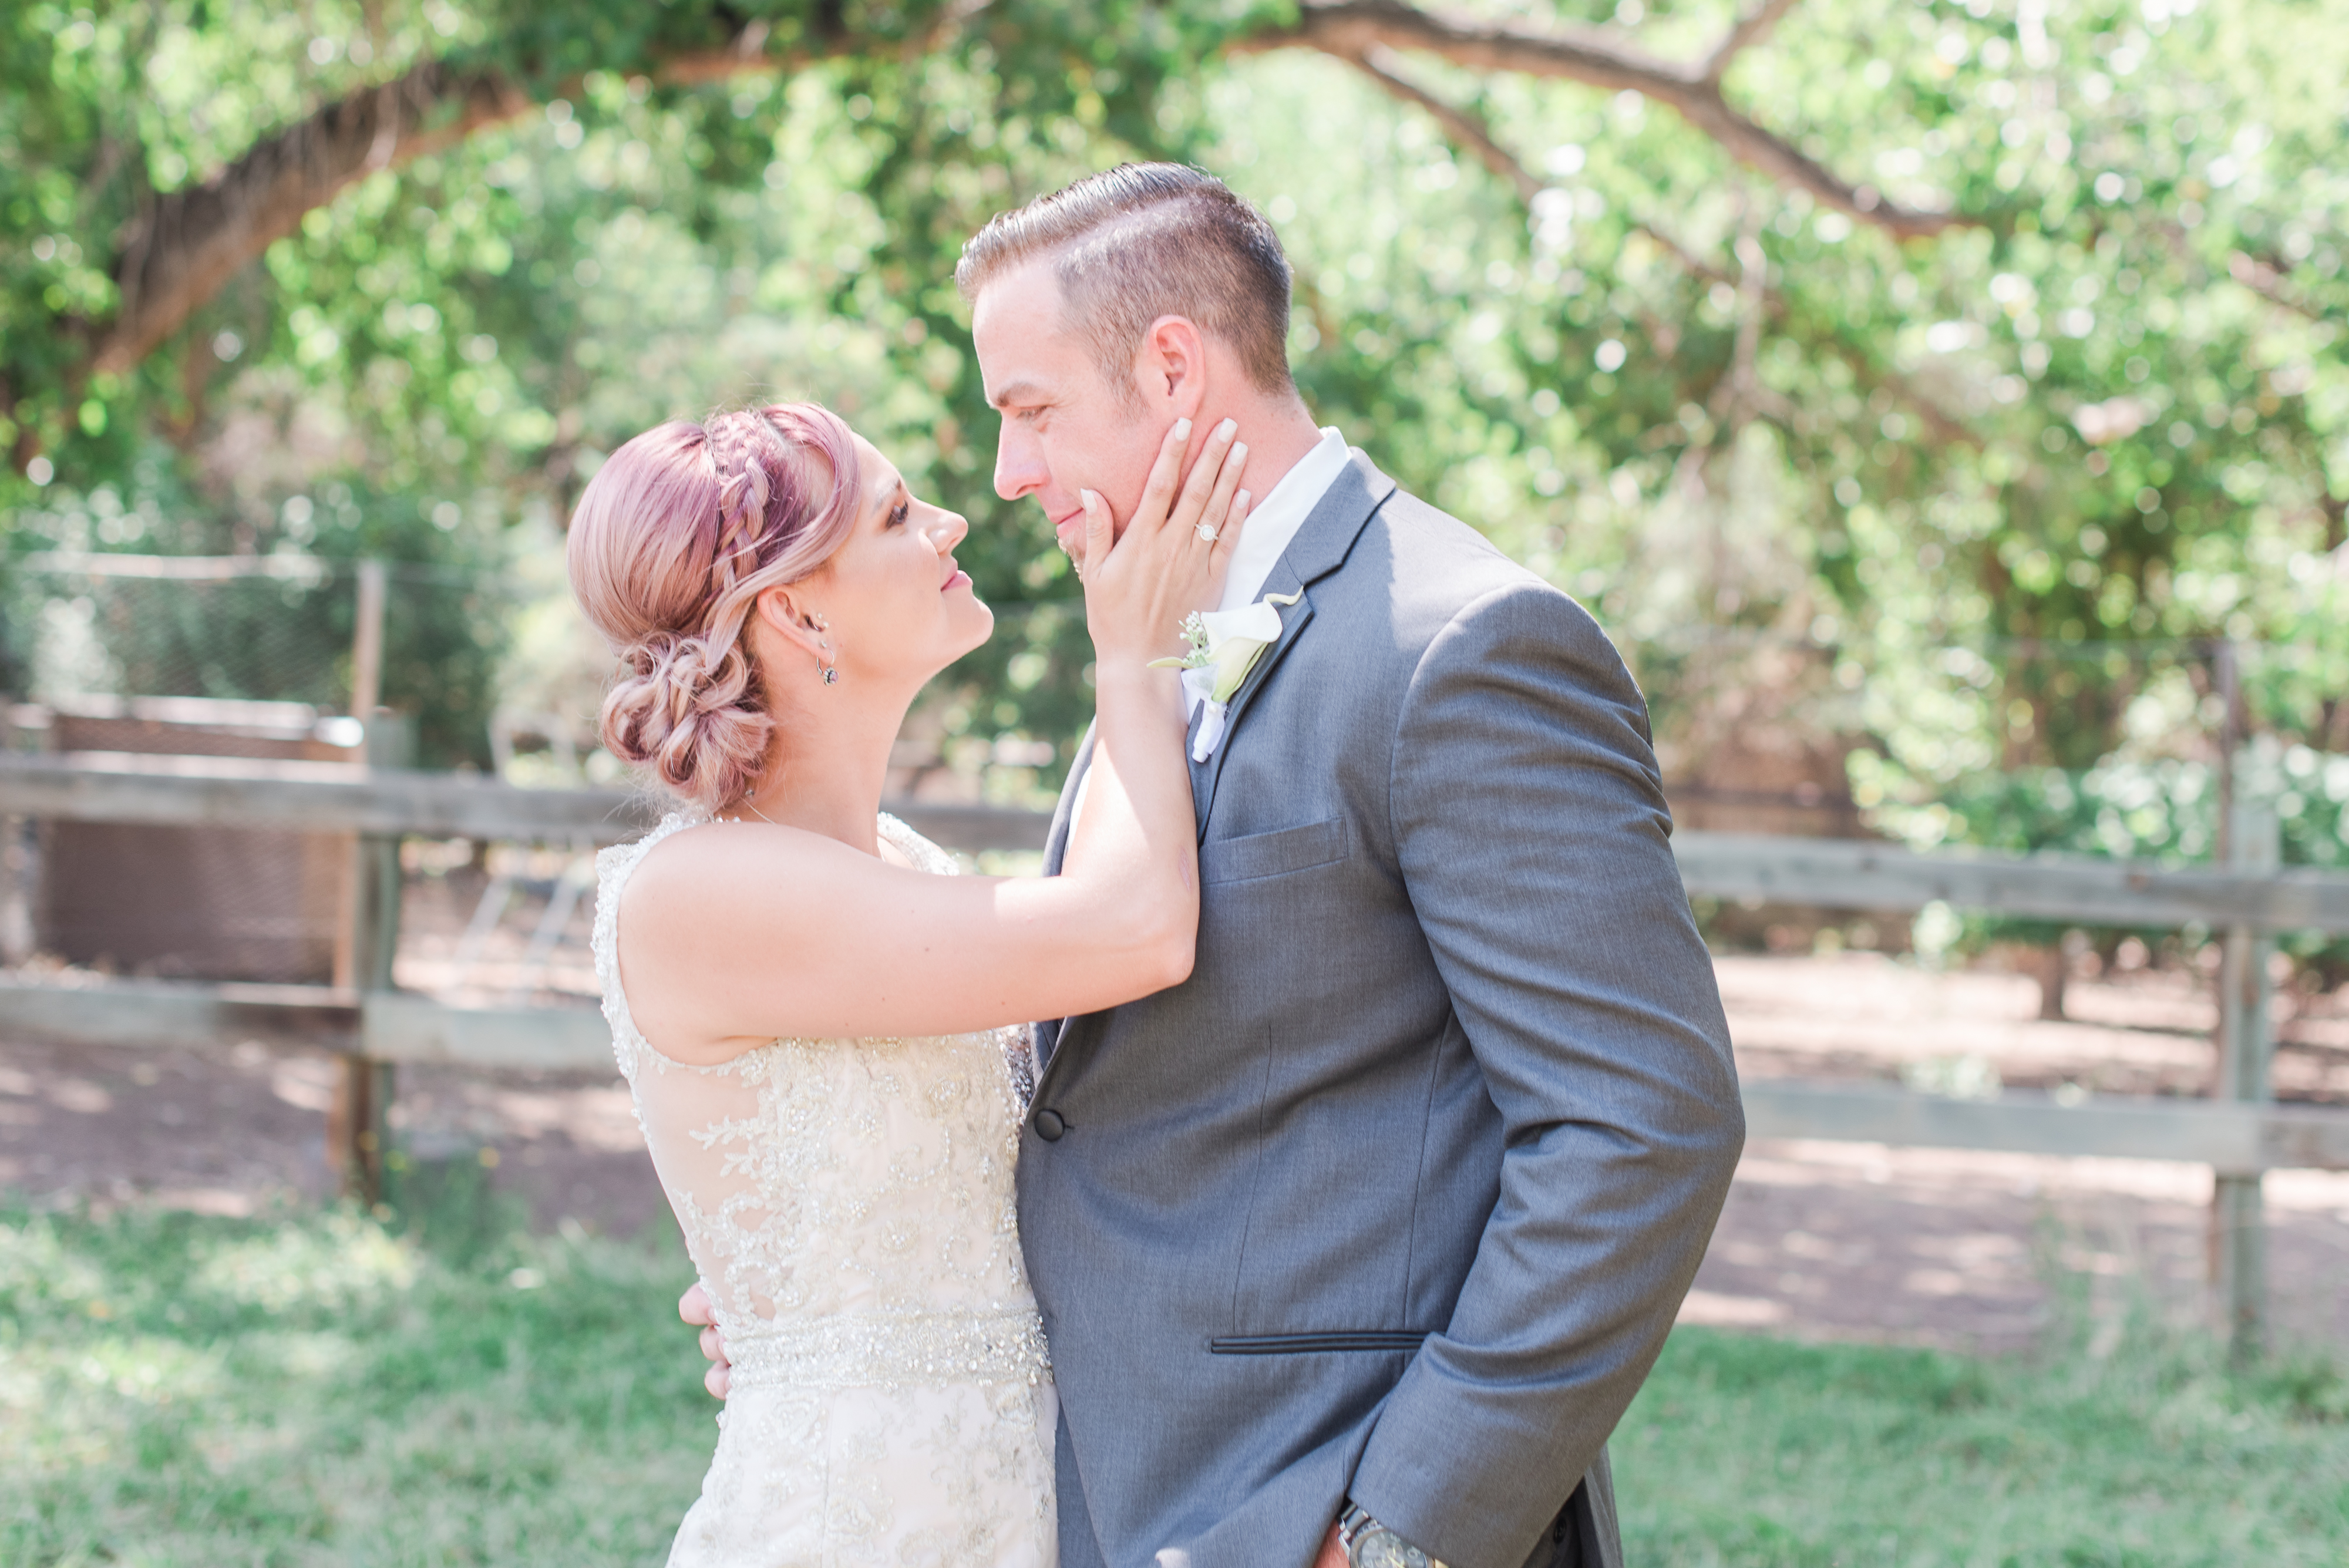
Taken at 2:30pm, behind me is a field.
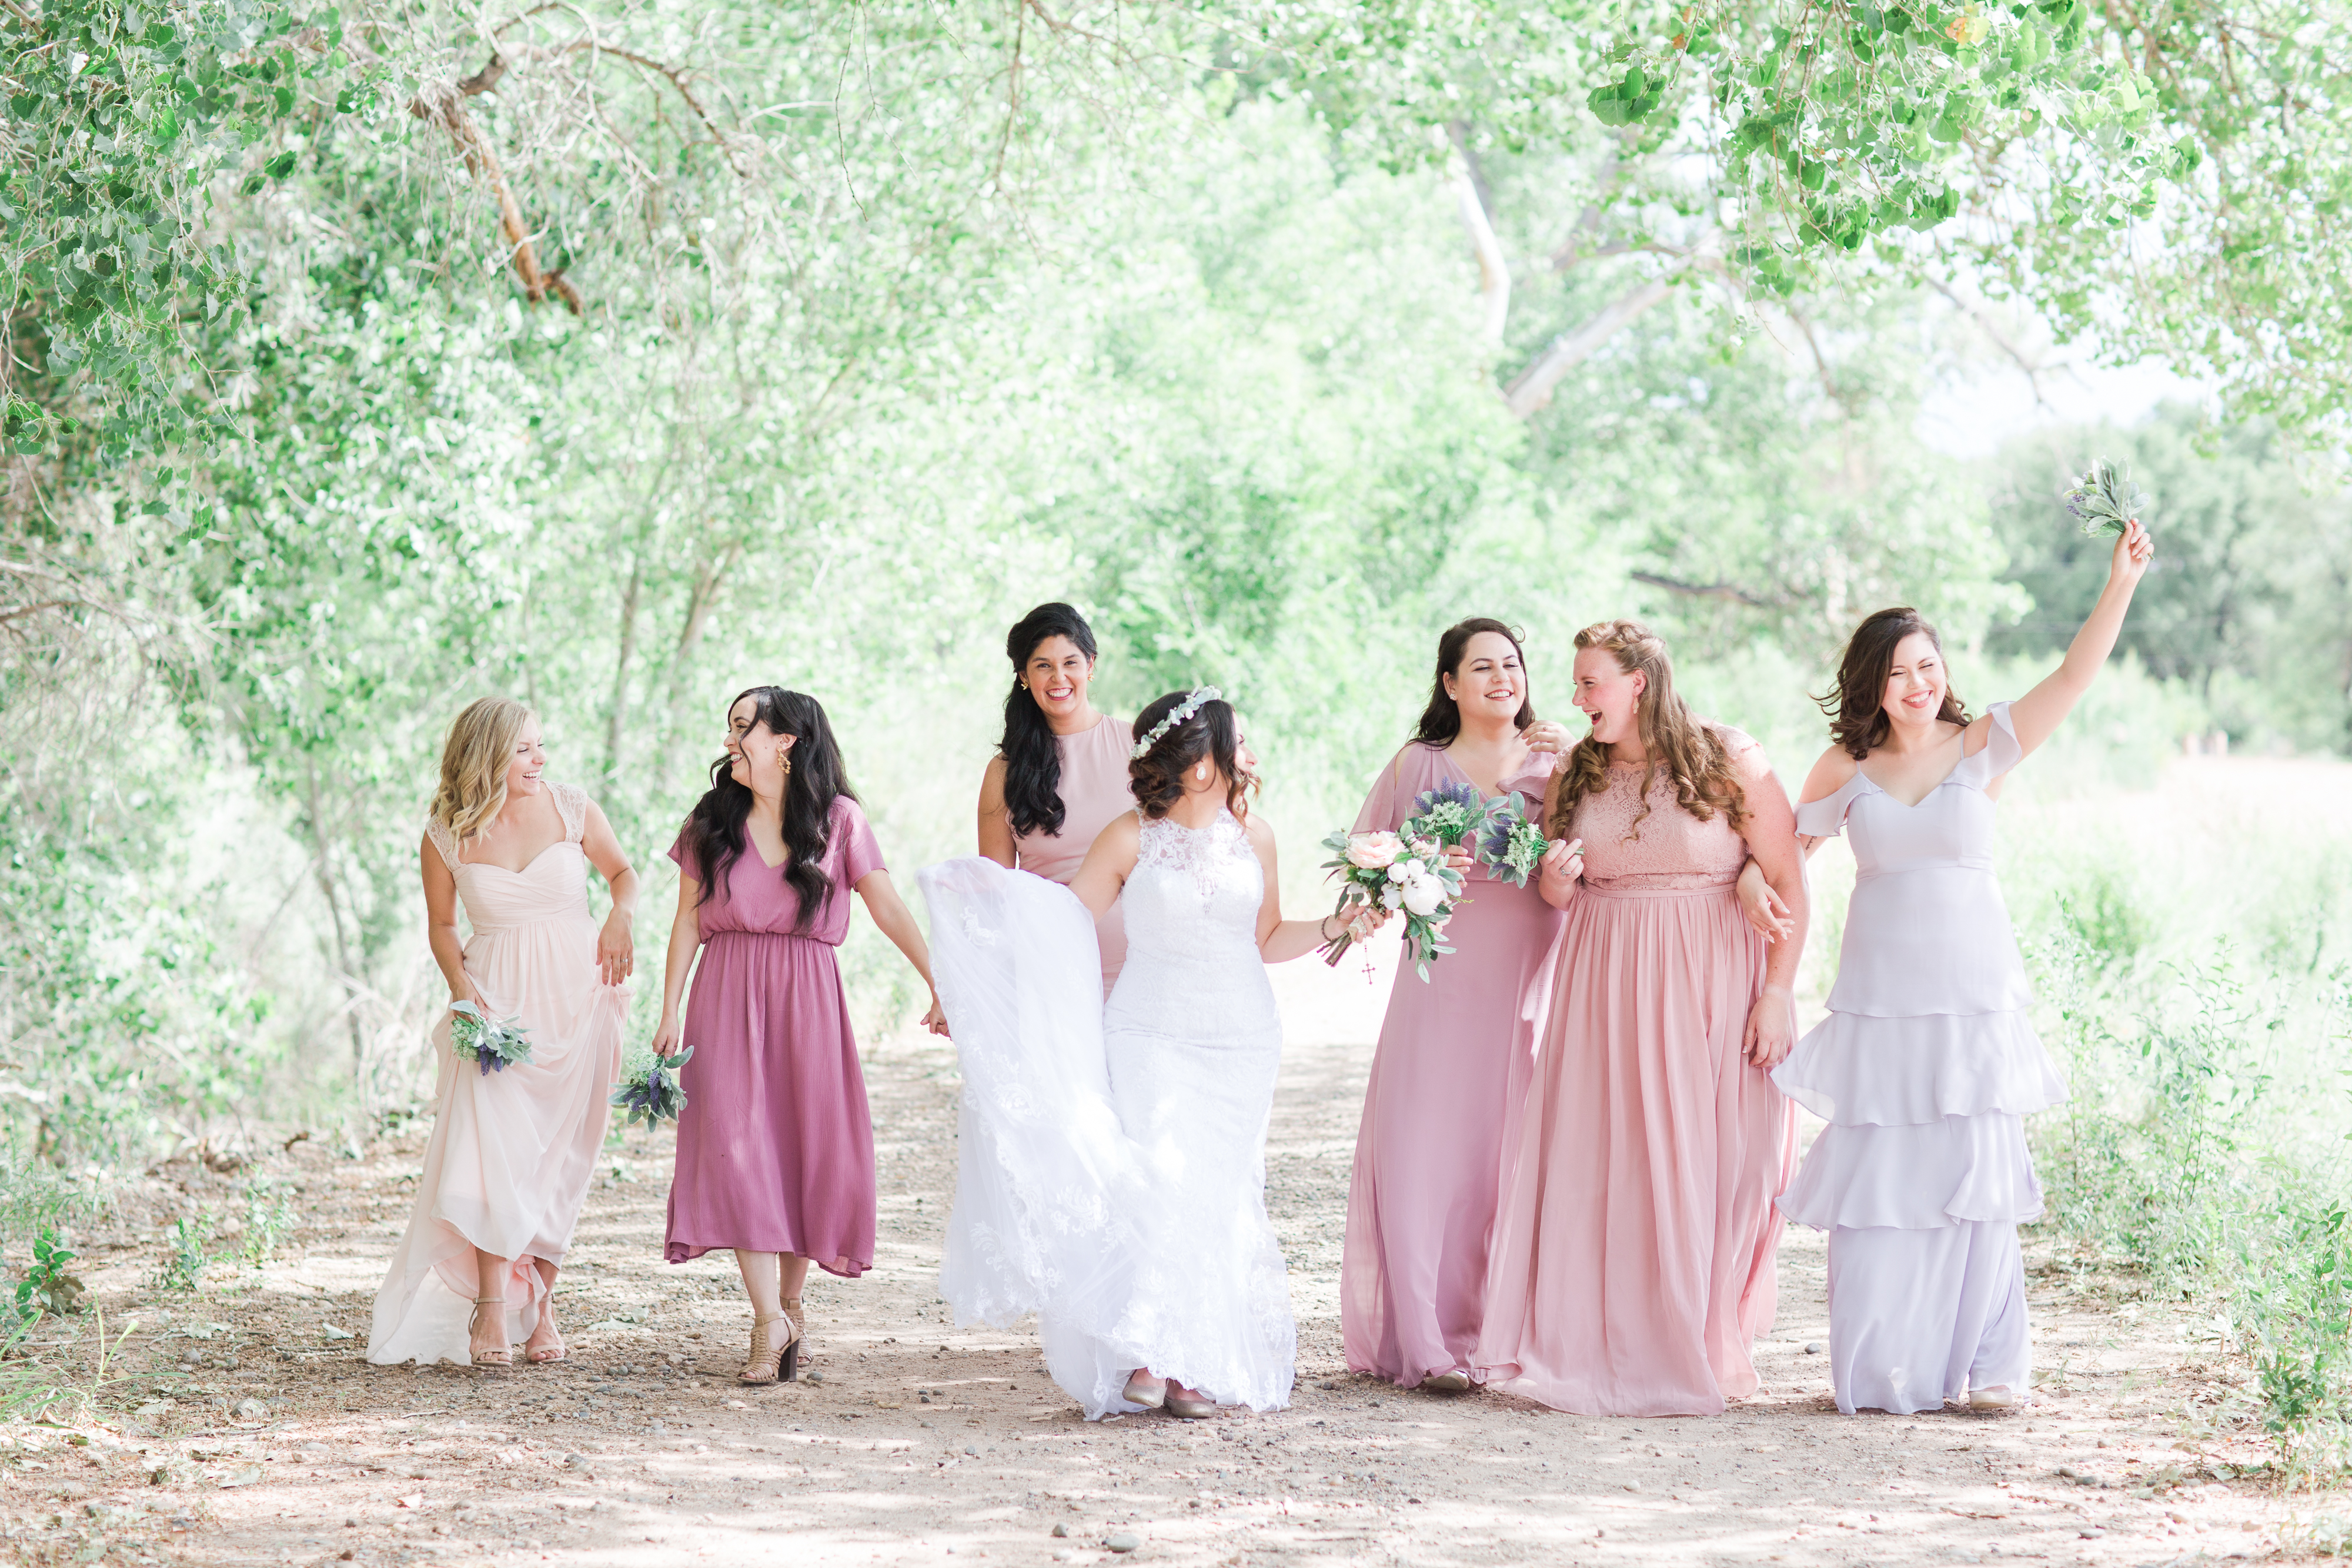
Taken at 2:30pm. I know this situation was tough as there is some splotchy spots on her dress and there are trees EVERYWHERE but because the sun was coming in from the right and they were in a small strip of shade there isnt color reflection on their skin and the result is a light beautiful image.
This was taken at 11am. See how the sun is coming from the right? It is really high in the sky, but I found shade and there is nothing behind me resulting in a glowy crisp portrait.
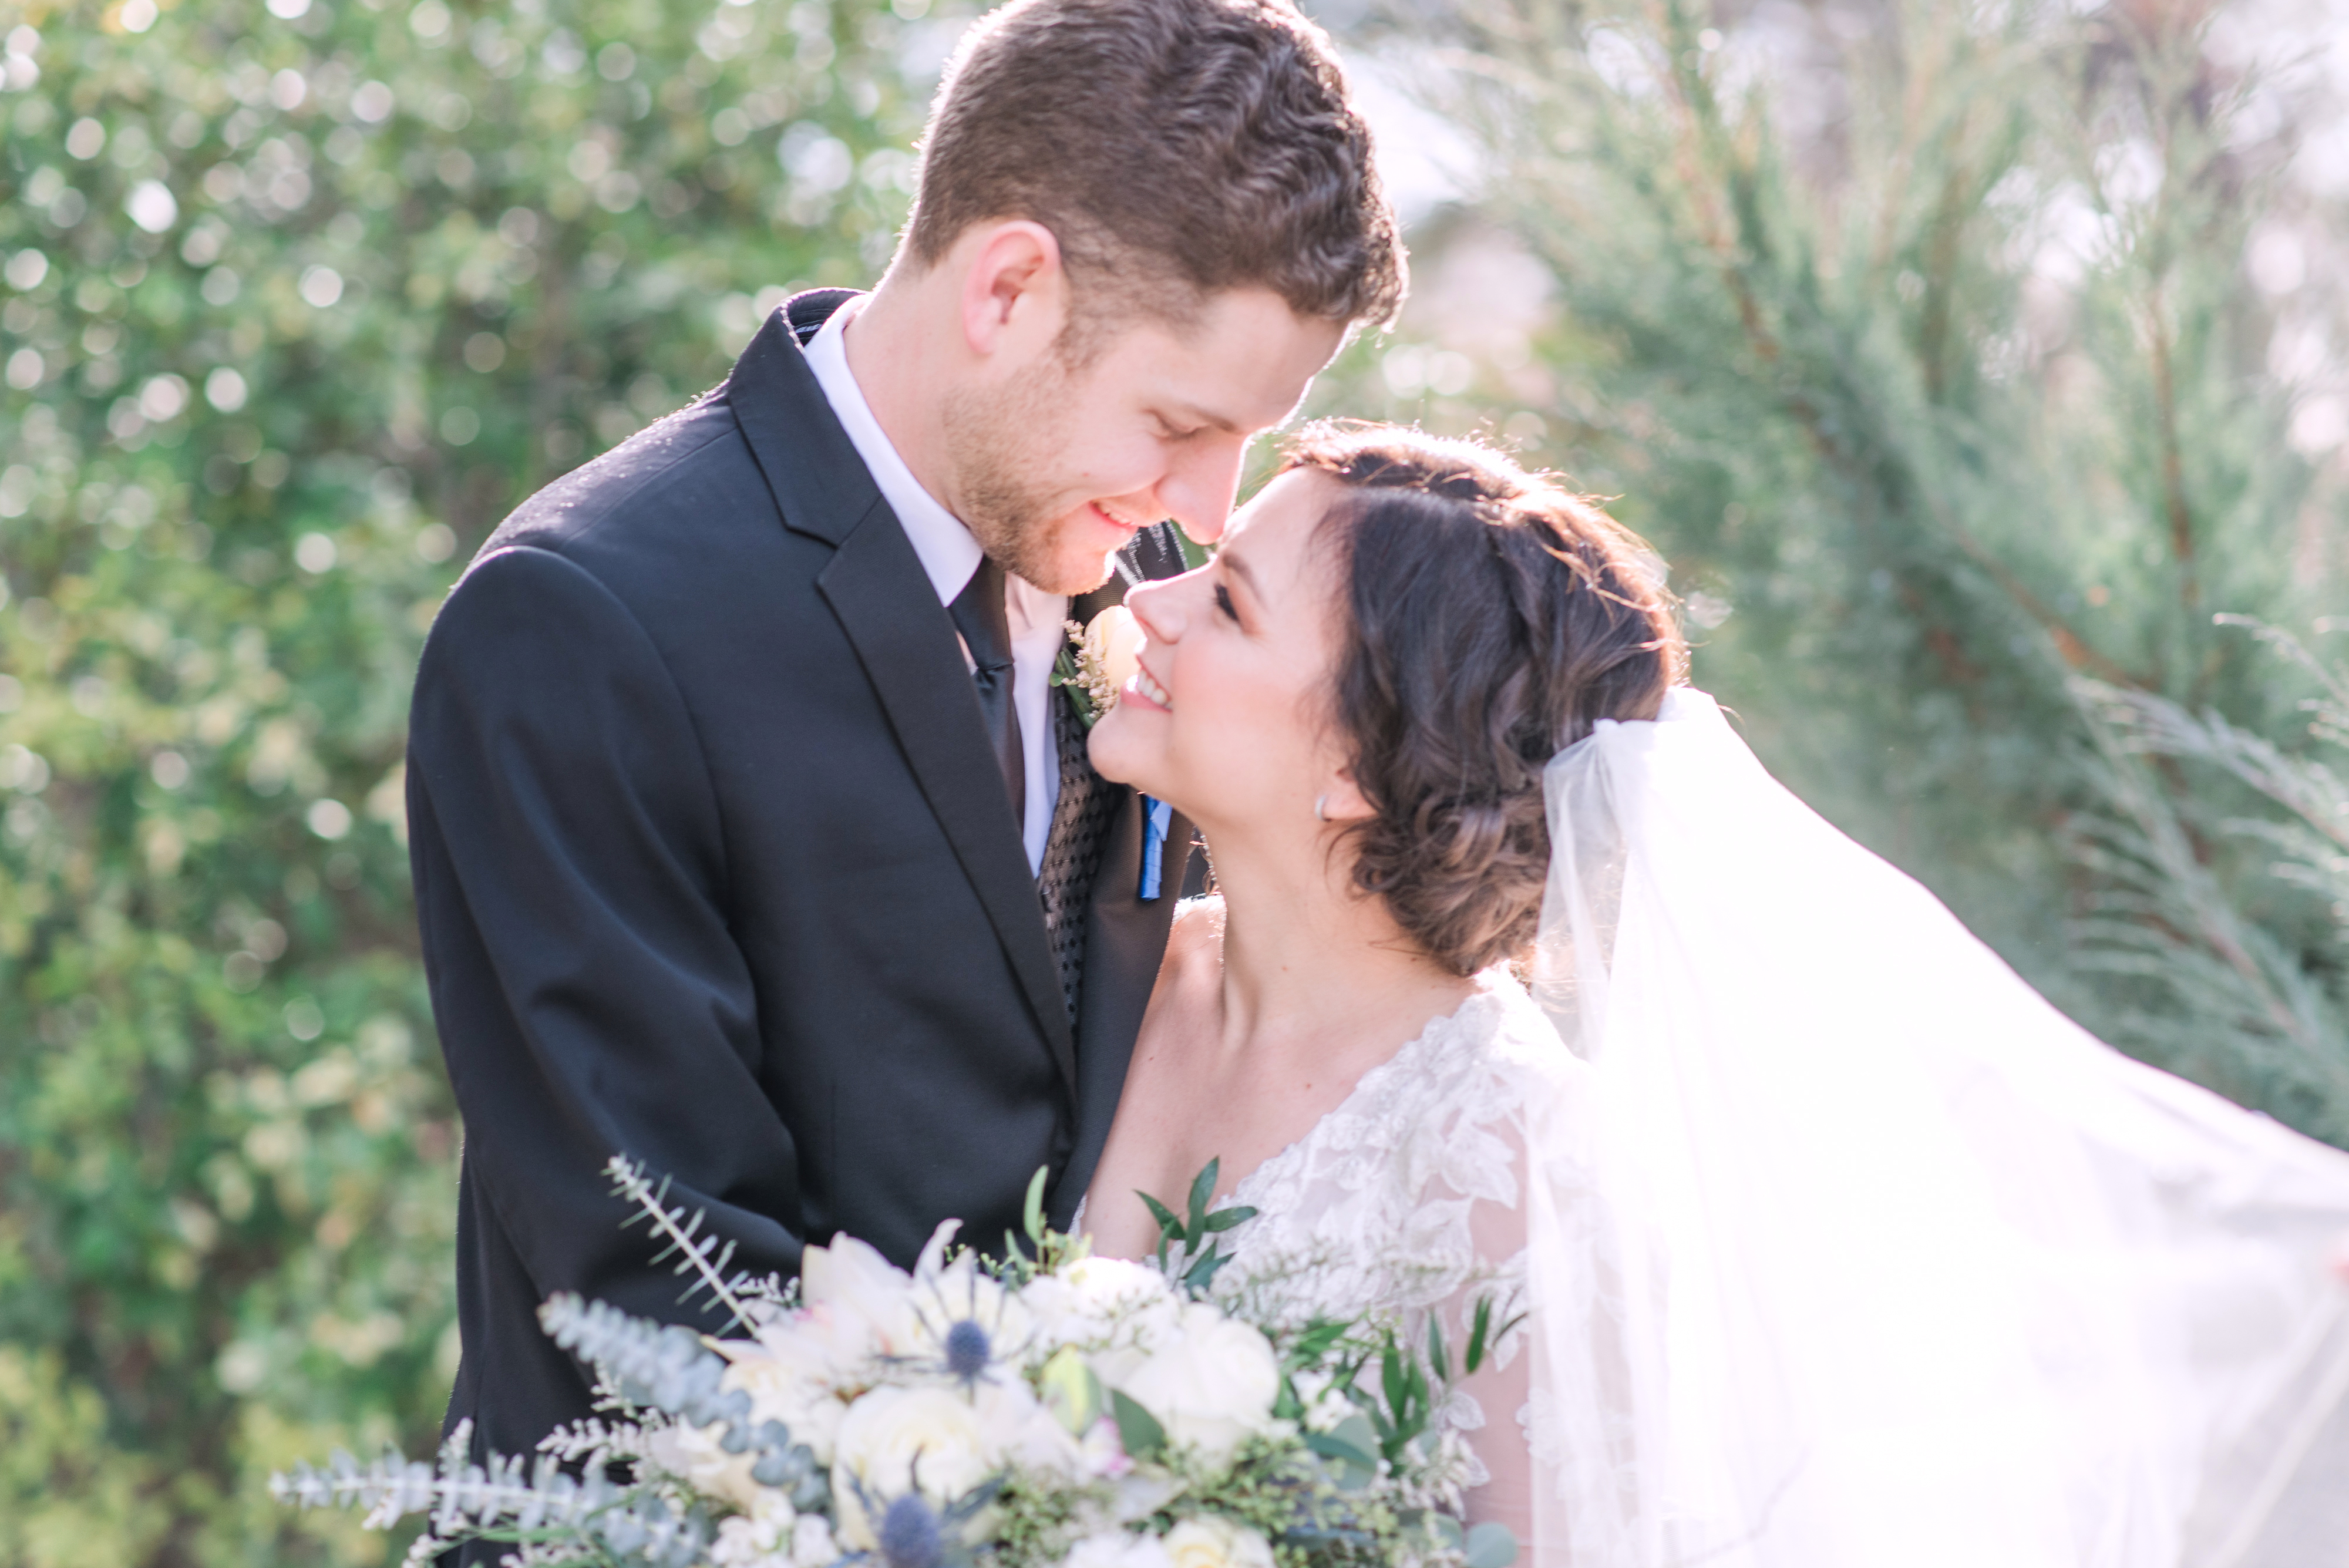
Taken at 11:30am. Sun is coming slightly from the right.
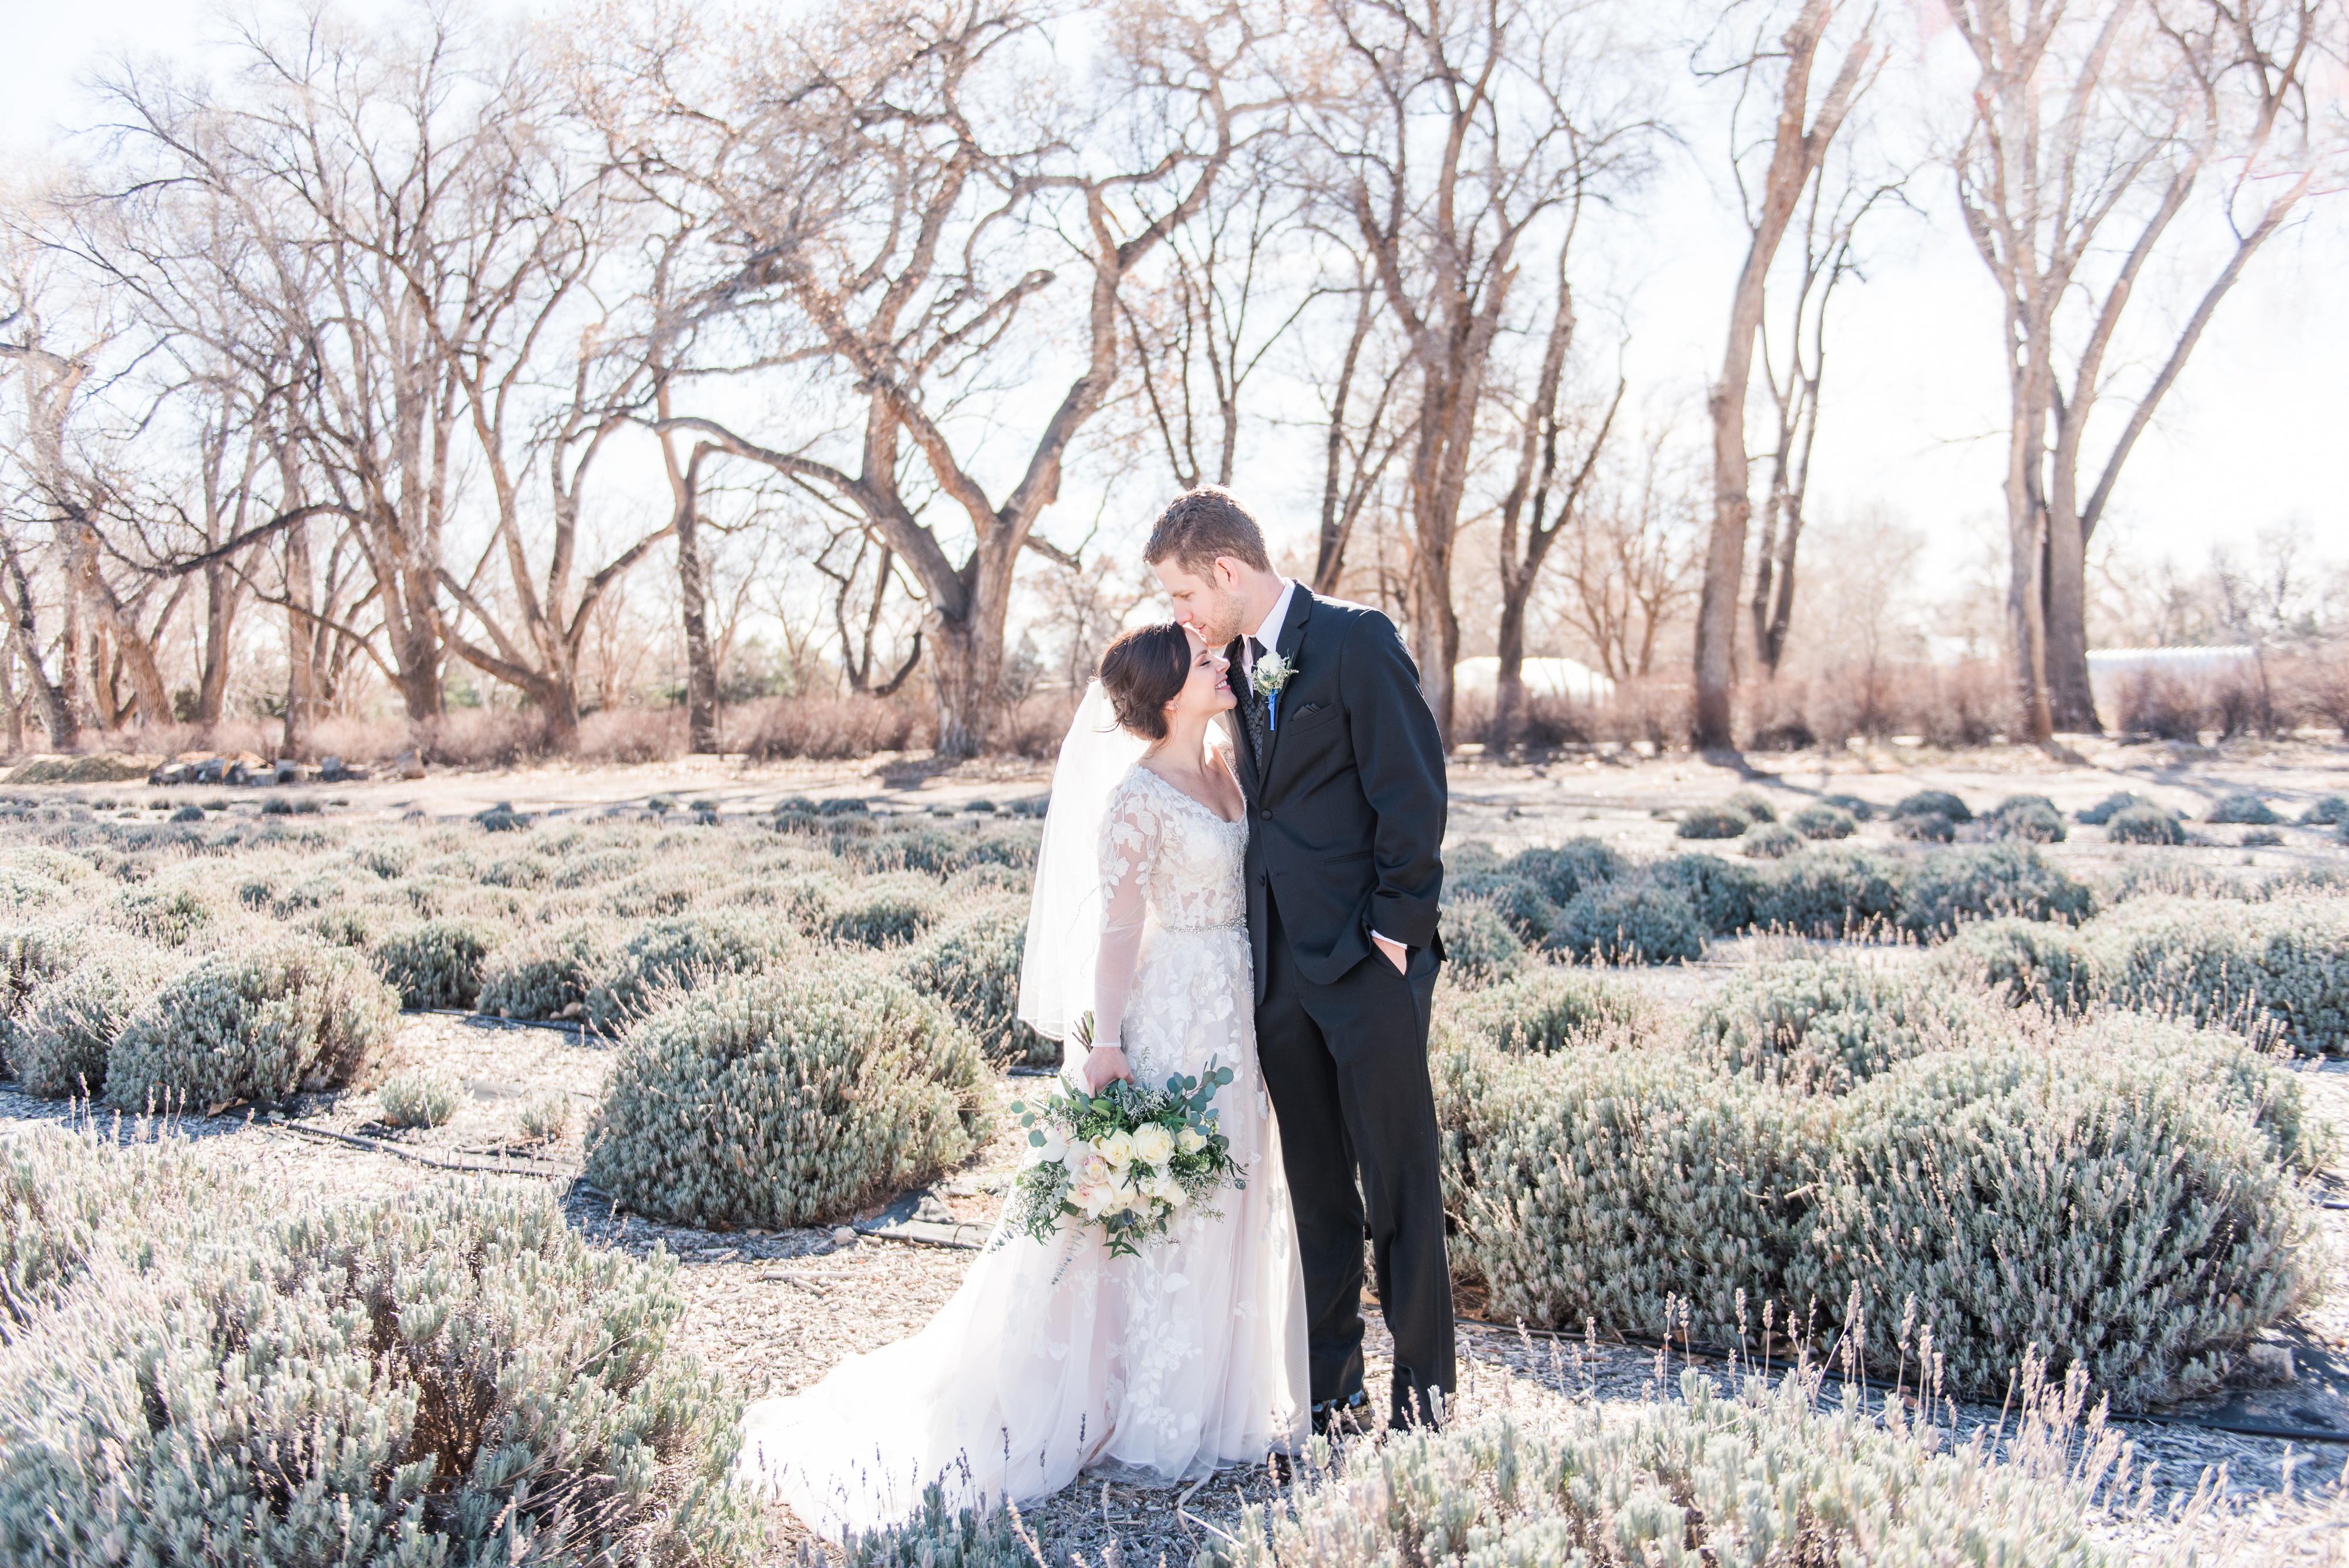
Photographing that Epic Background in Crappy Light
On wedding days, a lot of time you will have a situation where the bride and groom want a certain background in her photos. Especially our Sandia Mountains! I tell my couples that we will sneak out at sunset to get gorgeous mountain photos. HOWEVER, there has been situations where that isn’t an option. So how do you get these photos for them?
I do NOT do all the portraits at these locations if the light is bad. I will take 1 or 2 poses quickly just so that the bride can have them.
Turn your clients to face the sun and tell them to face each other. Or put them in a pose where there aren’t shadows on their skin. Then expose for the highlights.
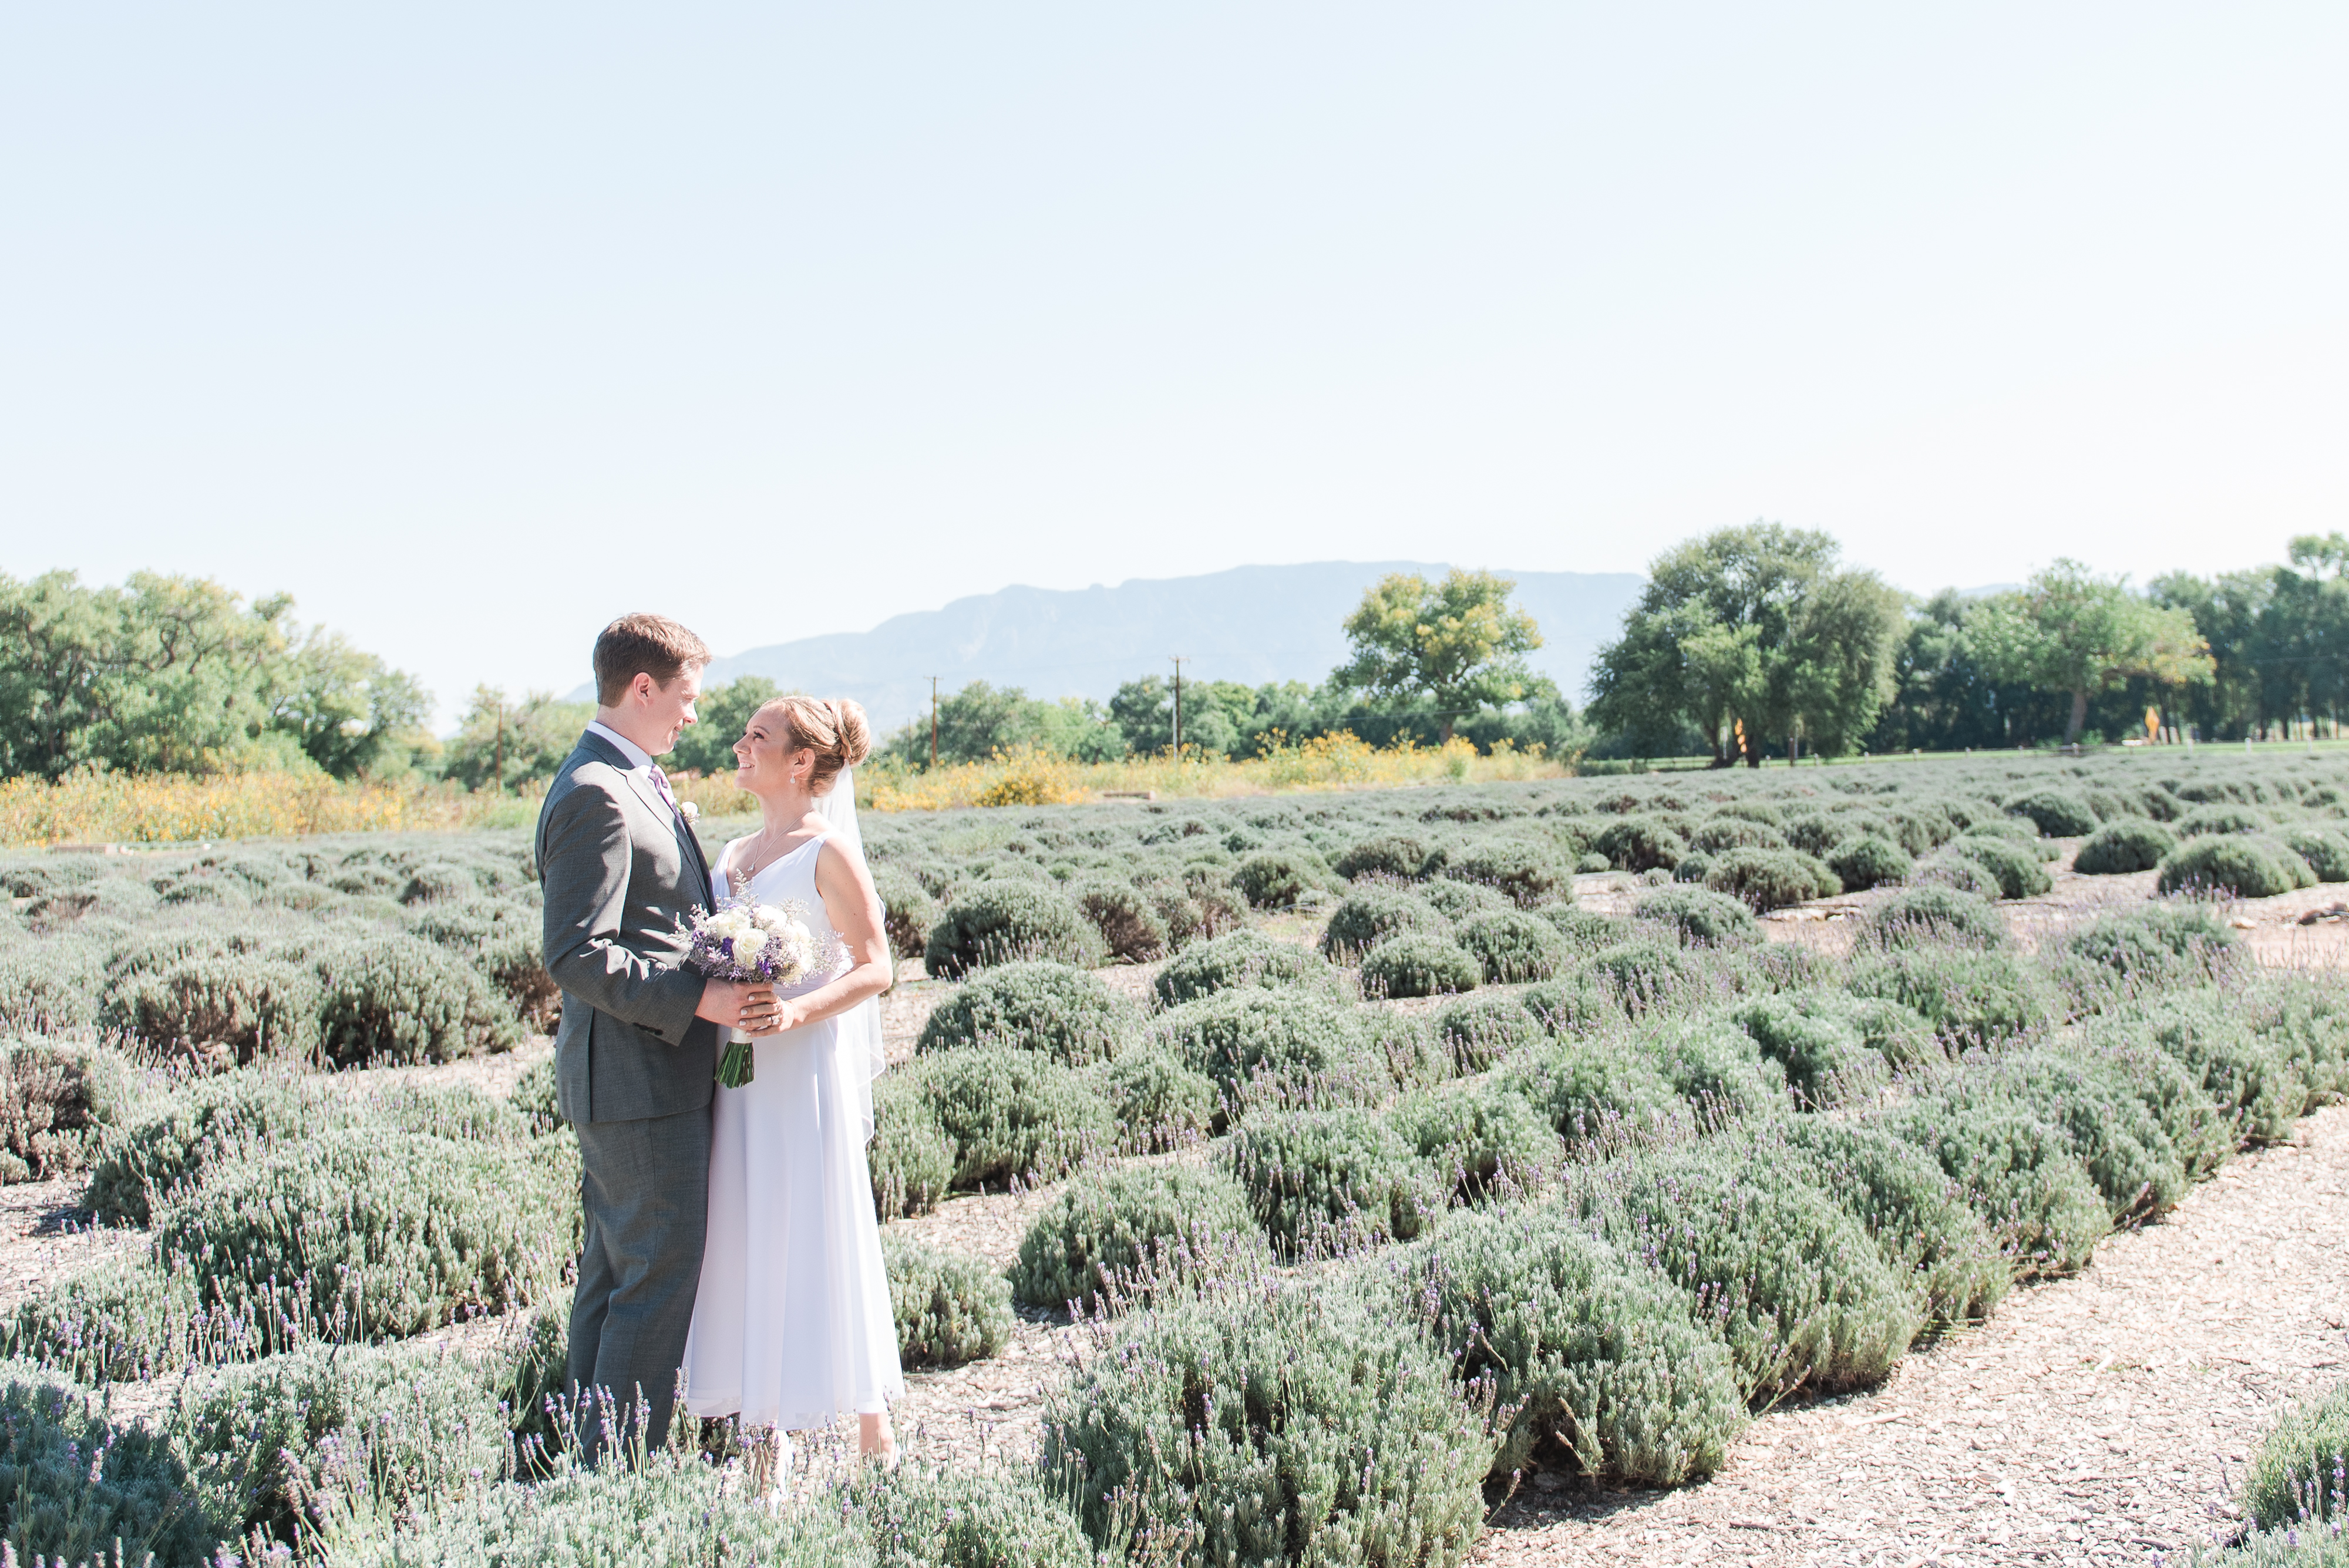
This shot was taken at noon. The sun is on the couples faces coming in harshly from the right. I exposed for her skin and dress. Then in lightroom I brought the shadows way up so that the image wouldn’t looks so harsh. And voila, she had her lavender field mountain shot.
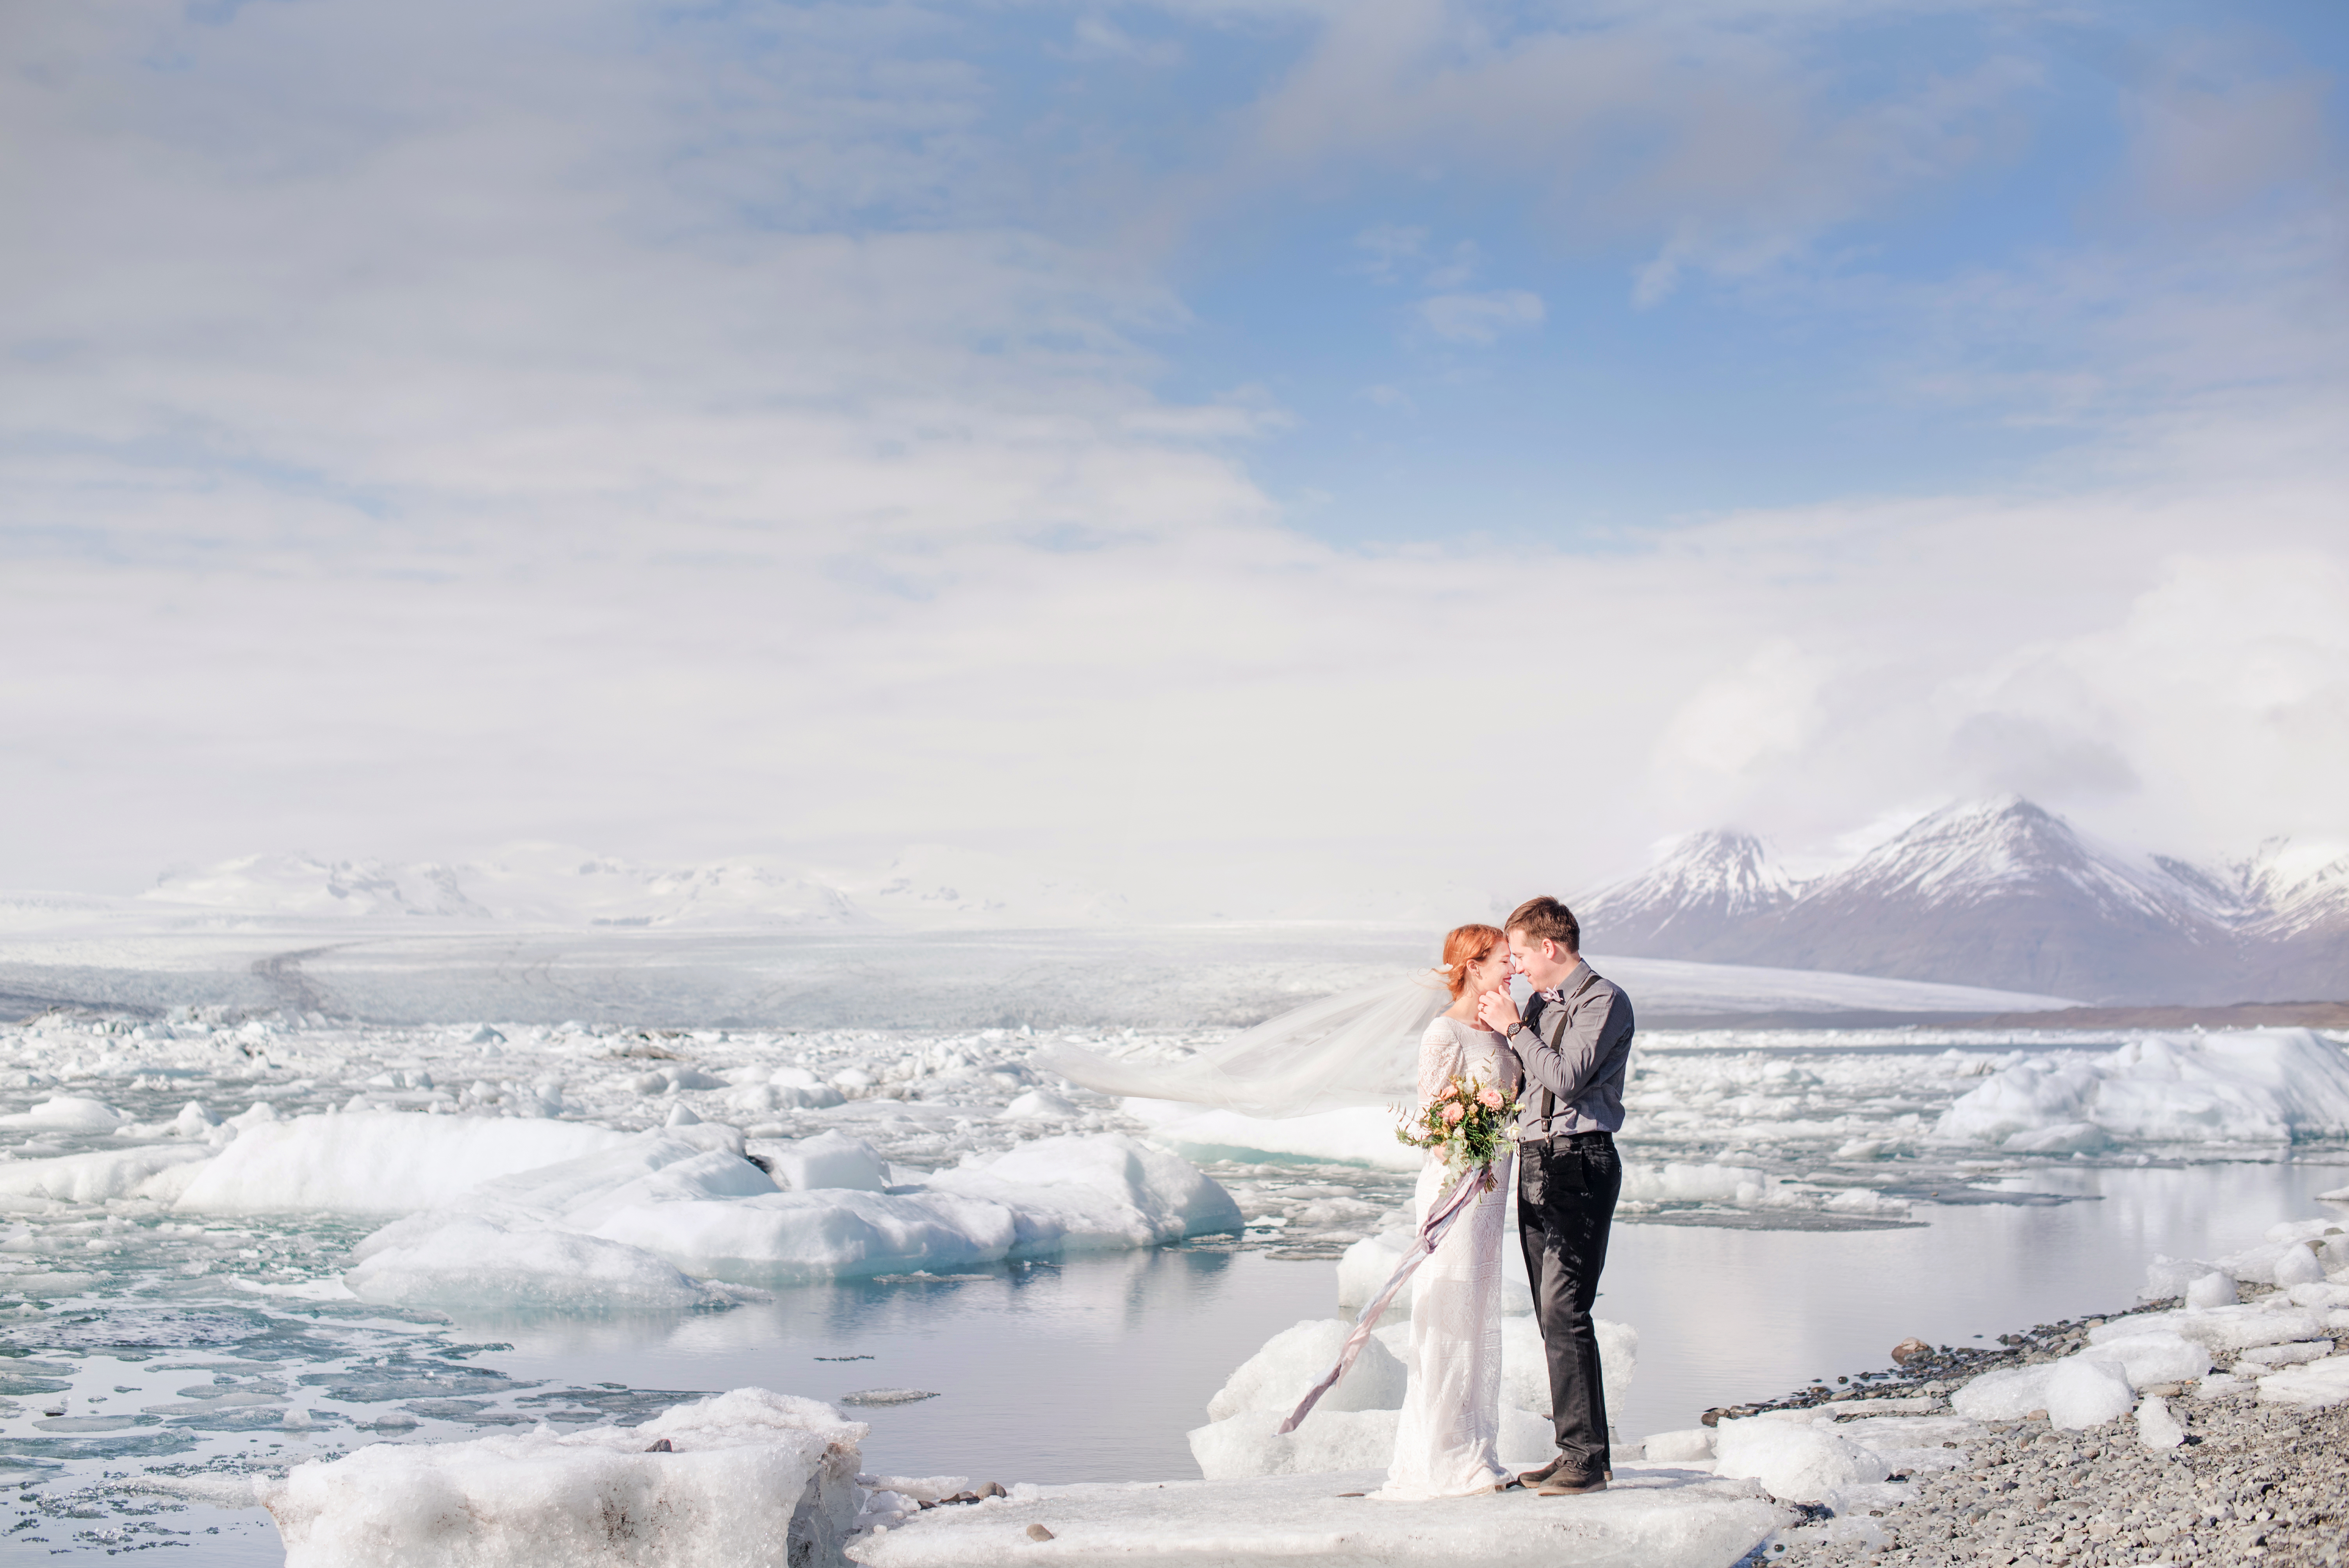
Talk about shooting in a gorgeous location with bad light! This shot was taken at 1pm. The sun is on the couples faces and I exposed for the ice. I was able to edit it in lightroom to look dreamy and avoid it looking harsh.
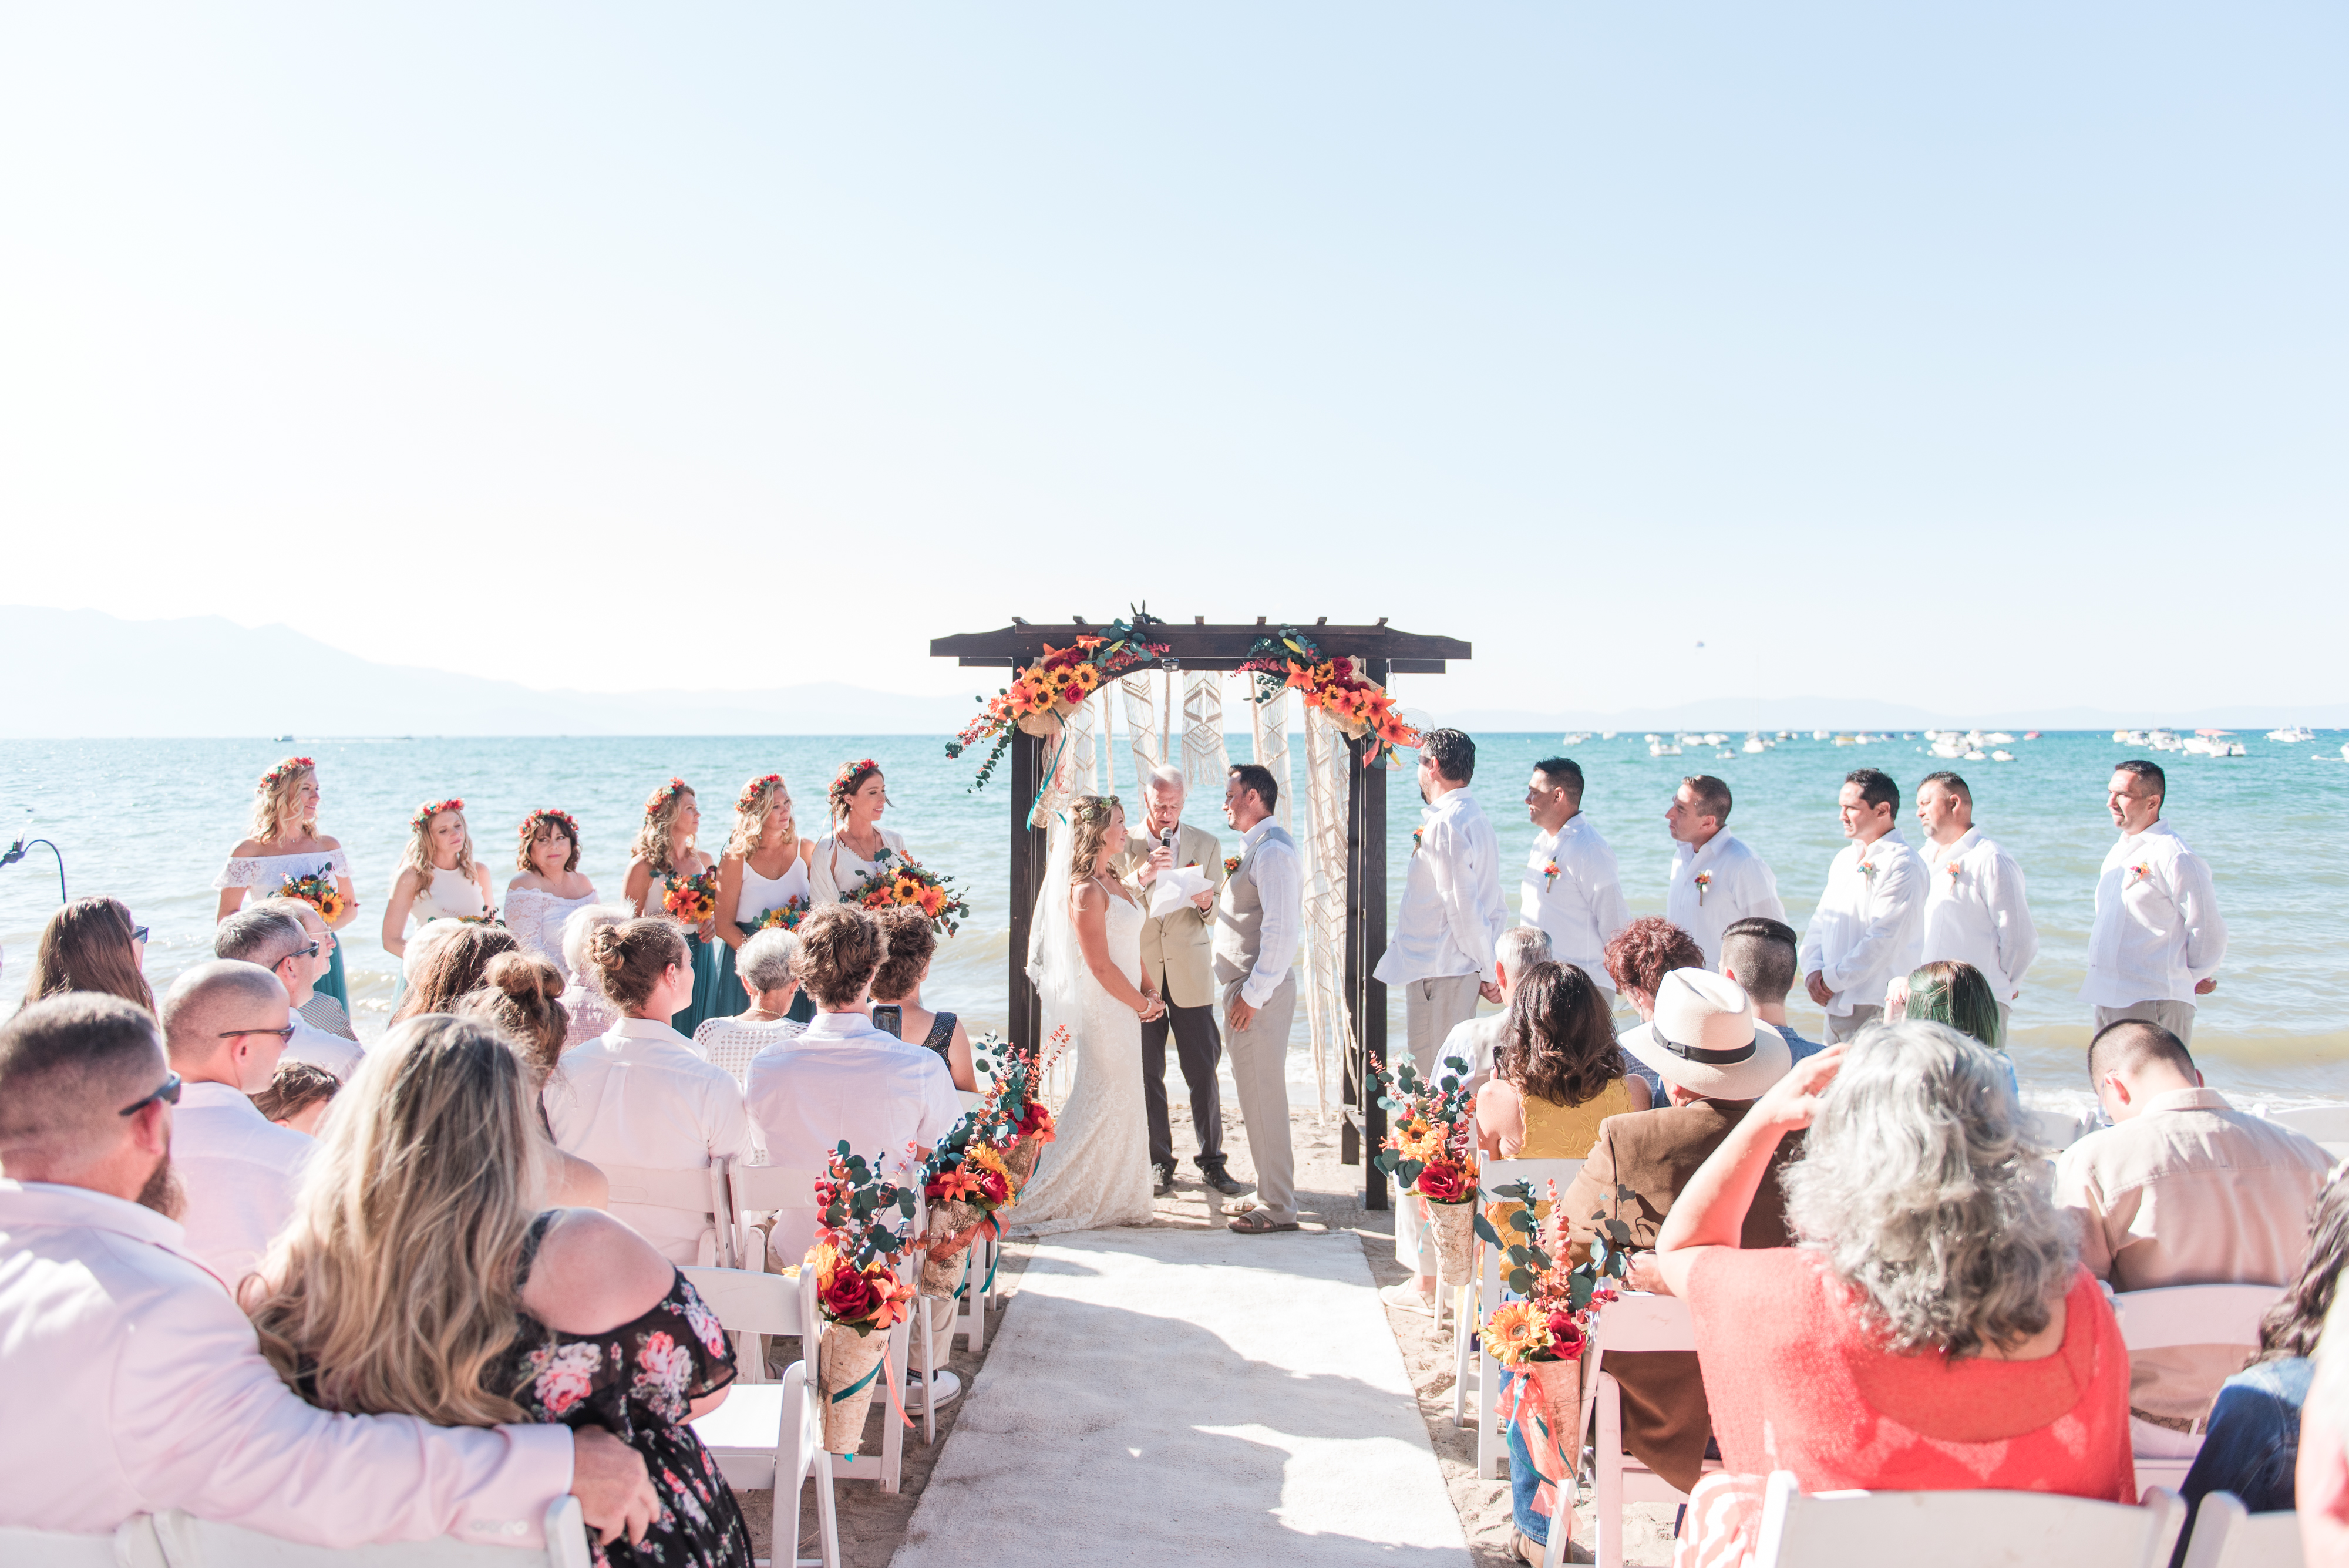
This couple below was so sweet and understanding. They got married on an epic beach in Lake Tahoe. The sun was coming in sideways so we couldn’t take their portraits on the beach but I told them we could go back out for sunset to get beach shots. They were totally down for that and it all worked out perfectly. Their ceremony however was in super harsh and splotchy light. So I again exposed for the highlights and lightened the image in lightroom.
Overcast
What about when its overcast and dark out?
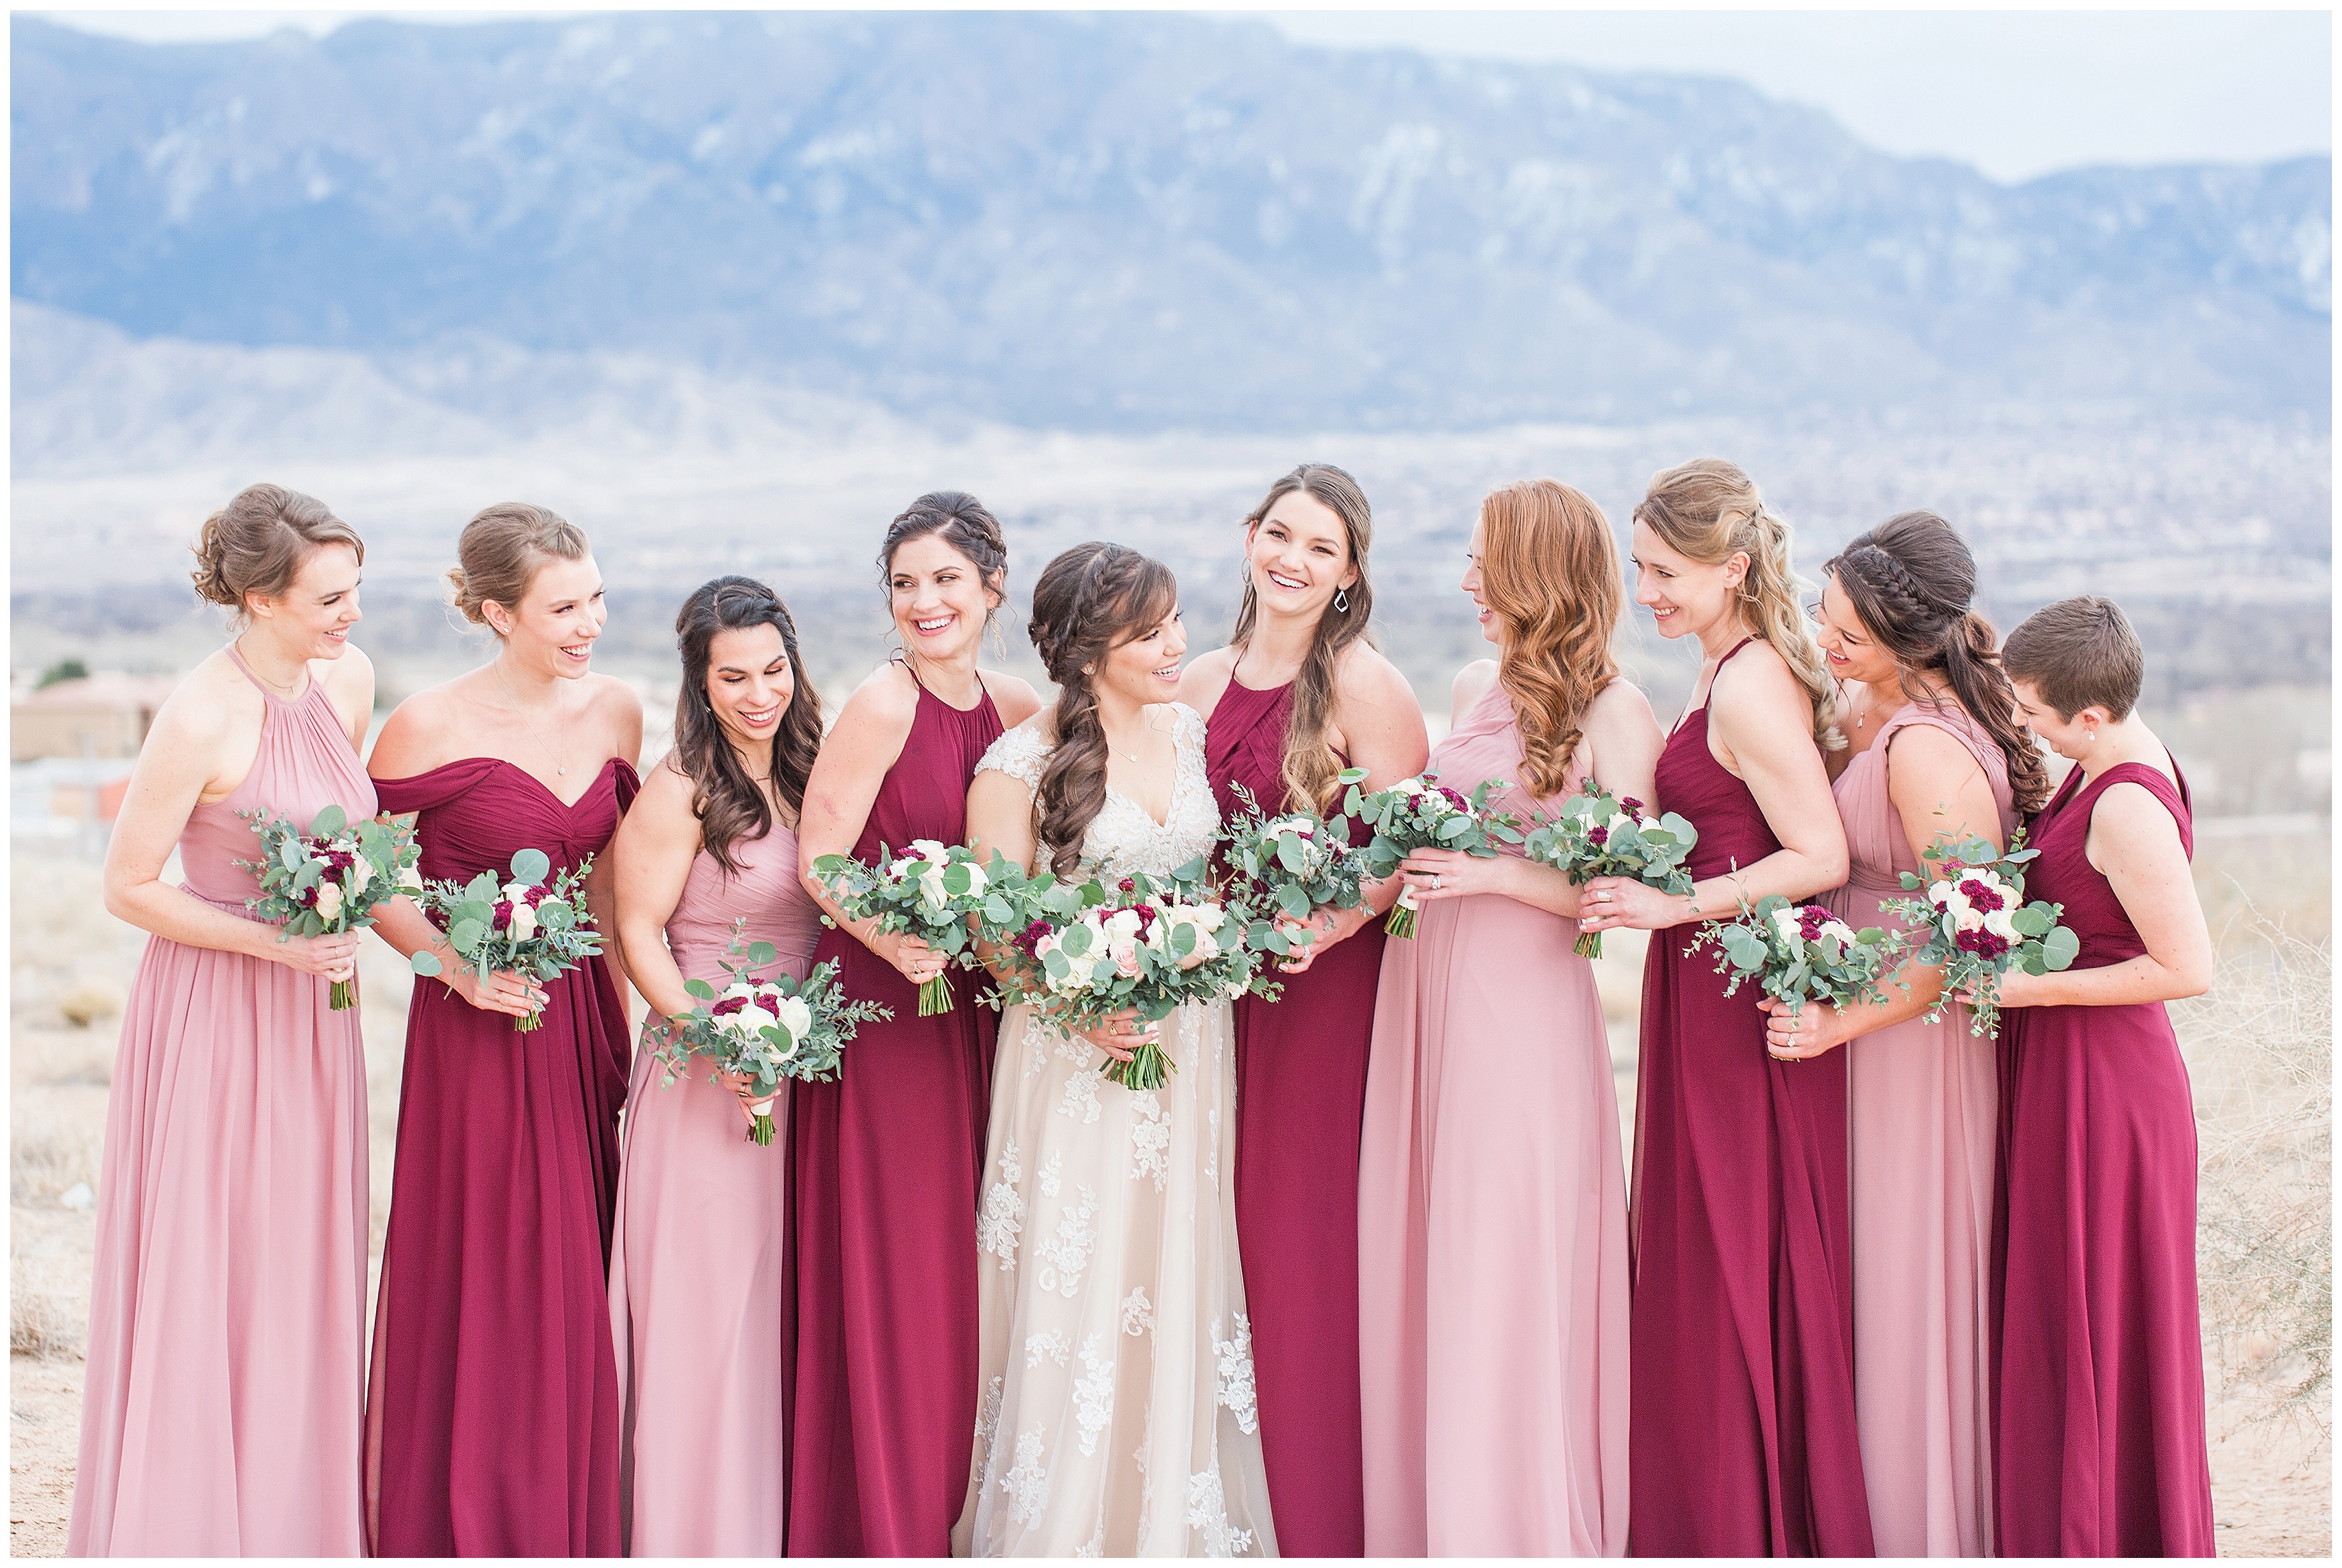
If this is the case, I try and turn my clients towards where the sun would be. It results in vibrant images and clean skin tones. The sun in the image below is behind a ton of clouds in front of the subject.
If its really dark out and you are dealing with dark rain and weather I suggest taking all the photos this way.
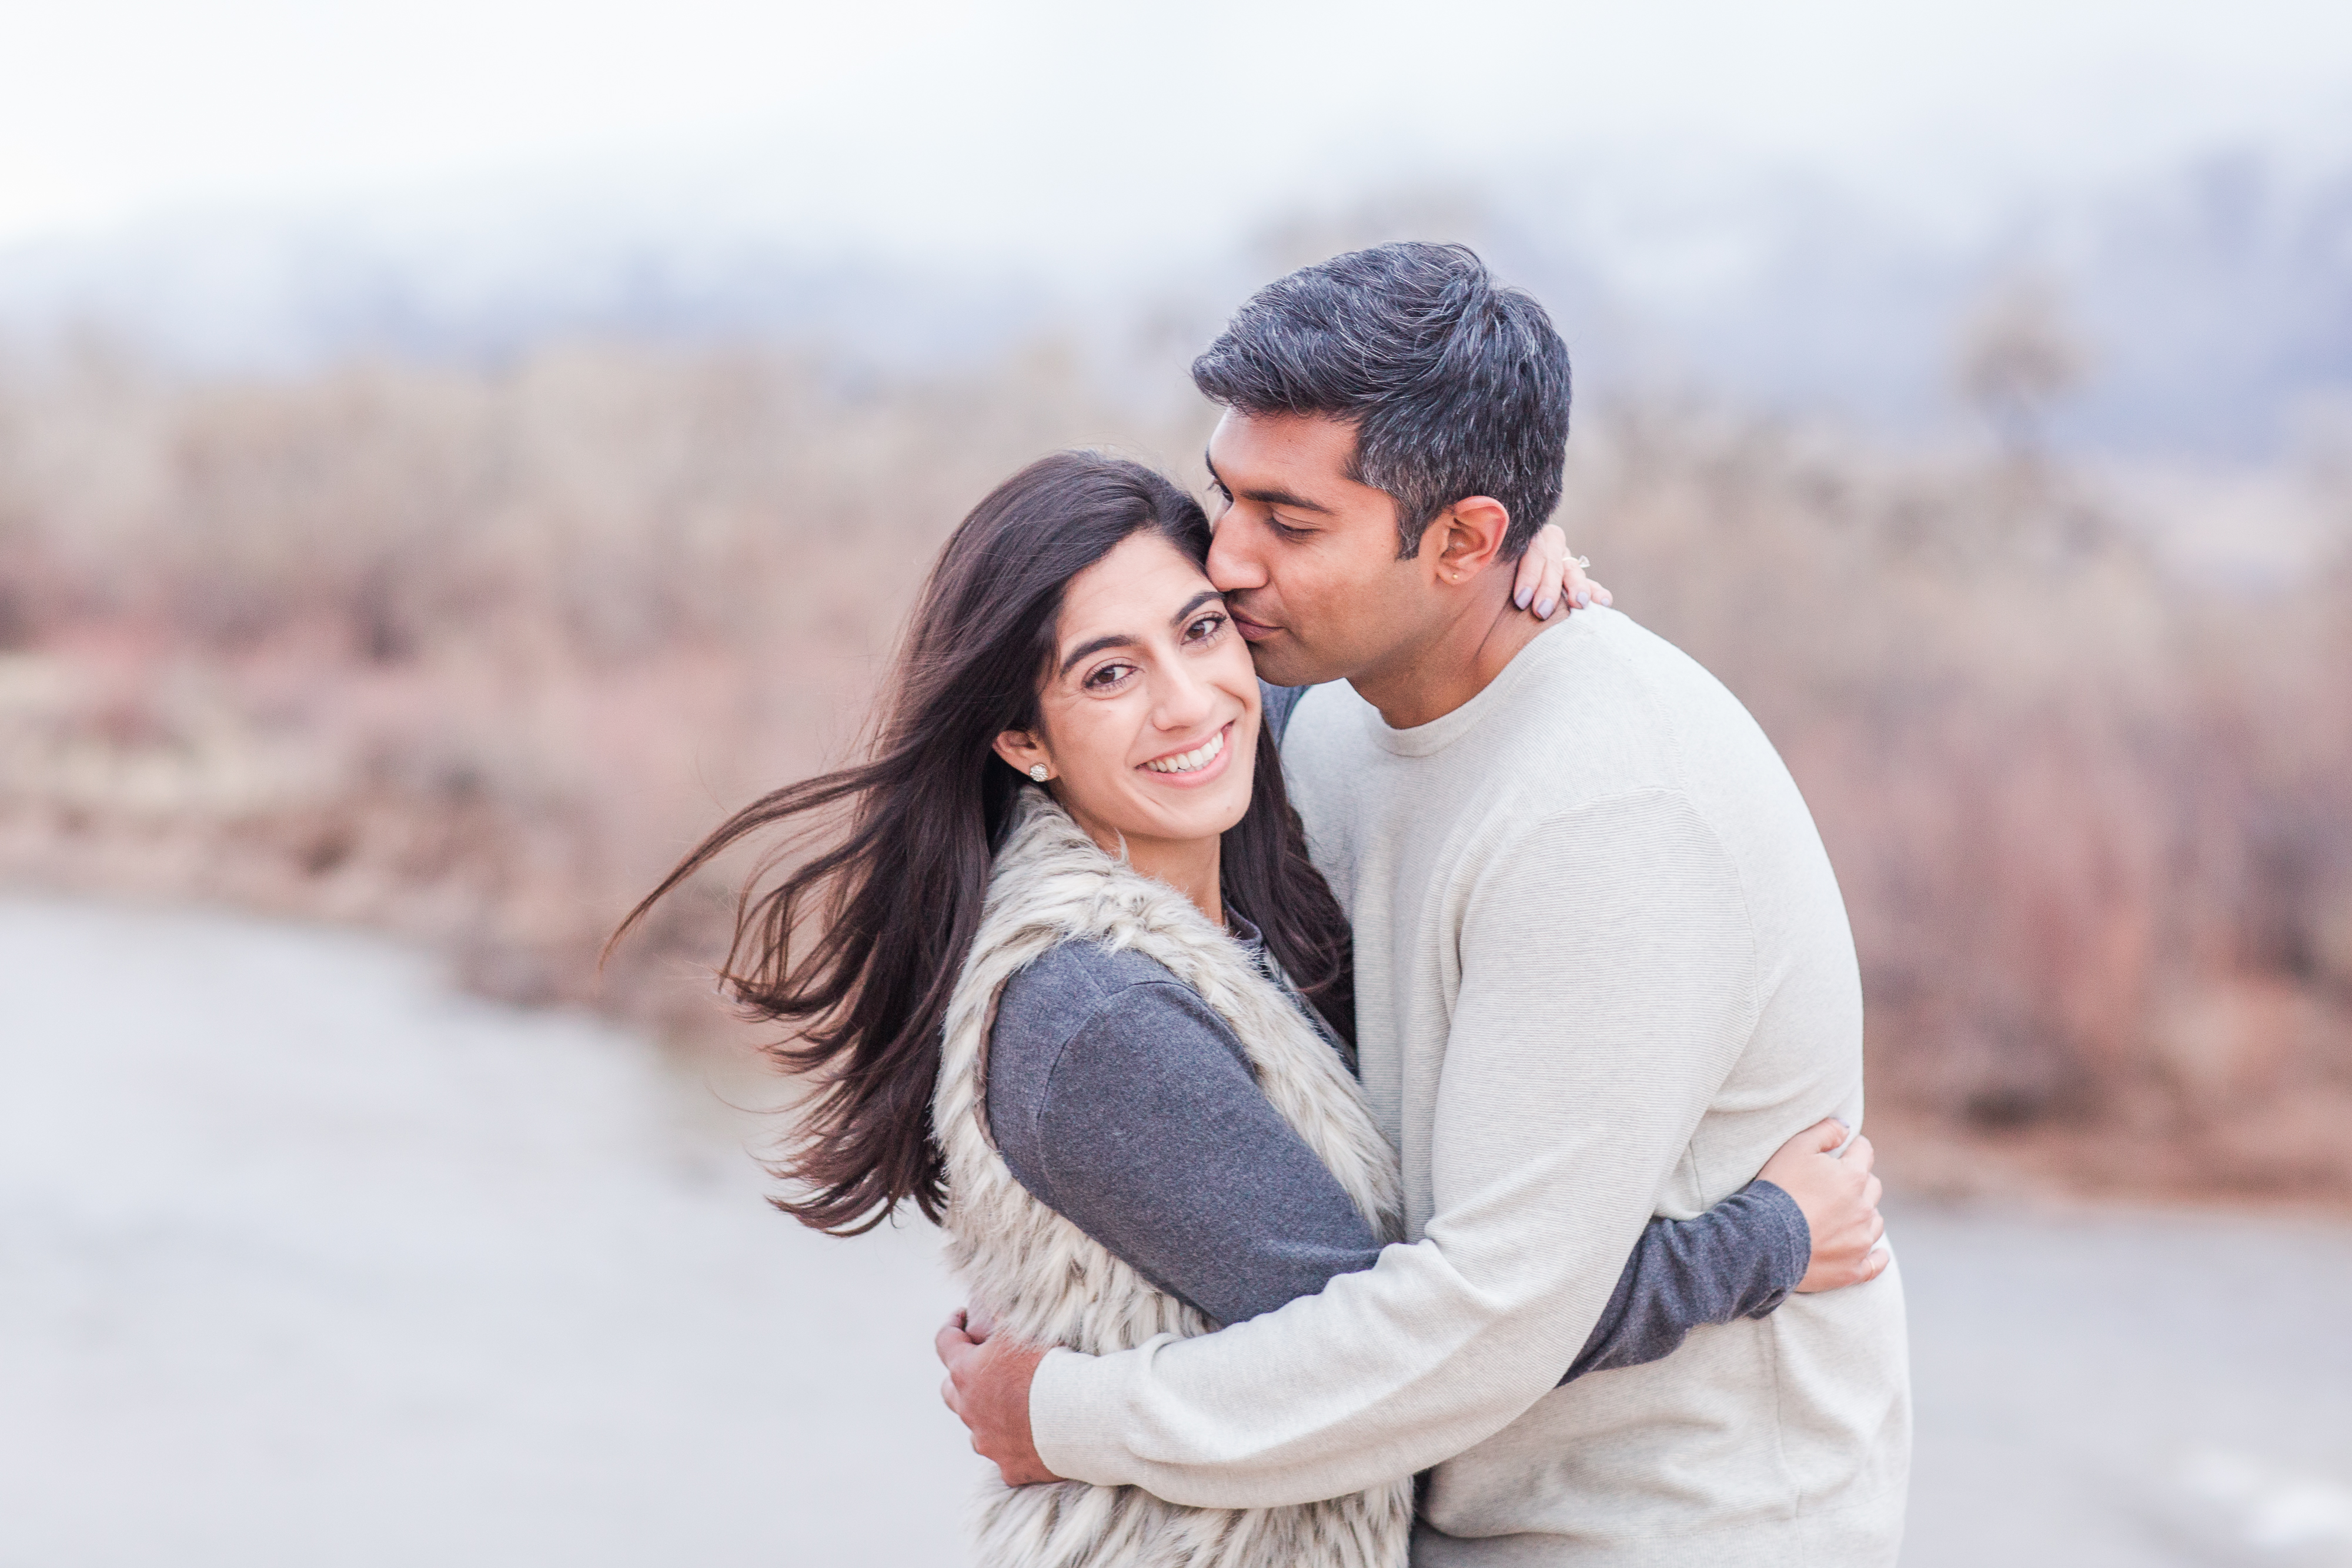
The couple below came in from out of town so rescheduling wasn’t an option. It was so so dark and rainy at their engagement but because they are facing the sun, their skin is illuminated as well as the background.
I hope all this information was helpful in understanding how we photograph our clients. A lot of professionals use different approaches, this is just our approach to achieve the images you see us share. Light can be tough, if you make a goal to understand it then it can be your best friend.
xoxo,
Maura
Welcome to Maura Jane Photography, a wedding photography team offering a personalized experience paired with exceptional storytelling.
Our Privacy Policy
design by ASHLEY FERREIRA DESIGN
Customized by amanda Mays
copyright of Maura Jane Photography